Kevin's 90Q: Boost still low
Posted: Fri Sep 13, 2013 12:16 am
Hey all, name's Kevin,
I wanted to start a new project thread for my 90Q... er.... what use to be a 90Q that is. I had a thread over on mg, but it felt like it was starting to wander so just wanted to restart and concentrate my thread a bit.
Bought the car about five years ago now, I was sixteen at the time and it was my first car. At the time I didn't really know a ton about the B3's, just that they had AWD and the legendary audi 5 pot powering them and that they were way cooler than the all to common Imprezas and outbacks that seem to overun our North Idaho roads. So after much searching on CG and autotrader I found a pearl white 91 90Q in portland for sale by and enthusiast(Seems like he was on QW allot, but still haven't seen him around any of the other forums). Drove down to the Bigs junction on the WA/OR border for the test drive, funny thing is I had to have my older brother do the test drive as I didn't have experience driving a stick. It definitely wasn't perfect there was and exhaust leak, the tach only worked when the car revved over 3K, the radiator cap was cracked and leaked when warm, one of the bumper mounts was fubbard and the leather on the door cards was delaminating. But there were a couple plus's, he had redone the headliner, replaced the clutch master and slave cylinder and put in a new clutch, short shift kit, clear turn signals, 034 7A injector upgrade and a surprising lack of major electrical gremlins. I was sold, played around in the truck stops parking lot getting the hang of the clutch for awhile and then headed out on the open road. Only missed the intended gear a couple times.
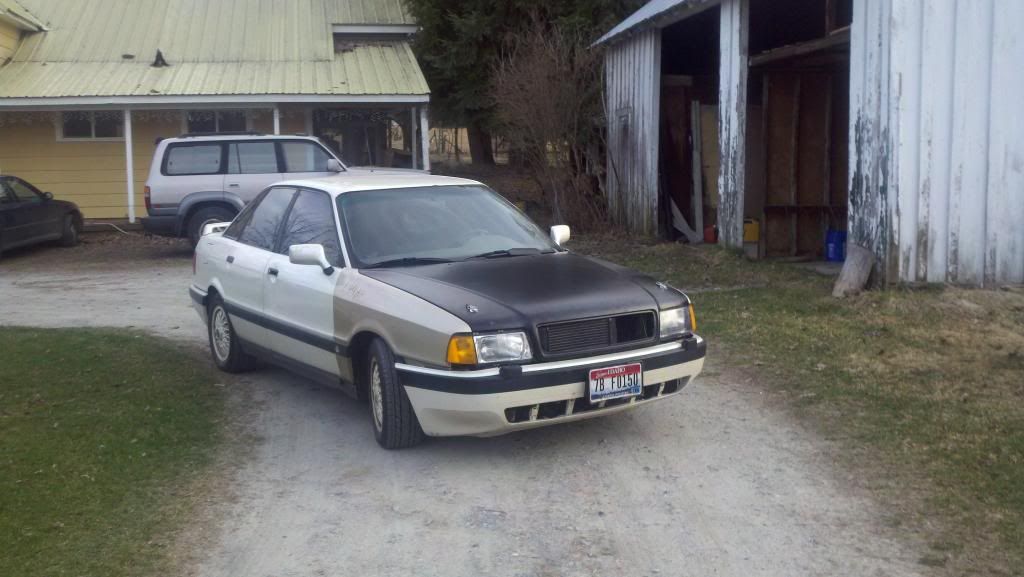
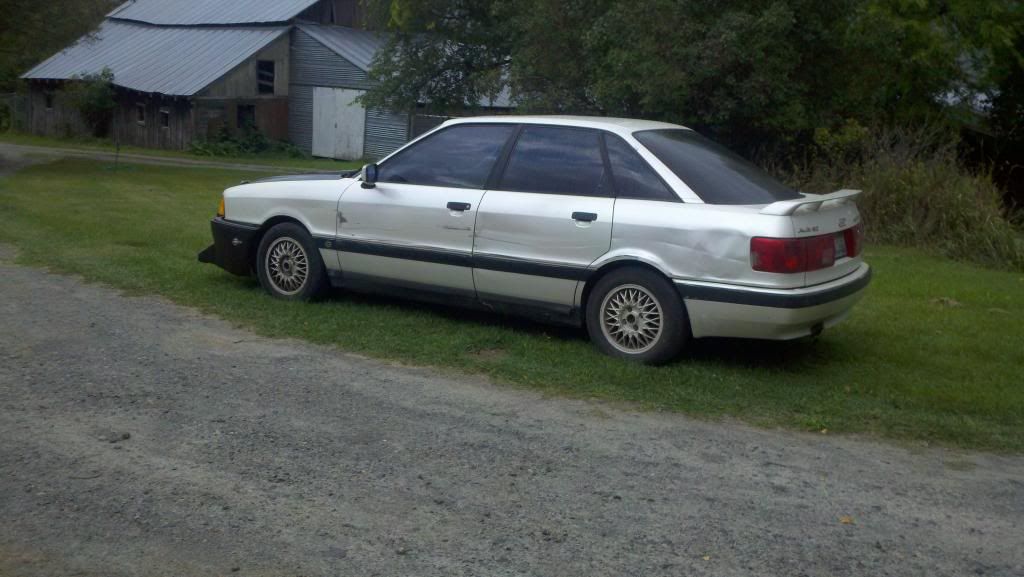
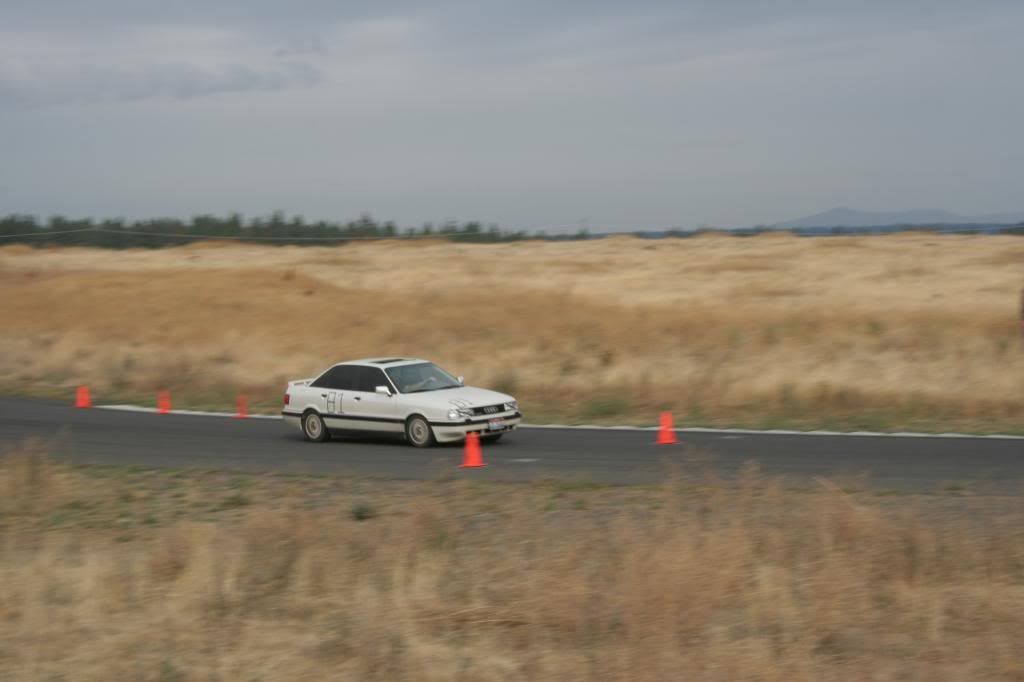
This the earliest pic I have at hand, this was at the local autoX about a year after I bought it..... it stayed stock for a while.
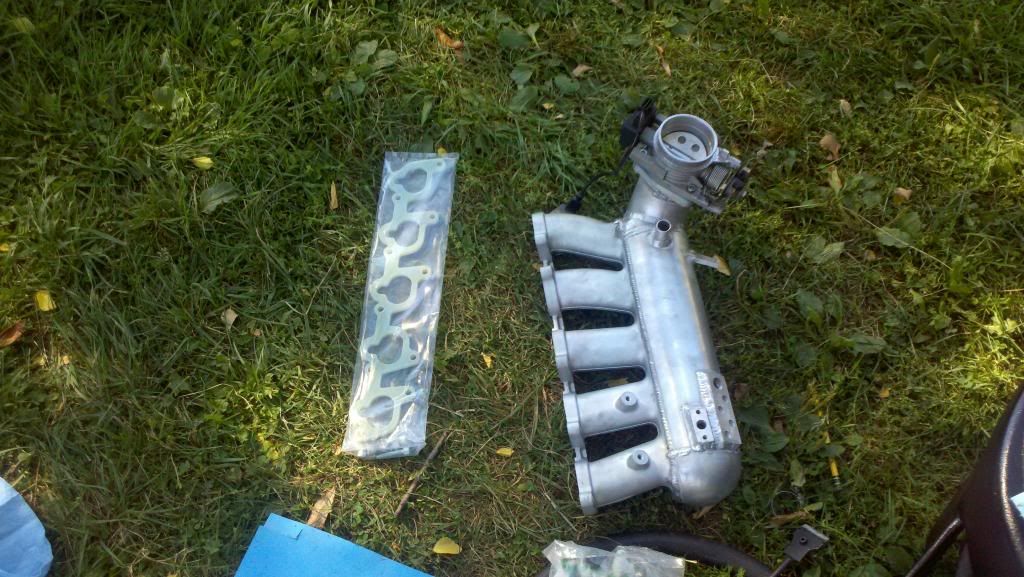
After a while I had noticed that it was blowing some blue smoke on cold starts and when taking off from stoplights, so I decided a valve seal job was in order. Only I wanted to try and do it cheap, i.e. with the head still on the block. All I'll see is NEVER AGAIN, the whole procedure turned into a nightmare, I didn't drop any valves or anything but I ended up scratching the section of the head where the cam rides. So I ended up doing an entire head job and timing belt while I was in there. This is where the scope creep really began. Curious about how a short intake manifold would act on a N/A car I bought a 3B intake manifold and decided to pair it with a bag o snakes header which I had also purchased not to long ago. It had always seemed like the 7A ran out of juice above 6500rpm so I wanted to see if I could get that last 700rpm to feel a bit more lively.
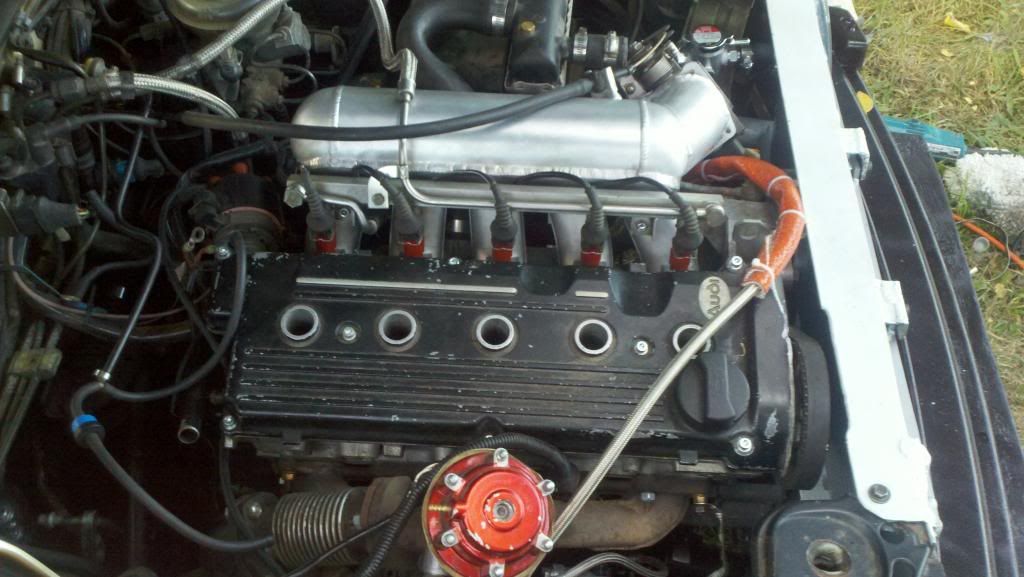
This was the basic setup.
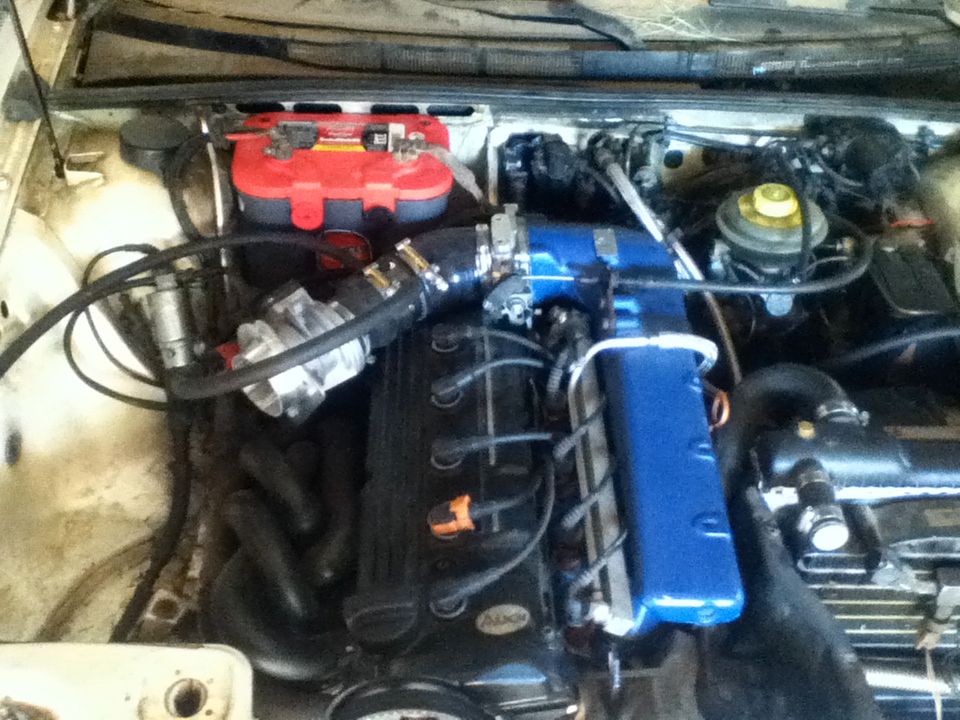
At this time I also got 034's rip chip for the 7A ecu, so I was able to run the large V6 maf. Overall while it was an interesting experiment I can't say the results were overly impressive. Though I was never able to actually dyno it, the butt dyno felt like there was a slight loss of oomph down low and maybe a very slight gain on the topend. though it was hard to tell cause I never ran the small maf with the short intake setup. I will say it sounded 100x better, still miss the sound of those headers, was like a four door super car.
Then 3 months after getting it back together, this happened........
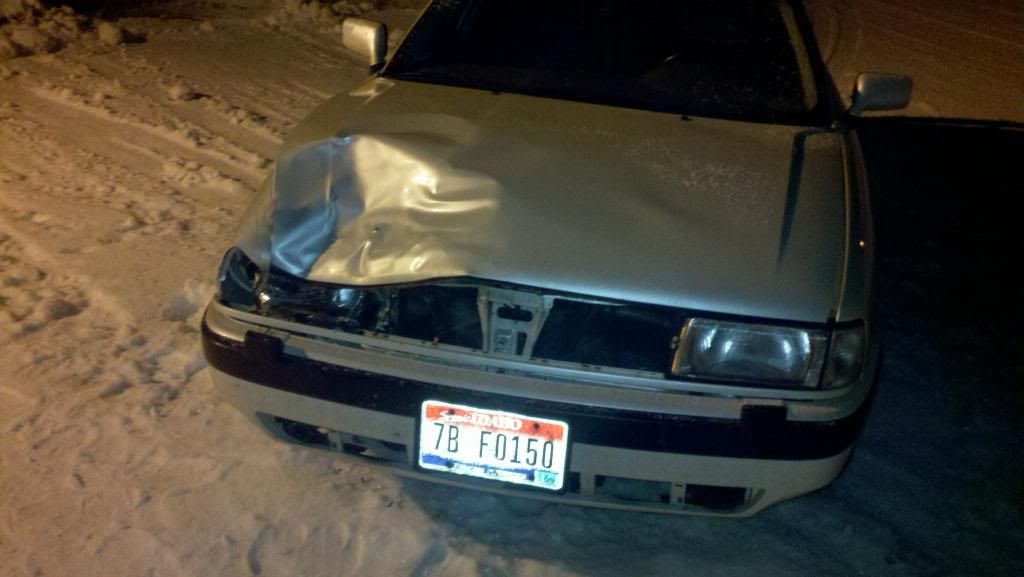
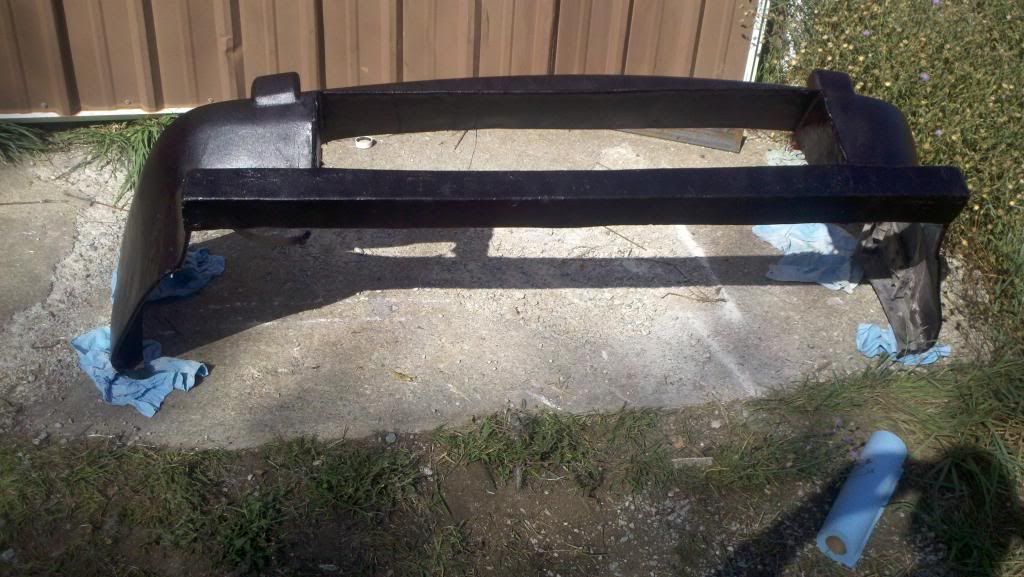
Deer jumped out from the opposite side of the road, couldn't see it through the other cars headlights before it was too late. Clipped it going about 65 on my way to work at 5:30 in the morning...... Needless to say I was not happy.
Then I saw this..
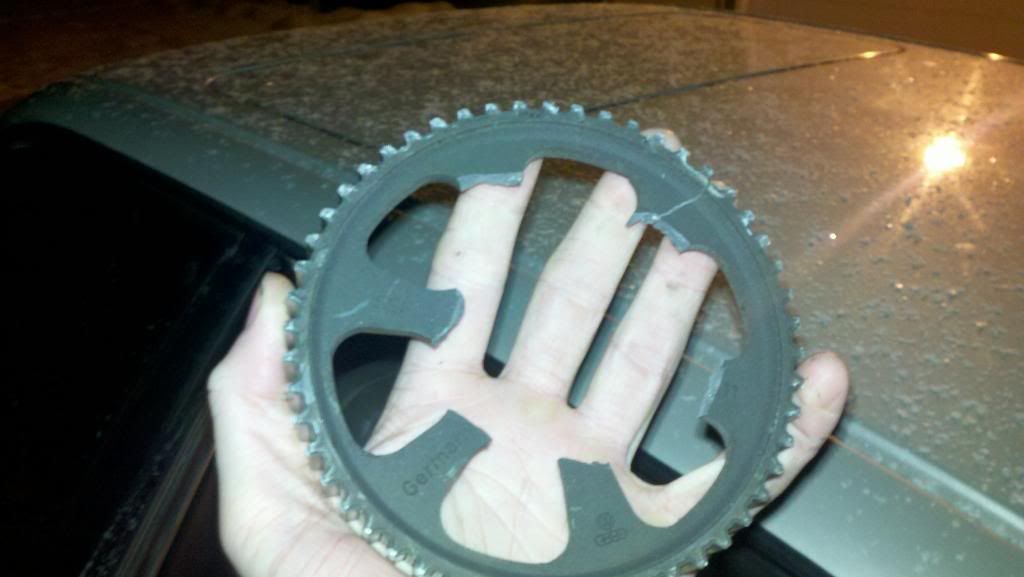
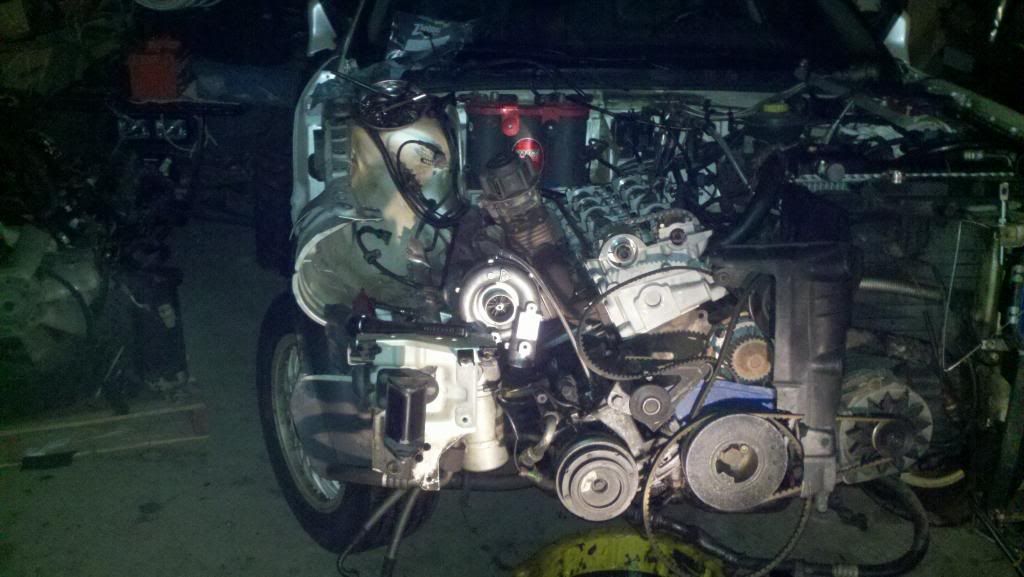
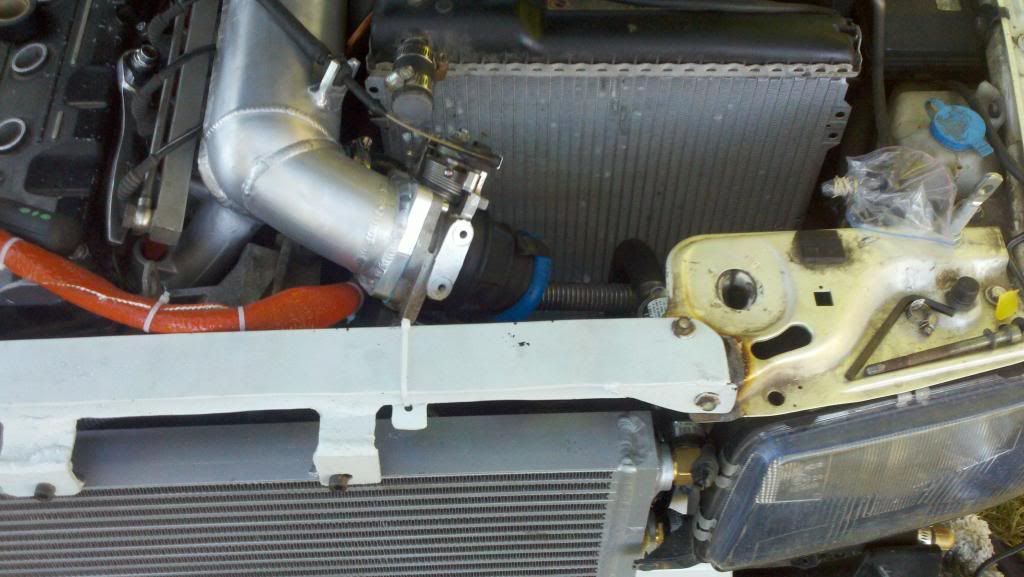
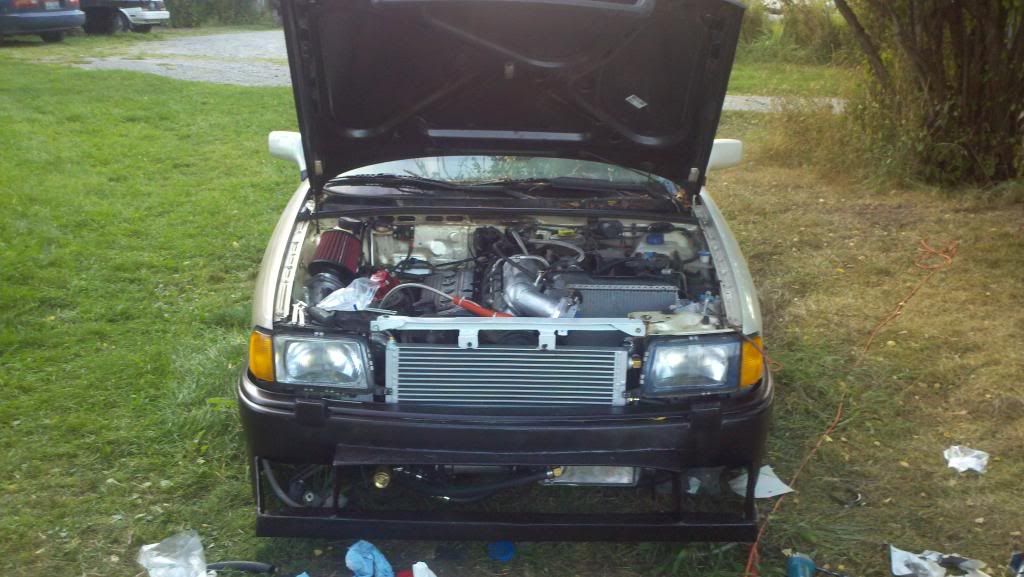
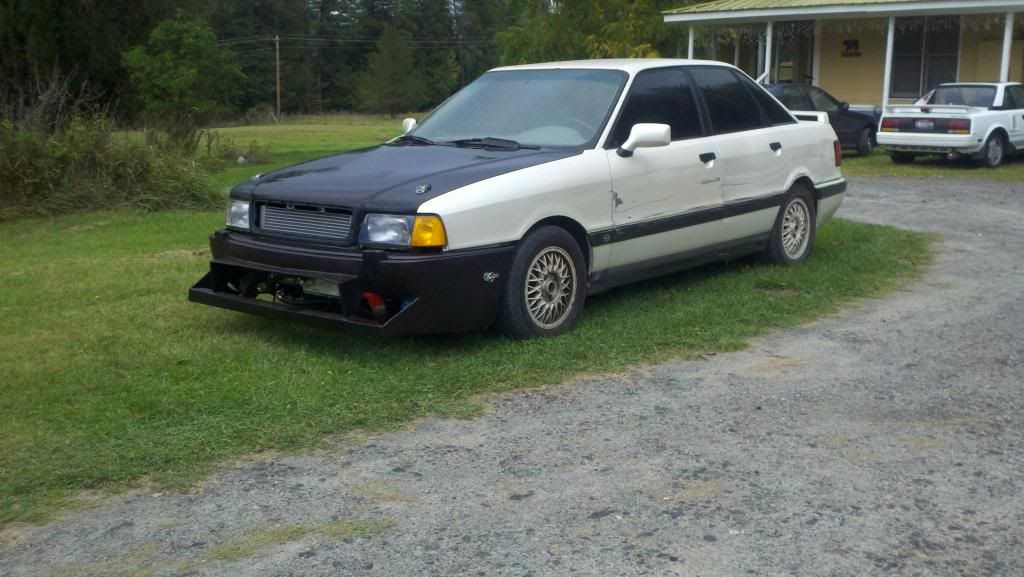
completely sheared the timing pulley off the cam, fortunately it only bent two intake valves. So, back to the drawing board. I was seriously considering parting the car out at this point and buying new. But I just couldn't do it. So the second wave of scope creep began...... Turbo time!
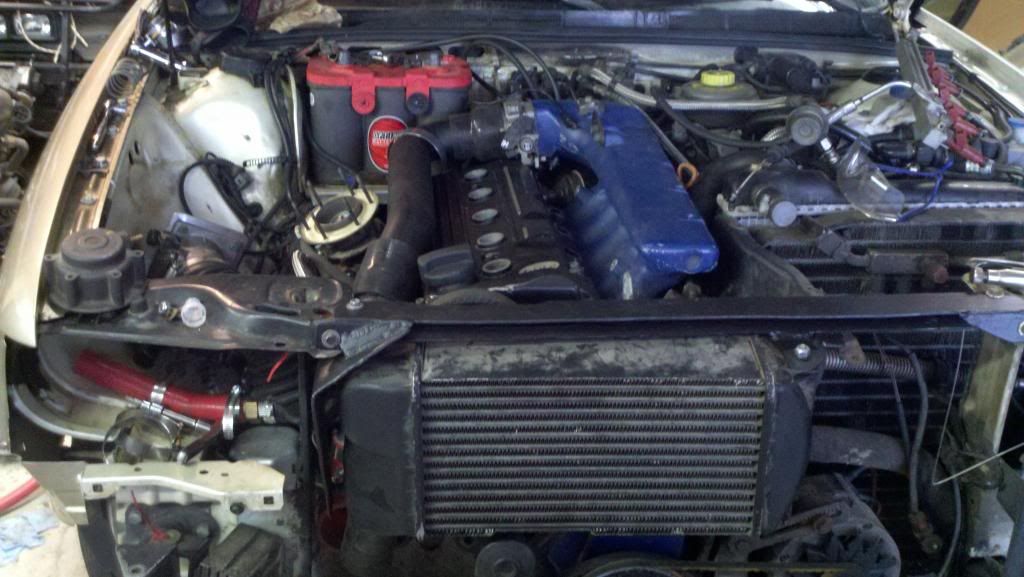
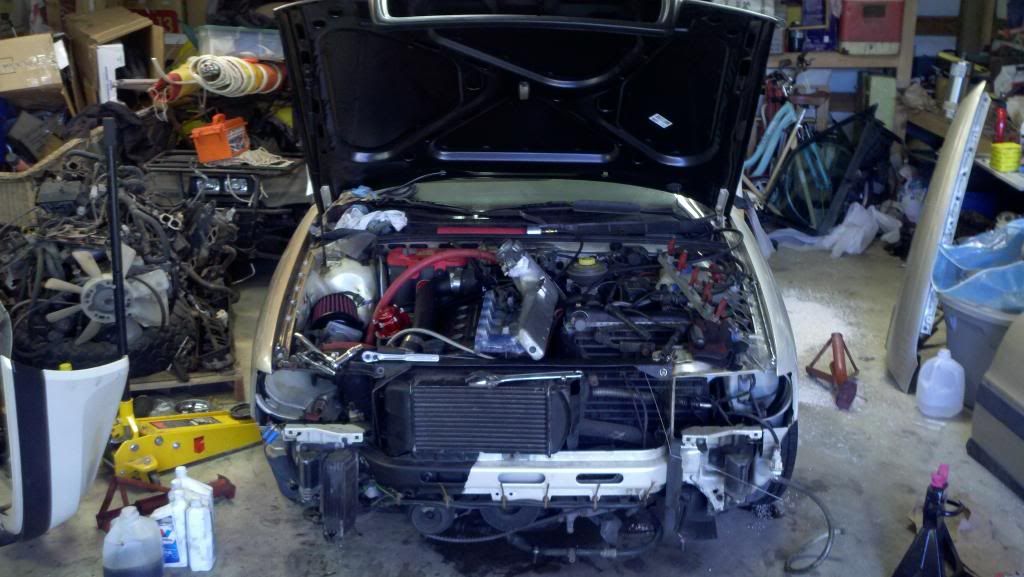
I was able to find most everything I needed for pretty cheap off MG and audifans and since i had the 3B intake manifold I was a little ahead of the game. At this time since I had to get a valve job done anyways I decided to have everything from my 7A head transplanted over into a spare 3B I had laying around which meant more coolant ports yay! Of course I didn't realize at the time what a pita it can be to get a 3B water manifold in the states, so in the end I ordered one from a guy in Romania. Go S2 forum! unfortunately while I was putting it on the first time I snapped the main part of the manifold due to the o-rings not seating correctly. So off the welders it went, cost me an arm and a leg to get it fixed, and when it went back on I decided to forego the o-rings and slathered it up with a good helping of ultra black gasket maker. Will get some pics of stage 2.0 up tomorrow, getting late so I'm calling it a night. Thanks for reading.
I wanted to start a new project thread for my 90Q... er.... what use to be a 90Q that is. I had a thread over on mg, but it felt like it was starting to wander so just wanted to restart and concentrate my thread a bit.
Bought the car about five years ago now, I was sixteen at the time and it was my first car. At the time I didn't really know a ton about the B3's, just that they had AWD and the legendary audi 5 pot powering them and that they were way cooler than the all to common Imprezas and outbacks that seem to overun our North Idaho roads. So after much searching on CG and autotrader I found a pearl white 91 90Q in portland for sale by and enthusiast(Seems like he was on QW allot, but still haven't seen him around any of the other forums). Drove down to the Bigs junction on the WA/OR border for the test drive, funny thing is I had to have my older brother do the test drive as I didn't have experience driving a stick.
This the earliest pic I have at hand, this was at the local autoX about a year after I bought it..... it stayed stock for a while.
After a while I had noticed that it was blowing some blue smoke on cold starts and when taking off from stoplights, so I decided a valve seal job was in order. Only I wanted to try and do it cheap, i.e. with the head still on the block. All I'll see is NEVER AGAIN, the whole procedure turned into a nightmare, I didn't drop any valves or anything but I ended up scratching the section of the head where the cam rides. So I ended up doing an entire head job and timing belt while I was in there. This is where the scope creep really began. Curious about how a short intake manifold would act on a N/A car I bought a 3B intake manifold and decided to pair it with a bag o snakes header which I had also purchased not to long ago. It had always seemed like the 7A ran out of juice above 6500rpm so I wanted to see if I could get that last 700rpm to feel a bit more lively.
This was the basic setup.
At this time I also got 034's rip chip for the 7A ecu, so I was able to run the large V6 maf. Overall while it was an interesting experiment I can't say the results were overly impressive. Though I was never able to actually dyno it, the butt dyno felt like there was a slight loss of oomph down low and maybe a very slight gain on the topend. though it was hard to tell cause I never ran the small maf with the short intake setup. I will say it sounded 100x better, still miss the sound of those headers, was like a four door super car.
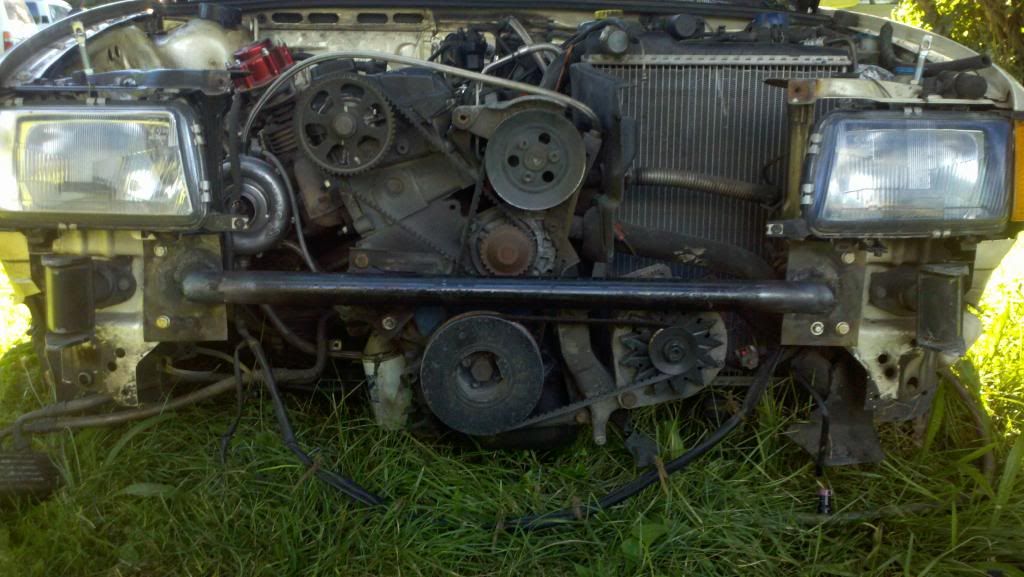
Then 3 months after getting it back together, this happened........
Deer jumped out from the opposite side of the road, couldn't see it through the other cars headlights before it was too late. Clipped it going about 65 on my way to work at 5:30 in the morning...... Needless to say I was not happy.
Then I saw this..
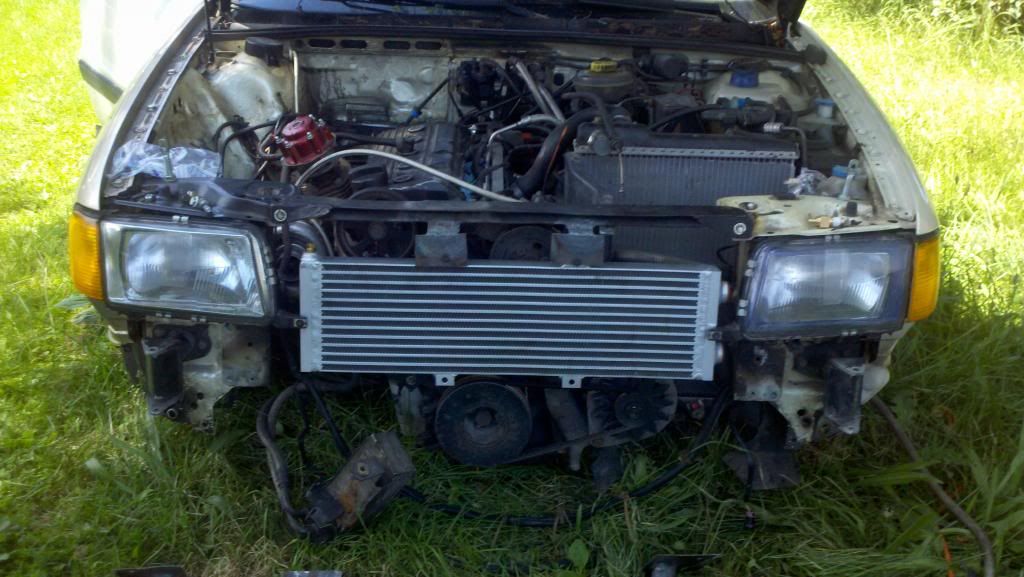
completely sheared the timing pulley off the cam, fortunately it only bent two intake valves. So, back to the drawing board. I was seriously considering parting the car out at this point and buying new. But I just couldn't do it. So the second wave of scope creep began...... Turbo time!
I was able to find most everything I needed for pretty cheap off MG and audifans and since i had the 3B intake manifold I was a little ahead of the game. At this time since I had to get a valve job done anyways I decided to have everything from my 7A head transplanted over into a spare 3B I had laying around which meant more coolant ports yay! Of course I didn't realize at the time what a pita it can be to get a 3B water manifold in the states, so in the end I ordered one from a guy in Romania. Go S2 forum! unfortunately while I was putting it on the first time I snapped the main part of the manifold due to the o-rings not seating correctly.