Page 11 of 17
Re: 24vVR6T CQ Project: EATSGTR, chassis FAB
Posted: Thu Sep 19, 2013 1:20 pm
by my2000apb
WOMBAT wrote:and you think you're only $10k away.... BWAHAHAHAHAHA!
(revisit this next year)
yeah I am, no paint no cage
Re: 24vVR6T CQ Project: EATSGTR, chassis FAB
Posted: Thu Sep 19, 2013 1:30 pm
by WOMBAT
Well ok then
Re: 24vVR6T CQ Project: EATSGTR, chassis FAB
Posted: Thu Sep 19, 2013 4:15 pm
by my2000apb
well lets just make it 20k then
Re: 24vVR6T CQ Project: EATSGTR, chassis FAB
Posted: Fri Sep 20, 2013 3:28 pm
by my2000apb
UPDATE!!!!
I got the DP relief area cut out and prepped for welding

- DP relief area to be filled.jpg (1.61 MiB) Viewed 39111 times
- DP relief area to be filled2.jpg (1.88 MiB) Viewed 39111 times
- dp relief ready for final prep.jpg (1.38 MiB) Viewed 39111 times
I put a pair of simples in the sheet to help strengthen it.
- DP relief dimpled.jpg (1.64 MiB) Viewed 39111 times
Here it is all prepped and ready for welding.
- DP relief ready to weld bayside.jpg (1.21 MiB) Viewed 39111 times
Re: 24vVR6T CQ Project: EATSGTR, chassis FAB
Posted: Fri Sep 20, 2013 3:41 pm
by my2000apb
Re: 24vVR6T CQ Project: EATSGTR, chassis FAB
Posted: Fri Sep 20, 2013 3:53 pm
by my2000apb
UPDATE!!
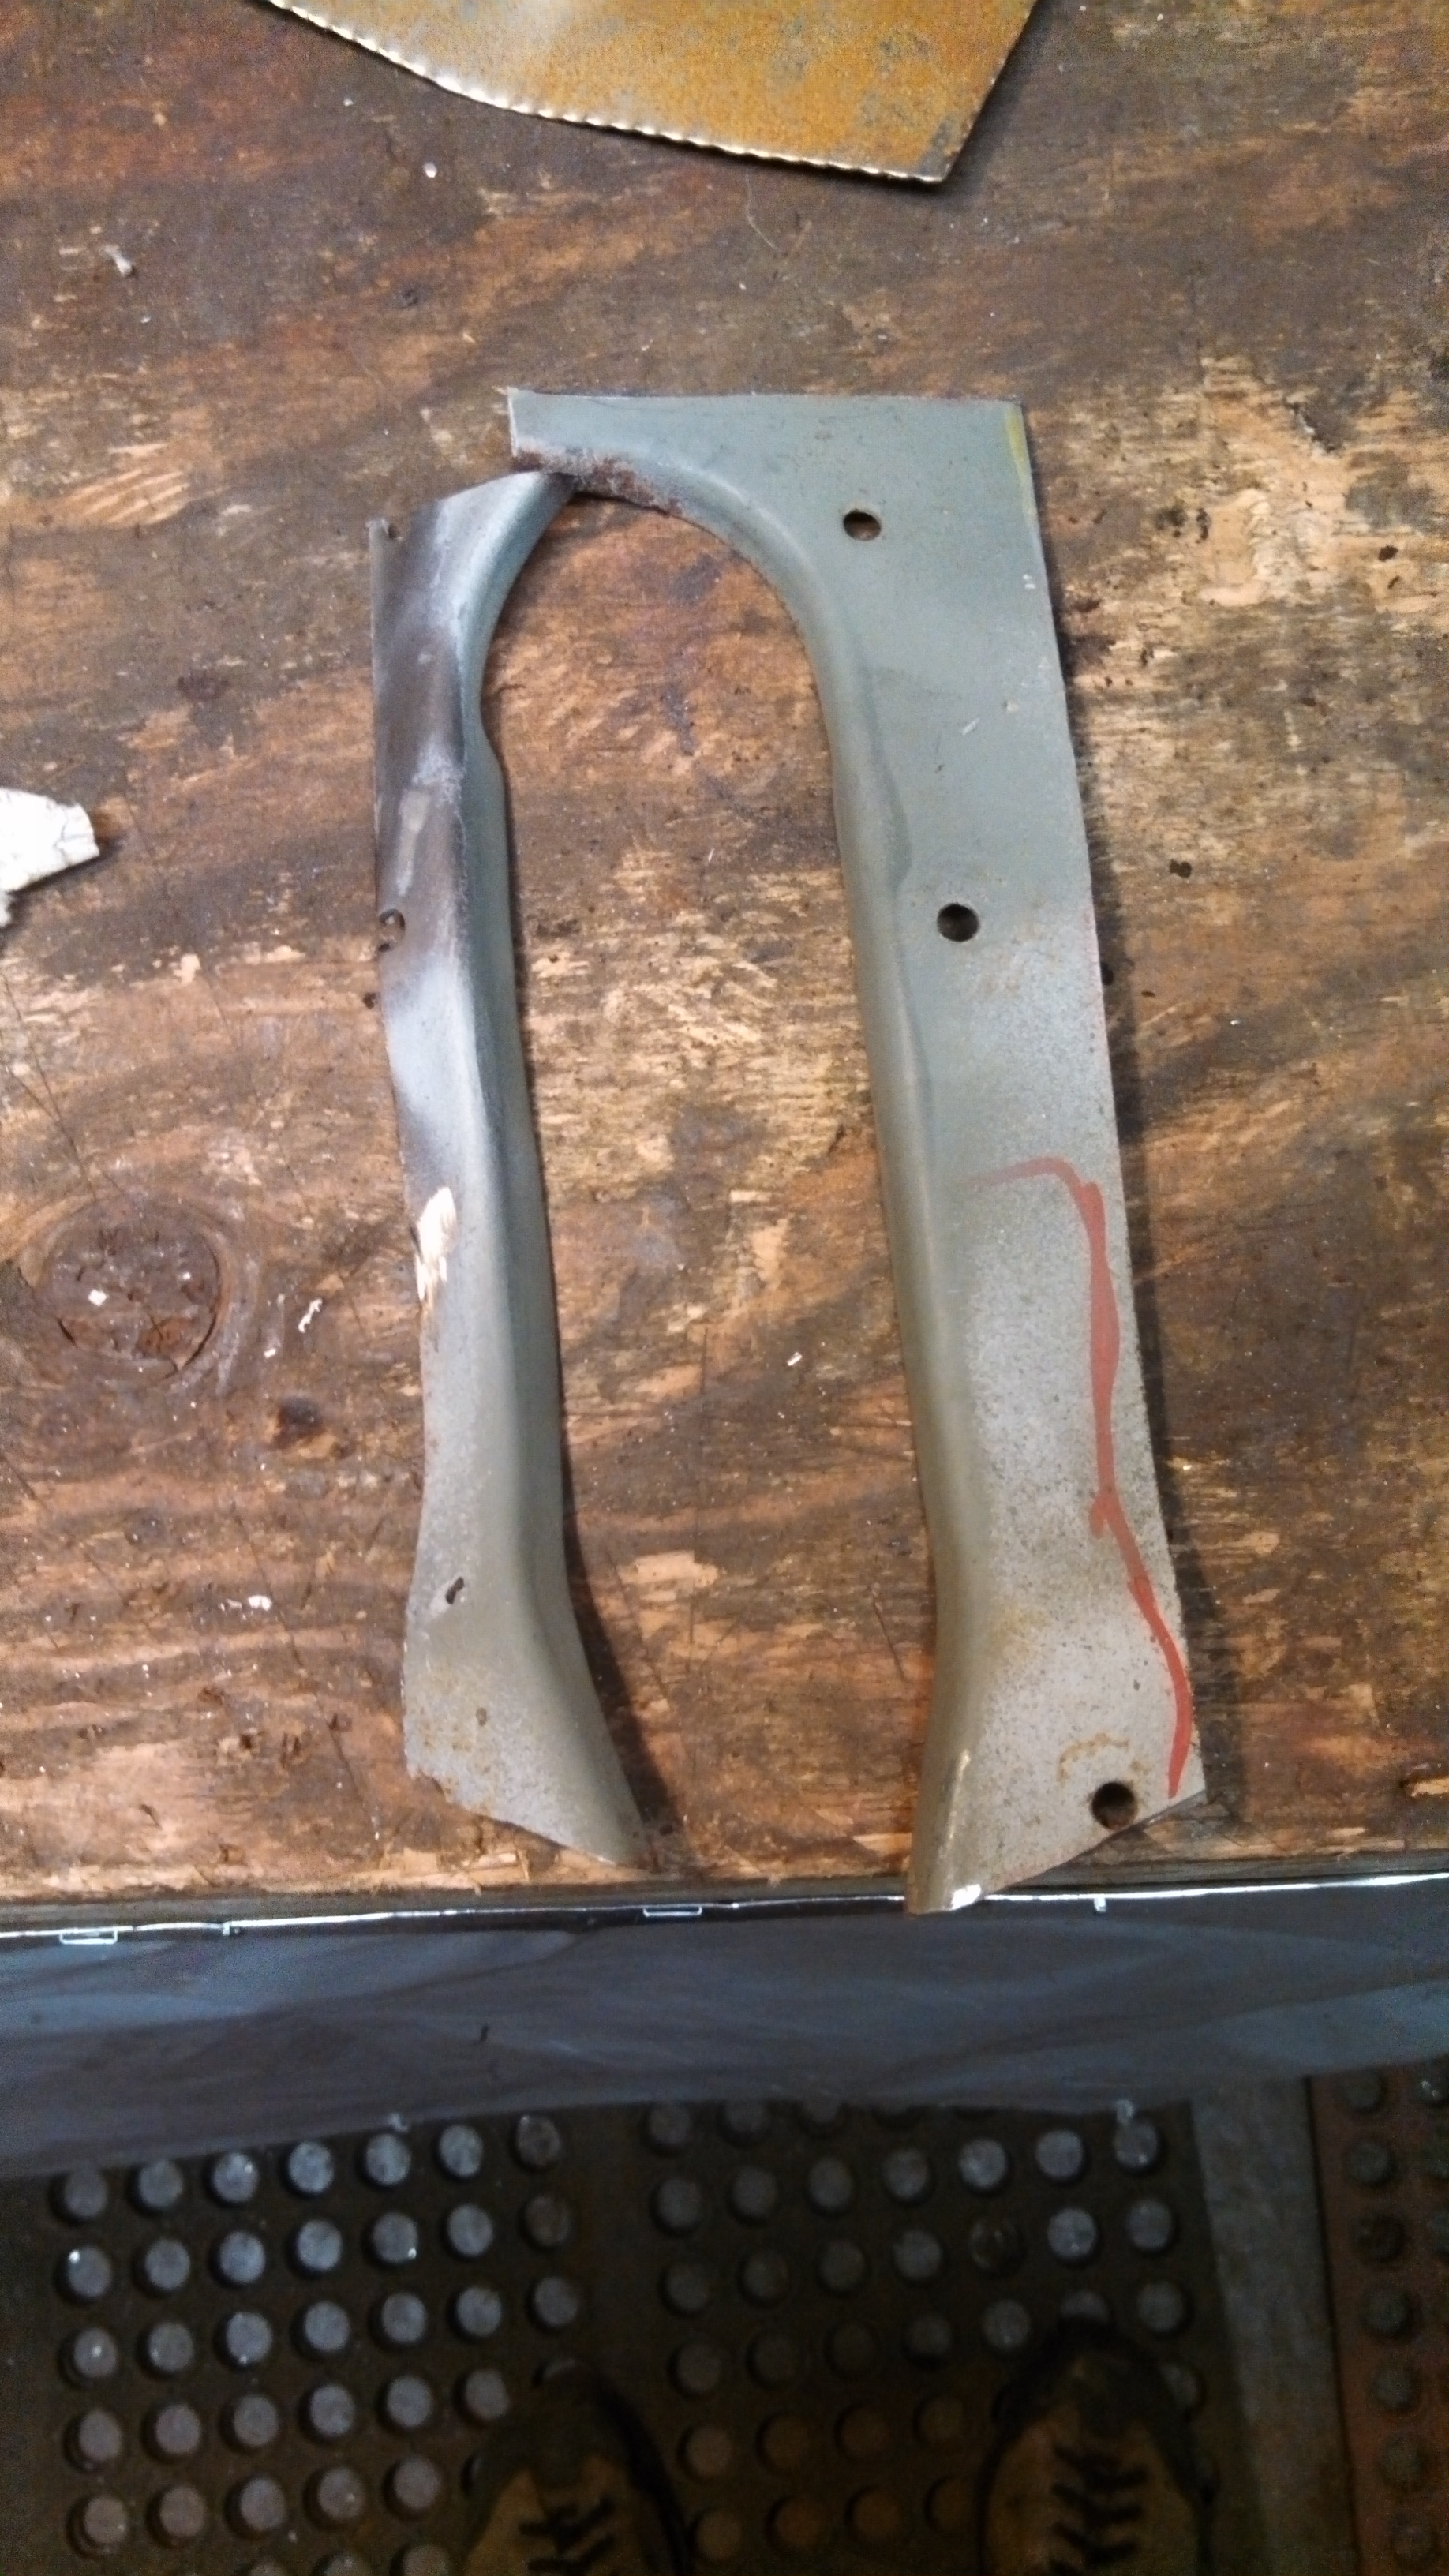
Since I’m running HT Motorsport steering arms on my uprights, the steering rods themselves have several different setup positions. In order to be able to utilize the full range of adjustment, I needed to open up my steering arm holes in the chassis, and move the rearward a bit.
Cutting them out.
- cutting out Drivers steering arm hole.jpg (1.24 MiB) Viewed 39111 times

- cutting out pass steering arm hole.jpg (1.39 MiB) Viewed 39111 times
Here they are, now in larger format ahah
- drivers side steering arm hole cutout.jpg (1.09 MiB) Viewed 39111 times

- pass side steering arm hole cutout.jpg (1.41 MiB) Viewed 39111 times
And here are the pieces that will get cleaned up, and welded back on a bit further rearward.
- steering arm holes surrounds cut out.jpg (1.77 MiB) Viewed 39111 times
Re: 24vVR6T CQ Project: EATSGTR, chassis FAB
Posted: Fri Sep 20, 2013 4:01 pm
by my2000apb
UPDATE!!
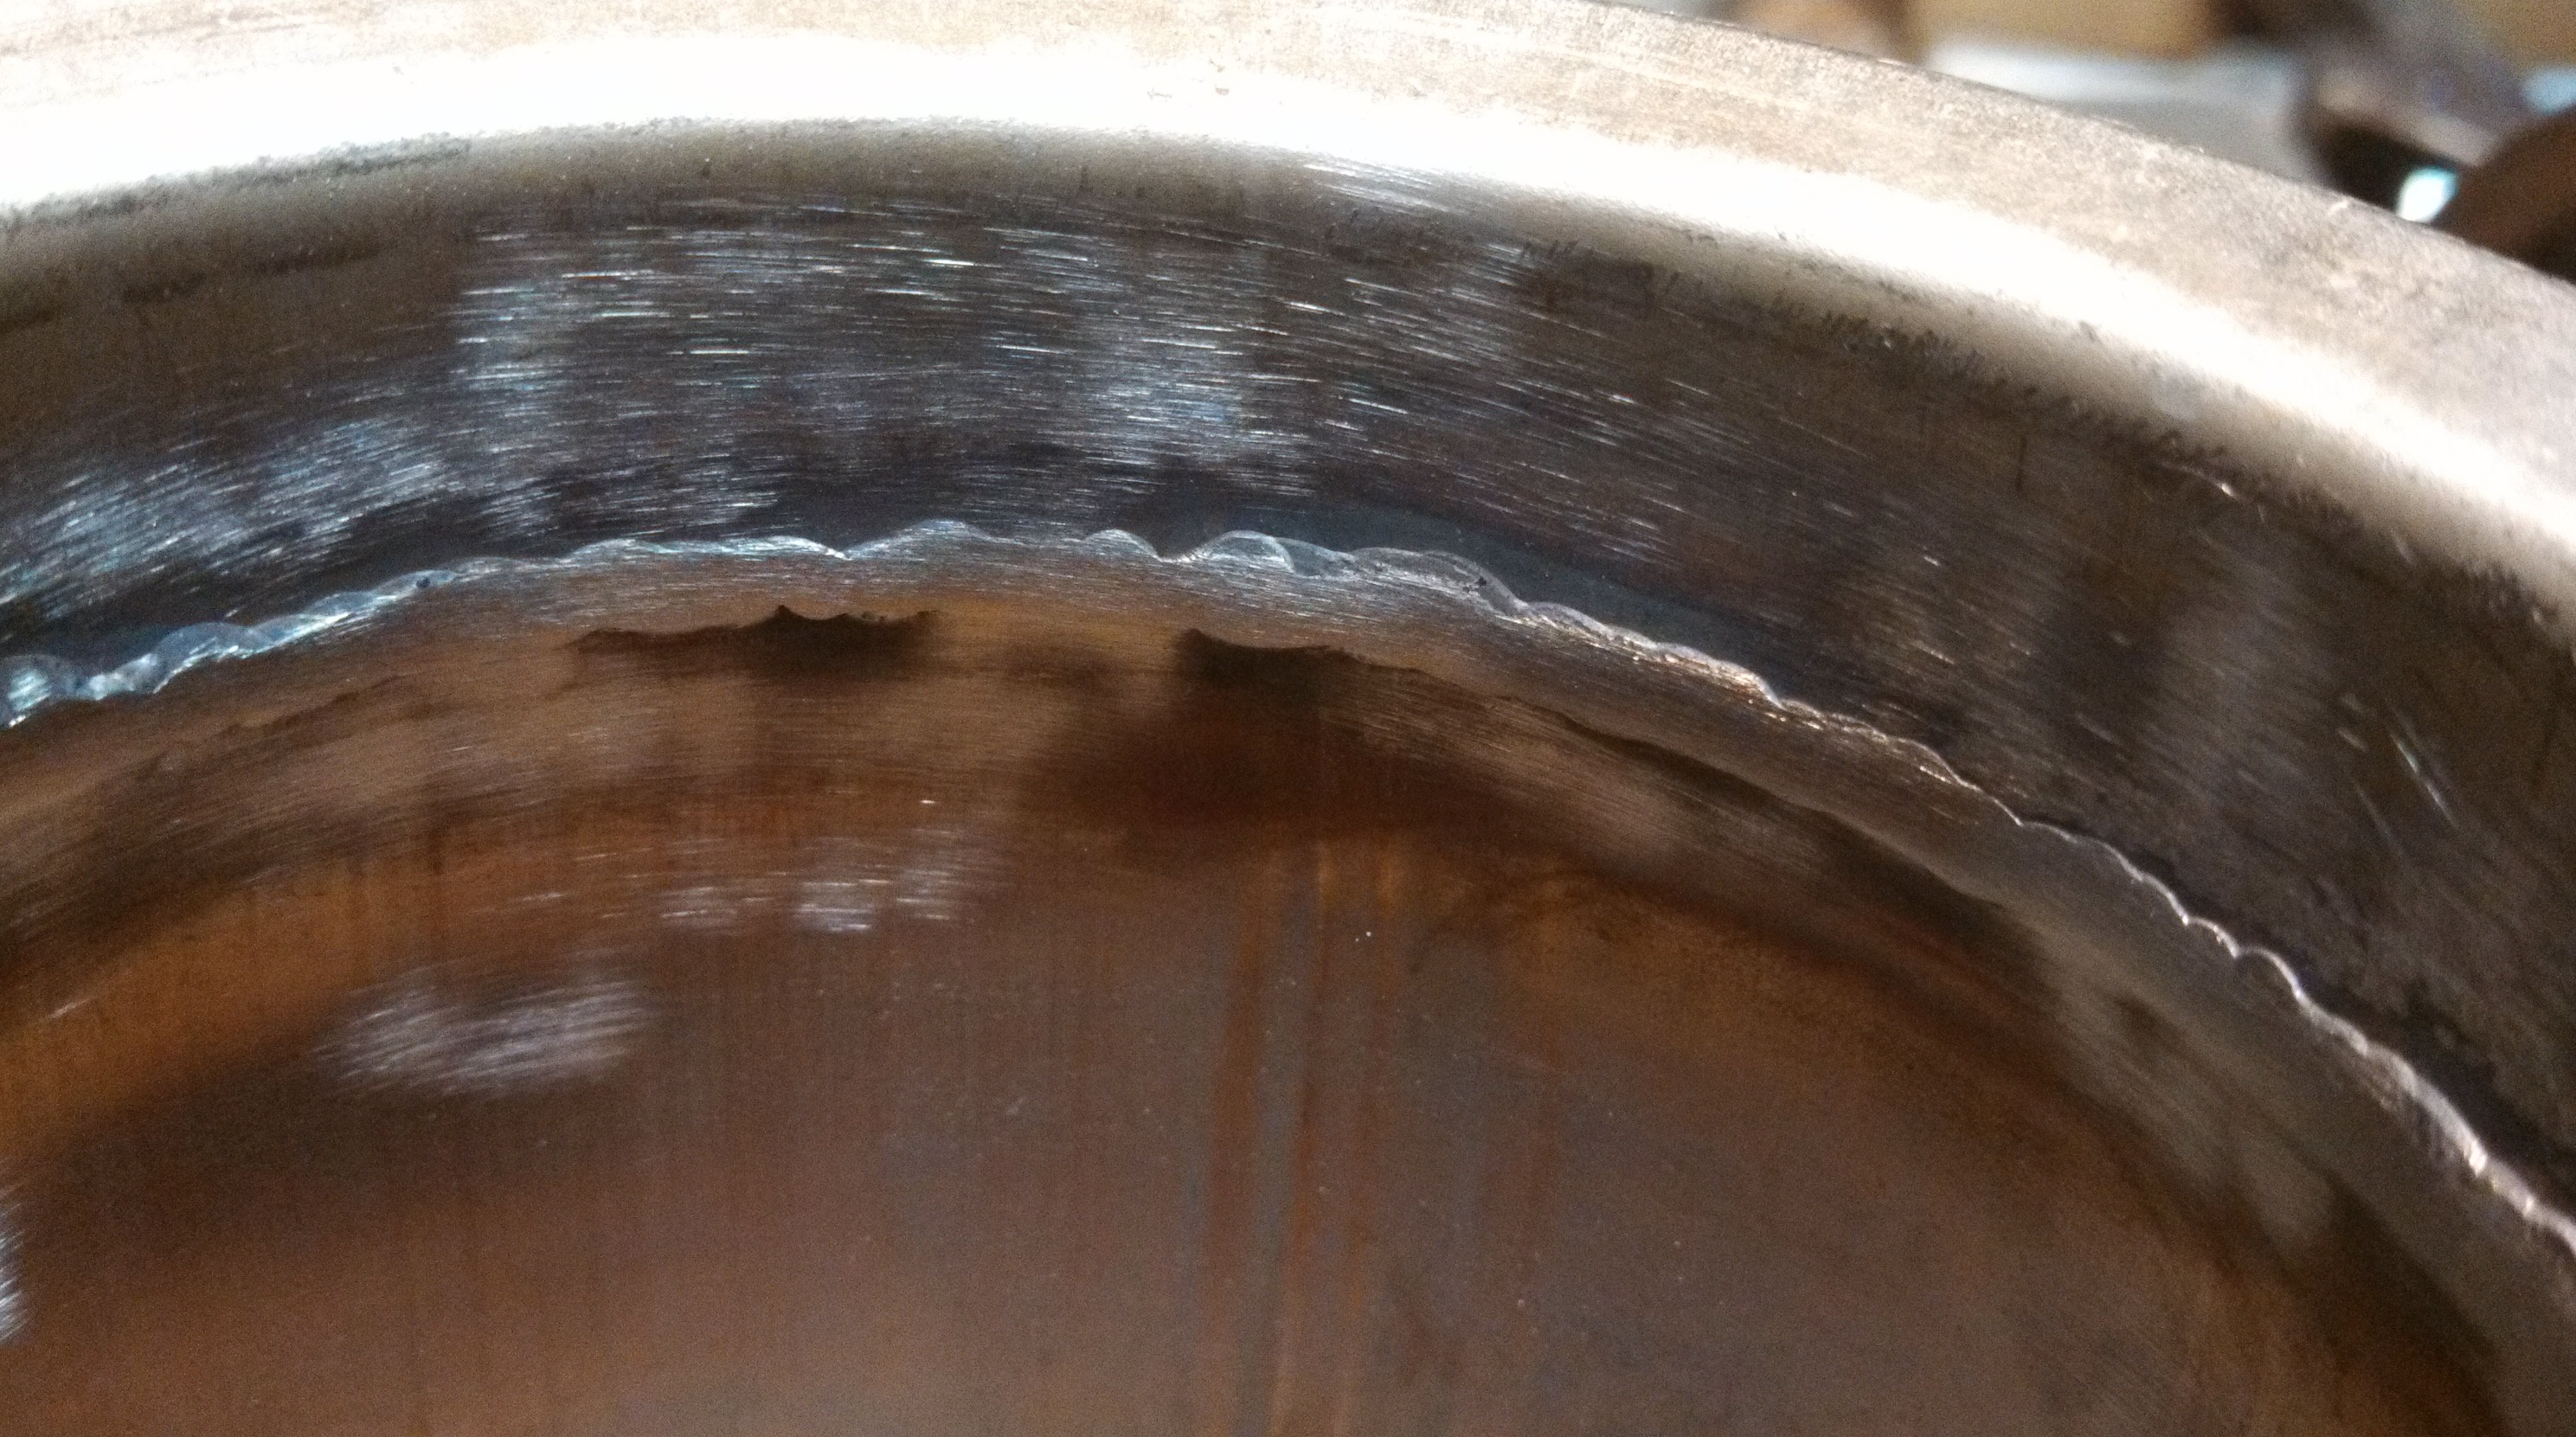
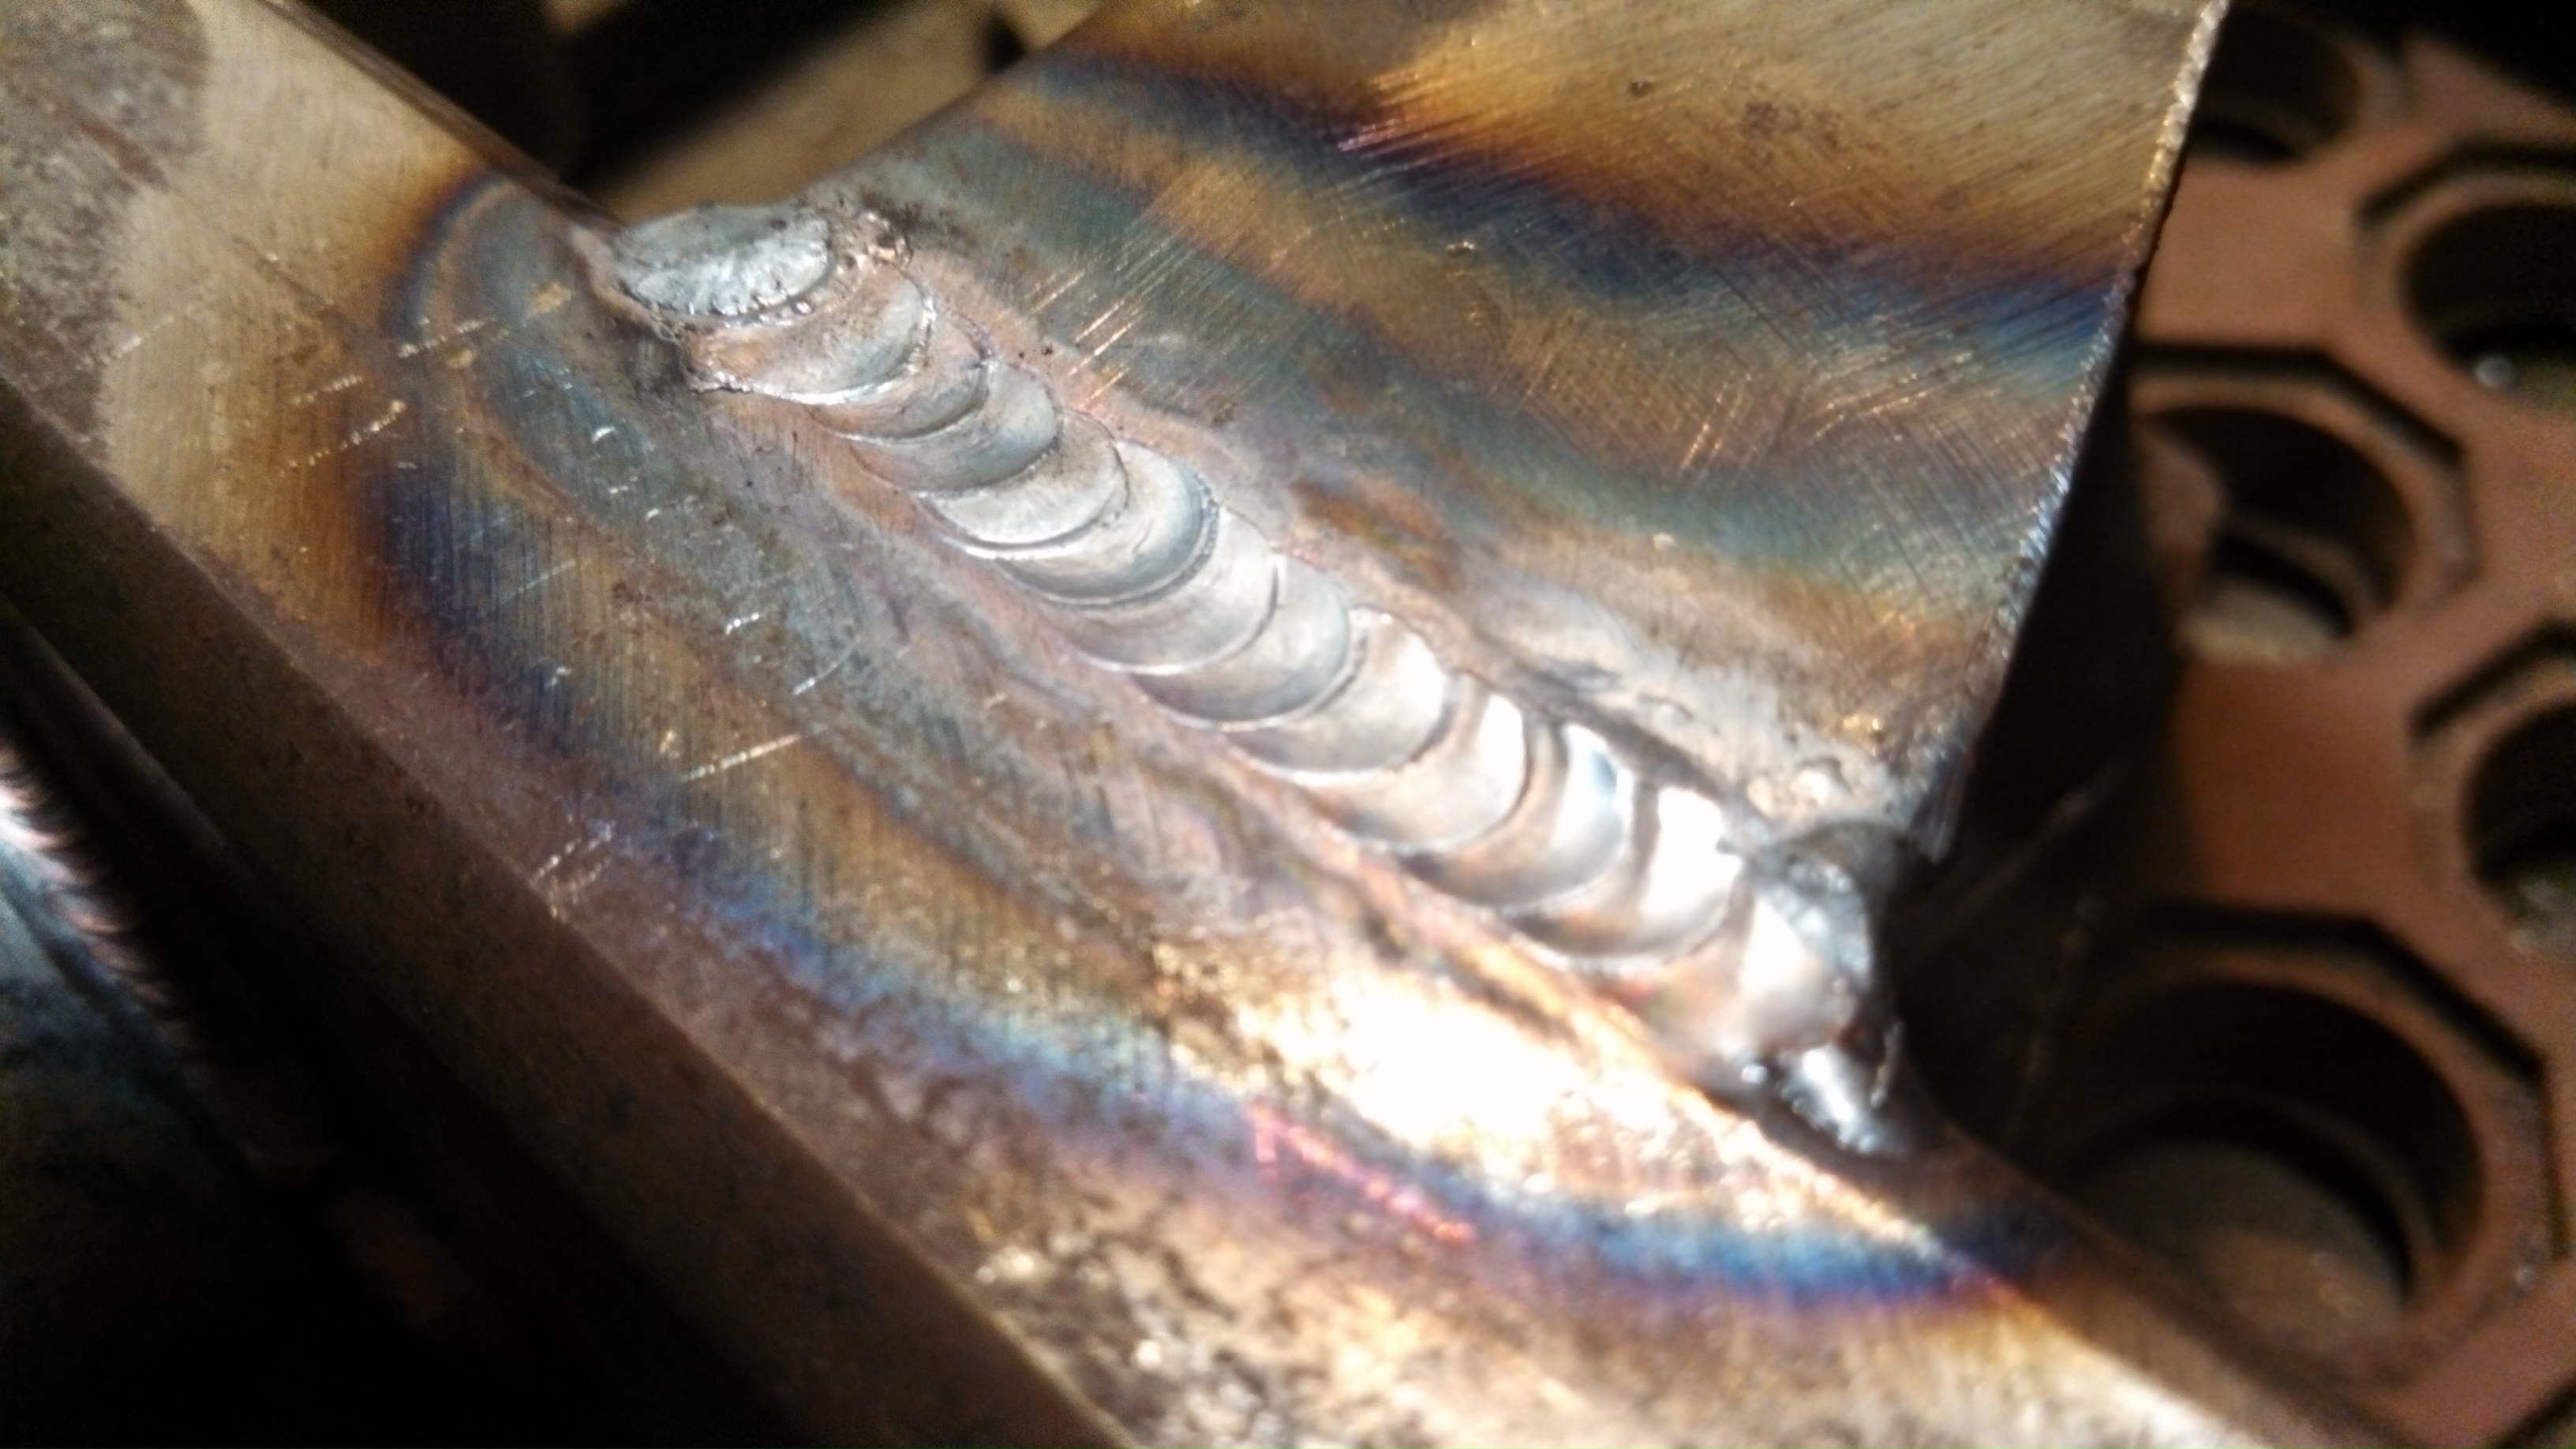
I had Ryan seam weld the inner and outer where the DP meets its v-band. I hit the inside with a carbide bit and then flappered it to clean it up a bit, all in the name of FLOW!!
- dp inner cleaned up.jpg (1.62 MiB) Viewed 39111 times
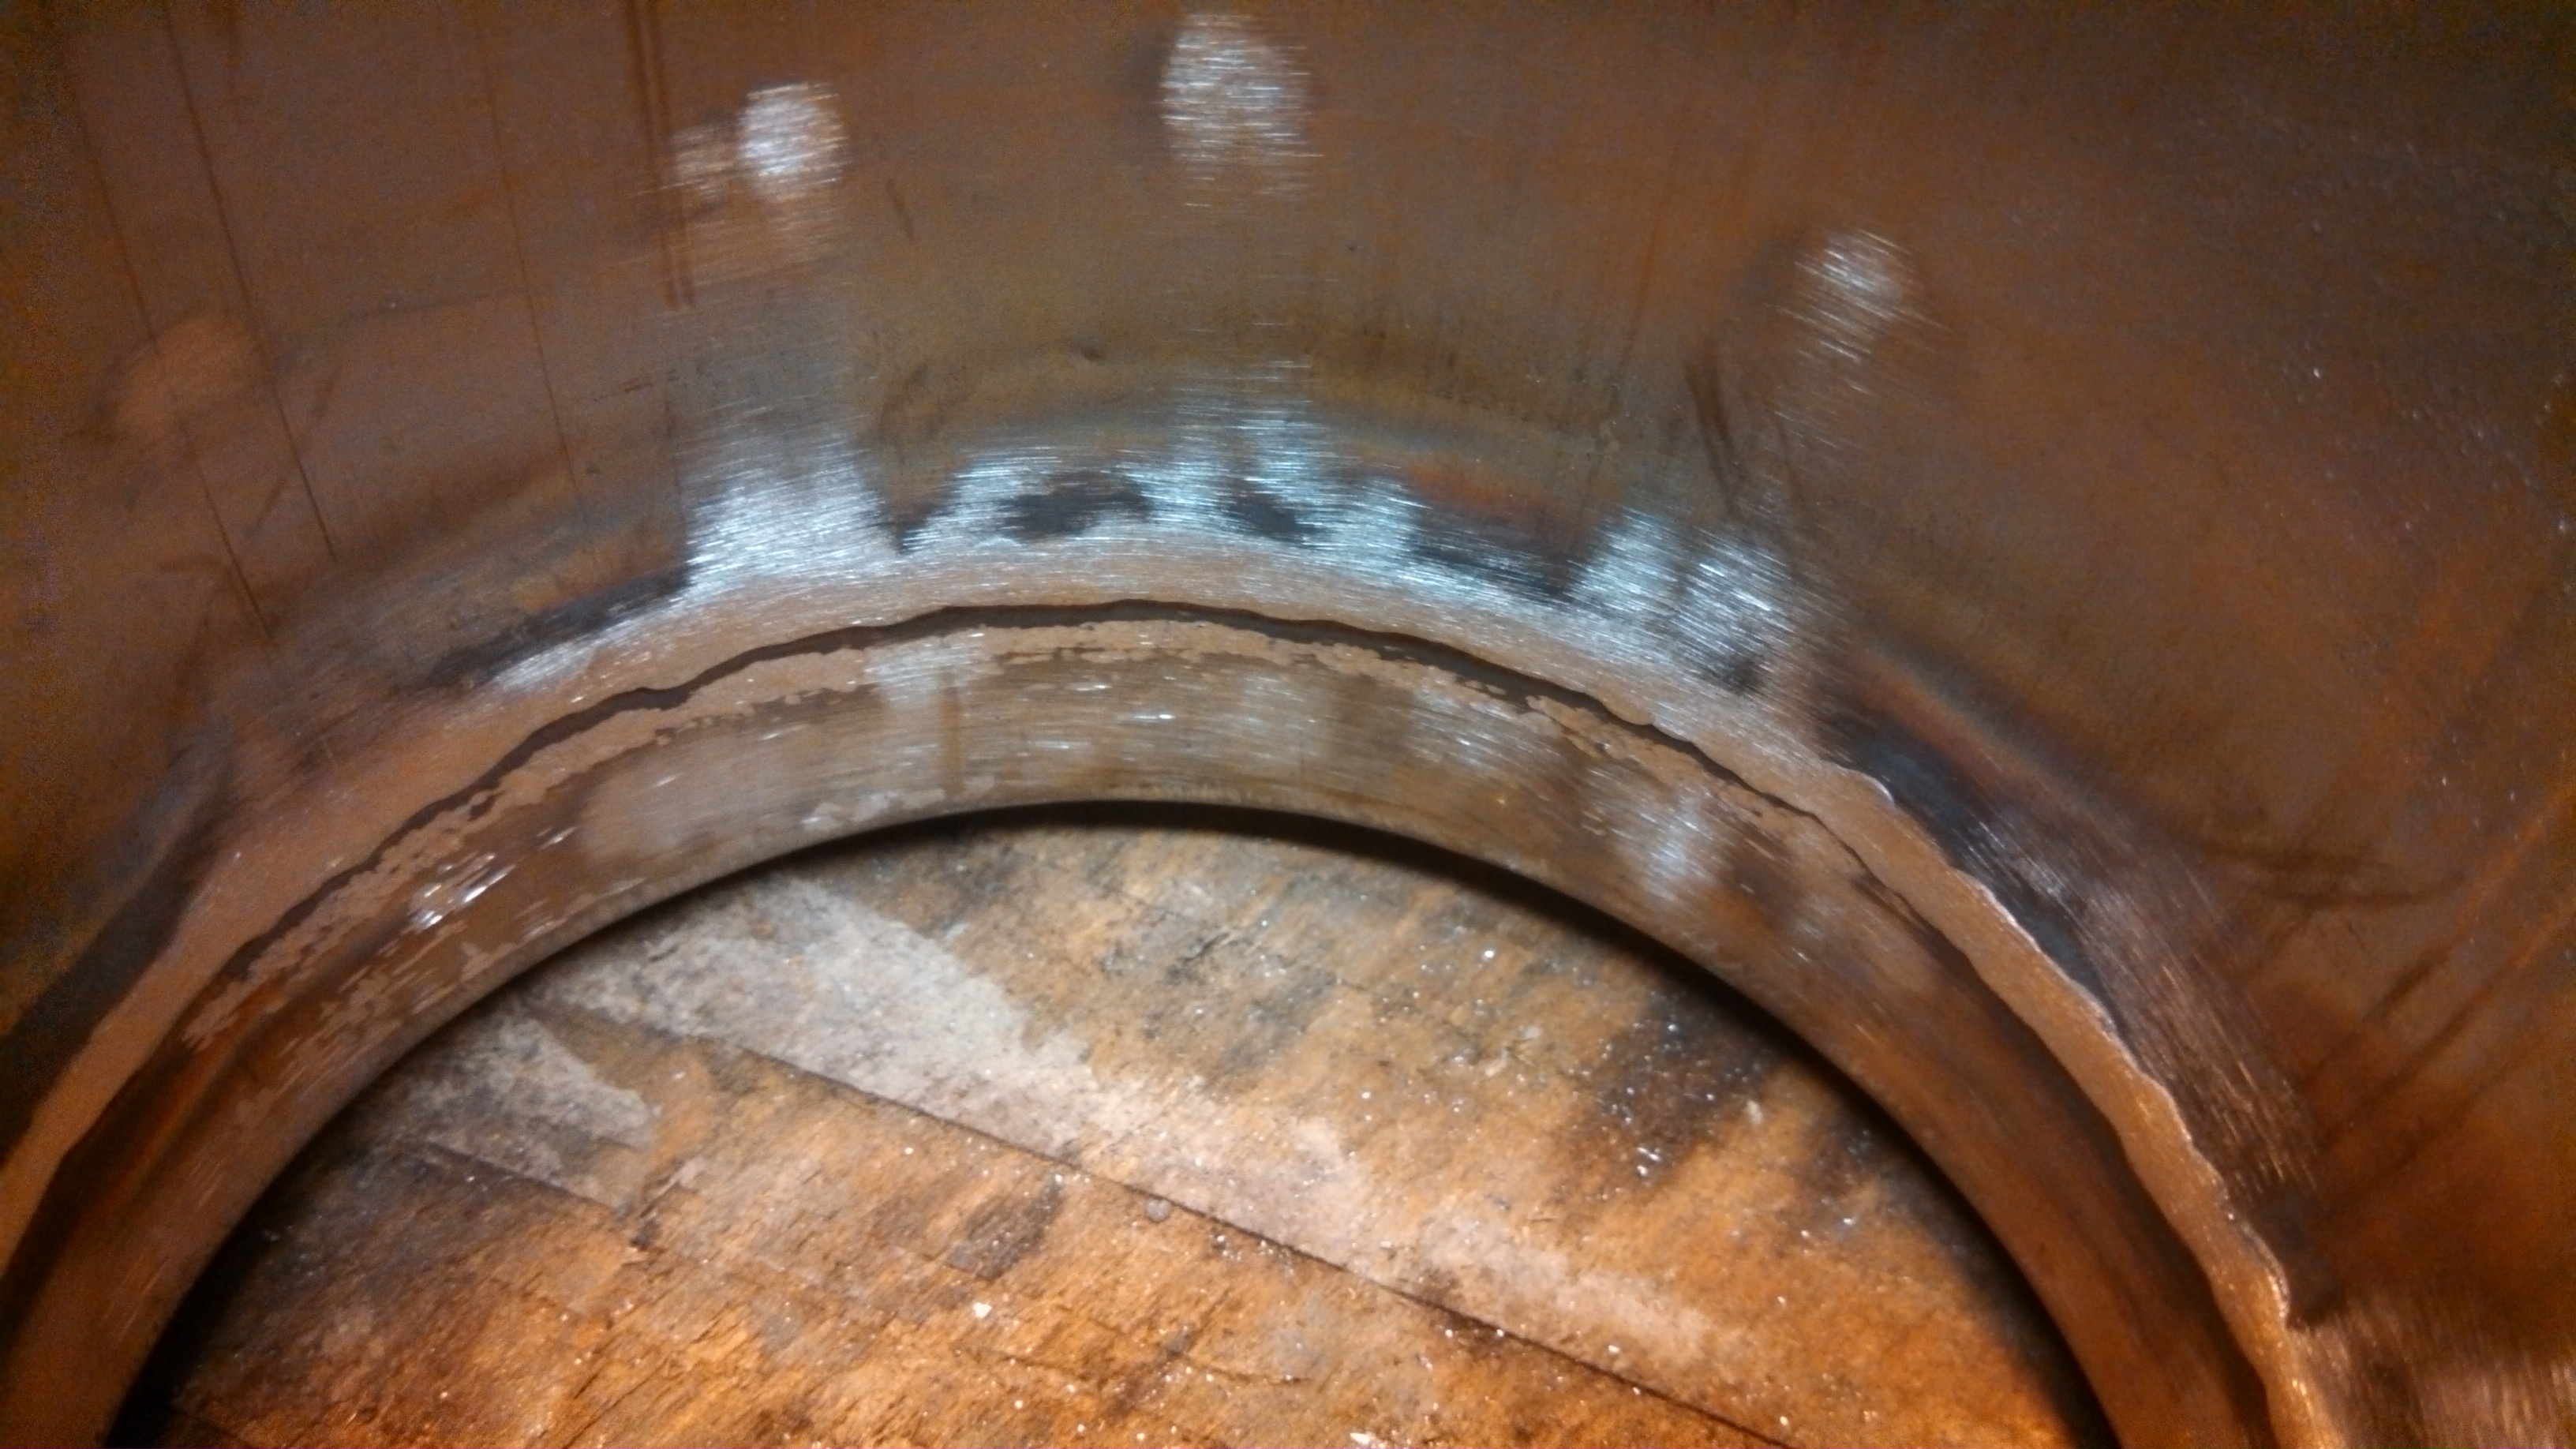
- dp inner cleaned up detail.jpg (1.58 MiB) Viewed 39111 times
I also removed all the casting marks and cleaned up the inside of the Holset hotside. It’s now all nice and shiny, needs a bit more polishing but its 95% there
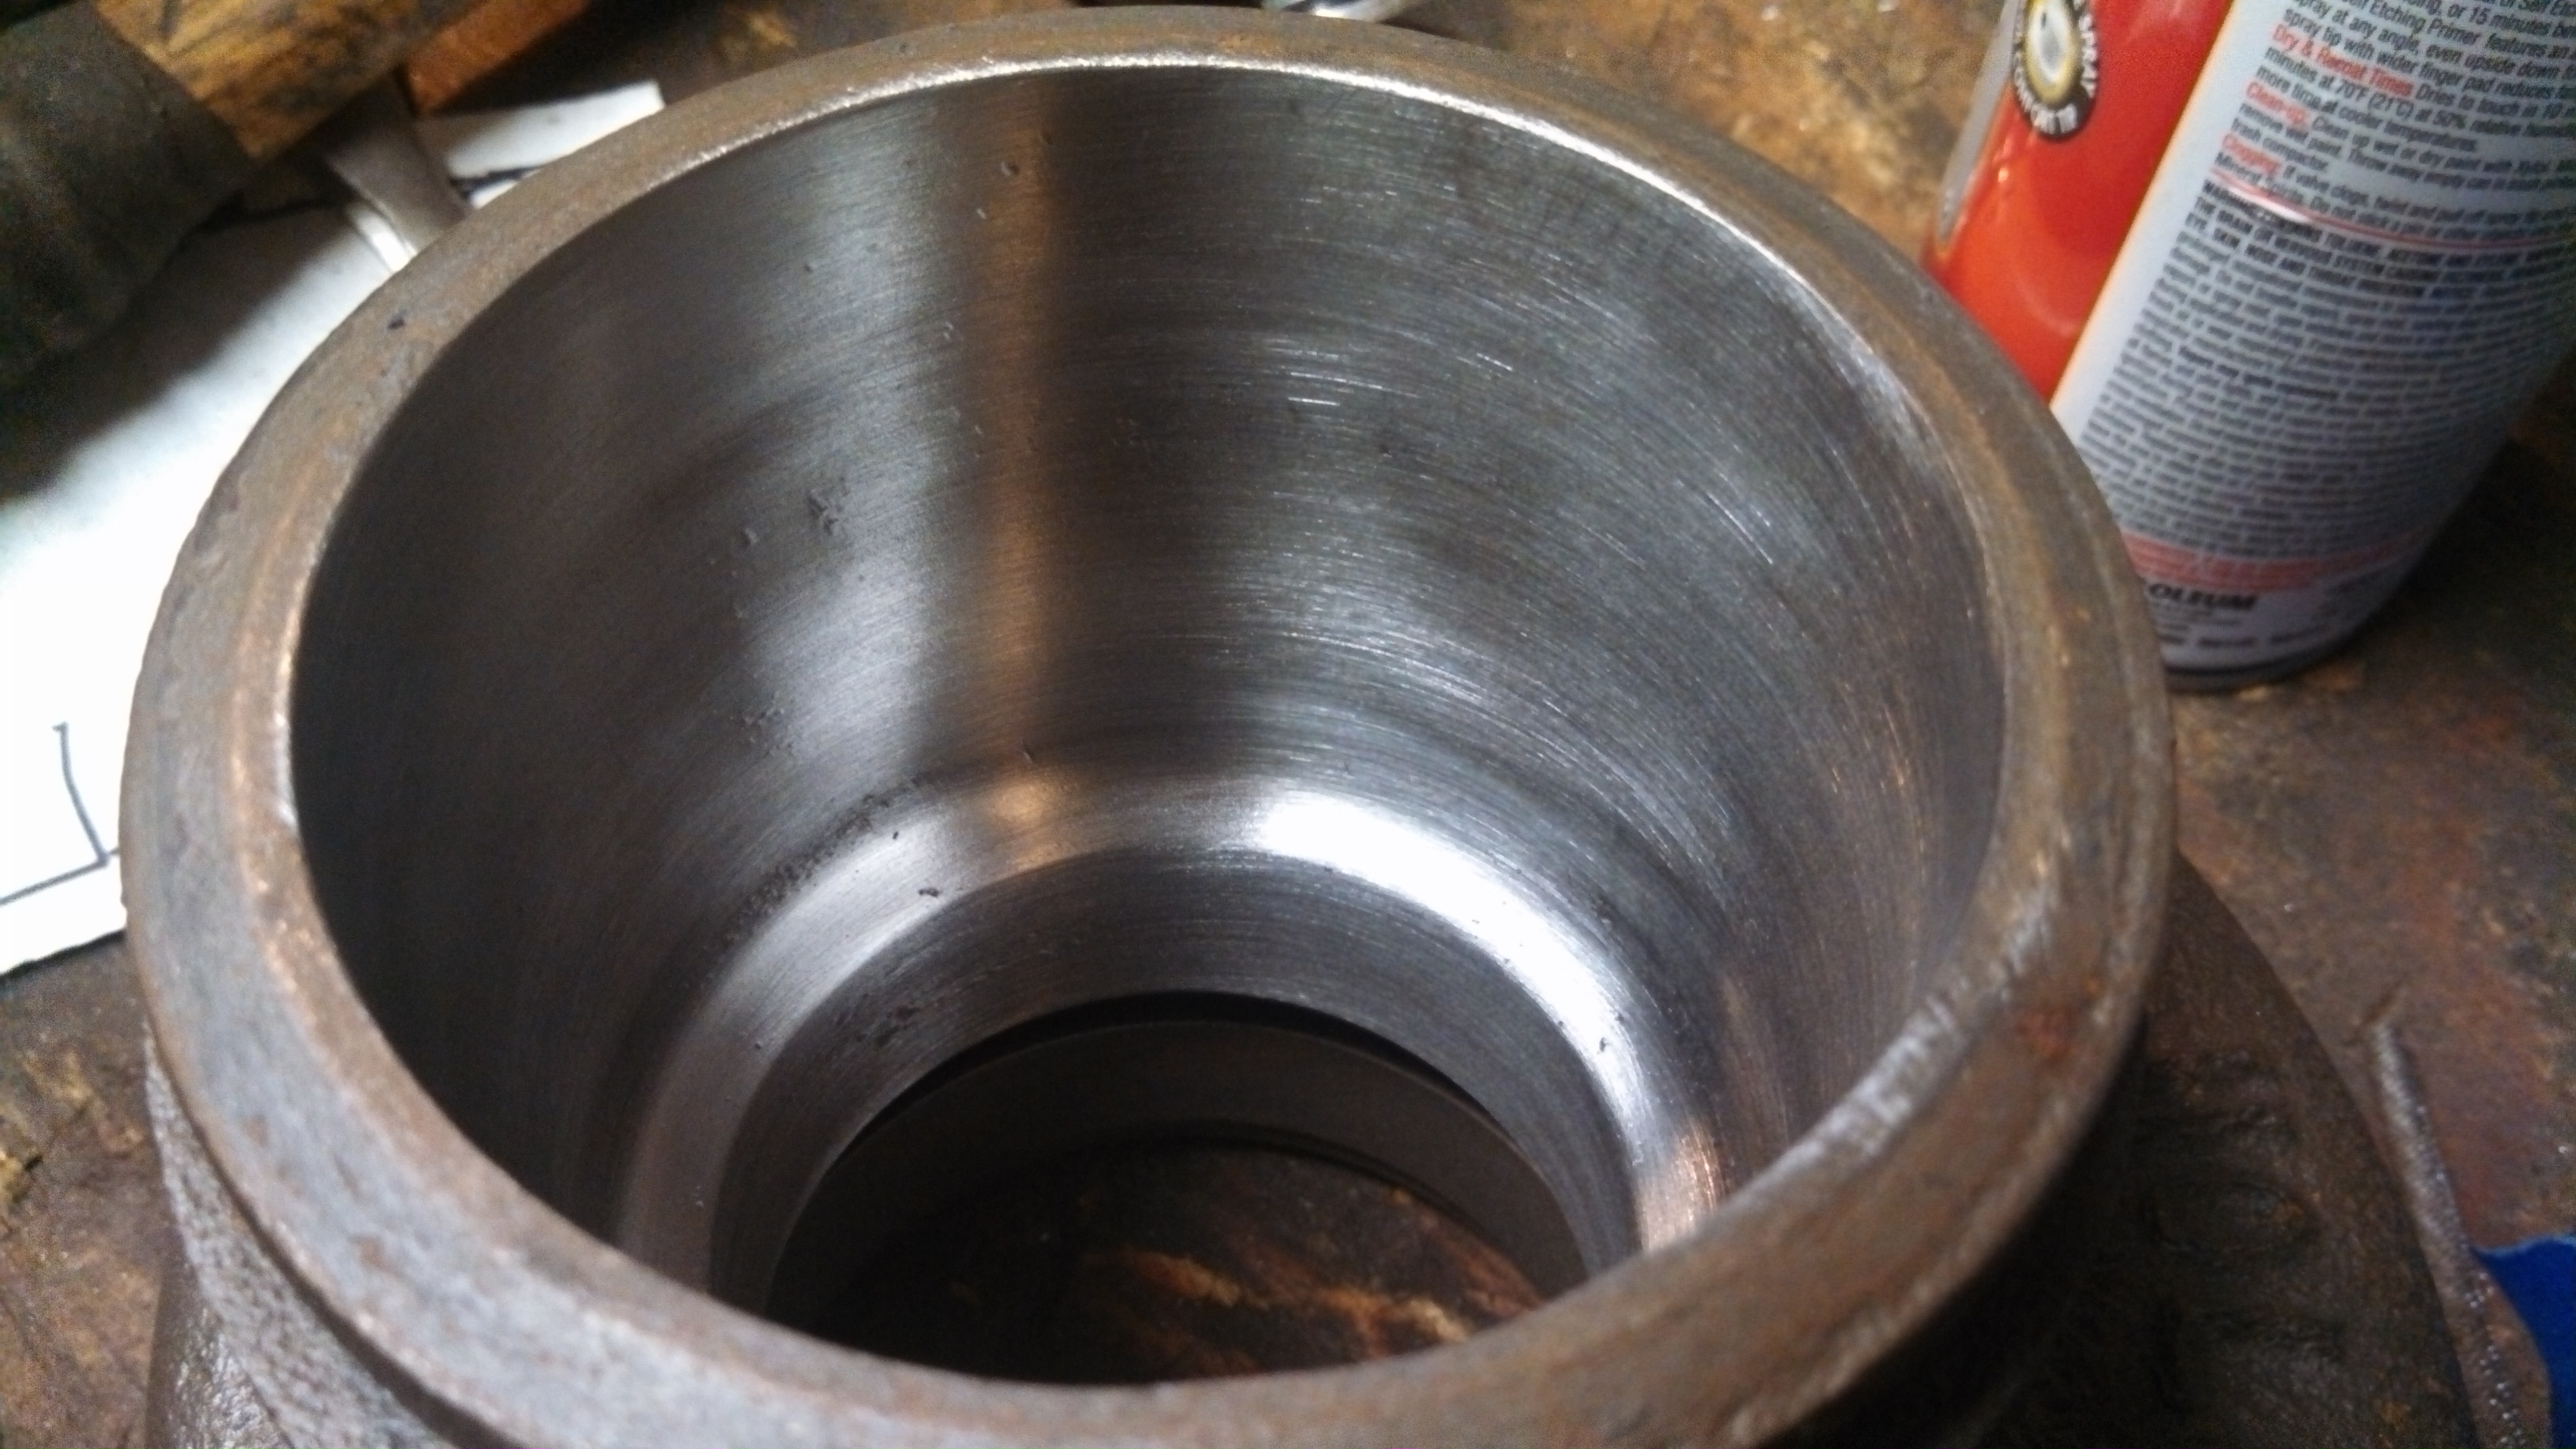
- hotside cleaned up.jpg (1.53 MiB) Viewed 39111 times
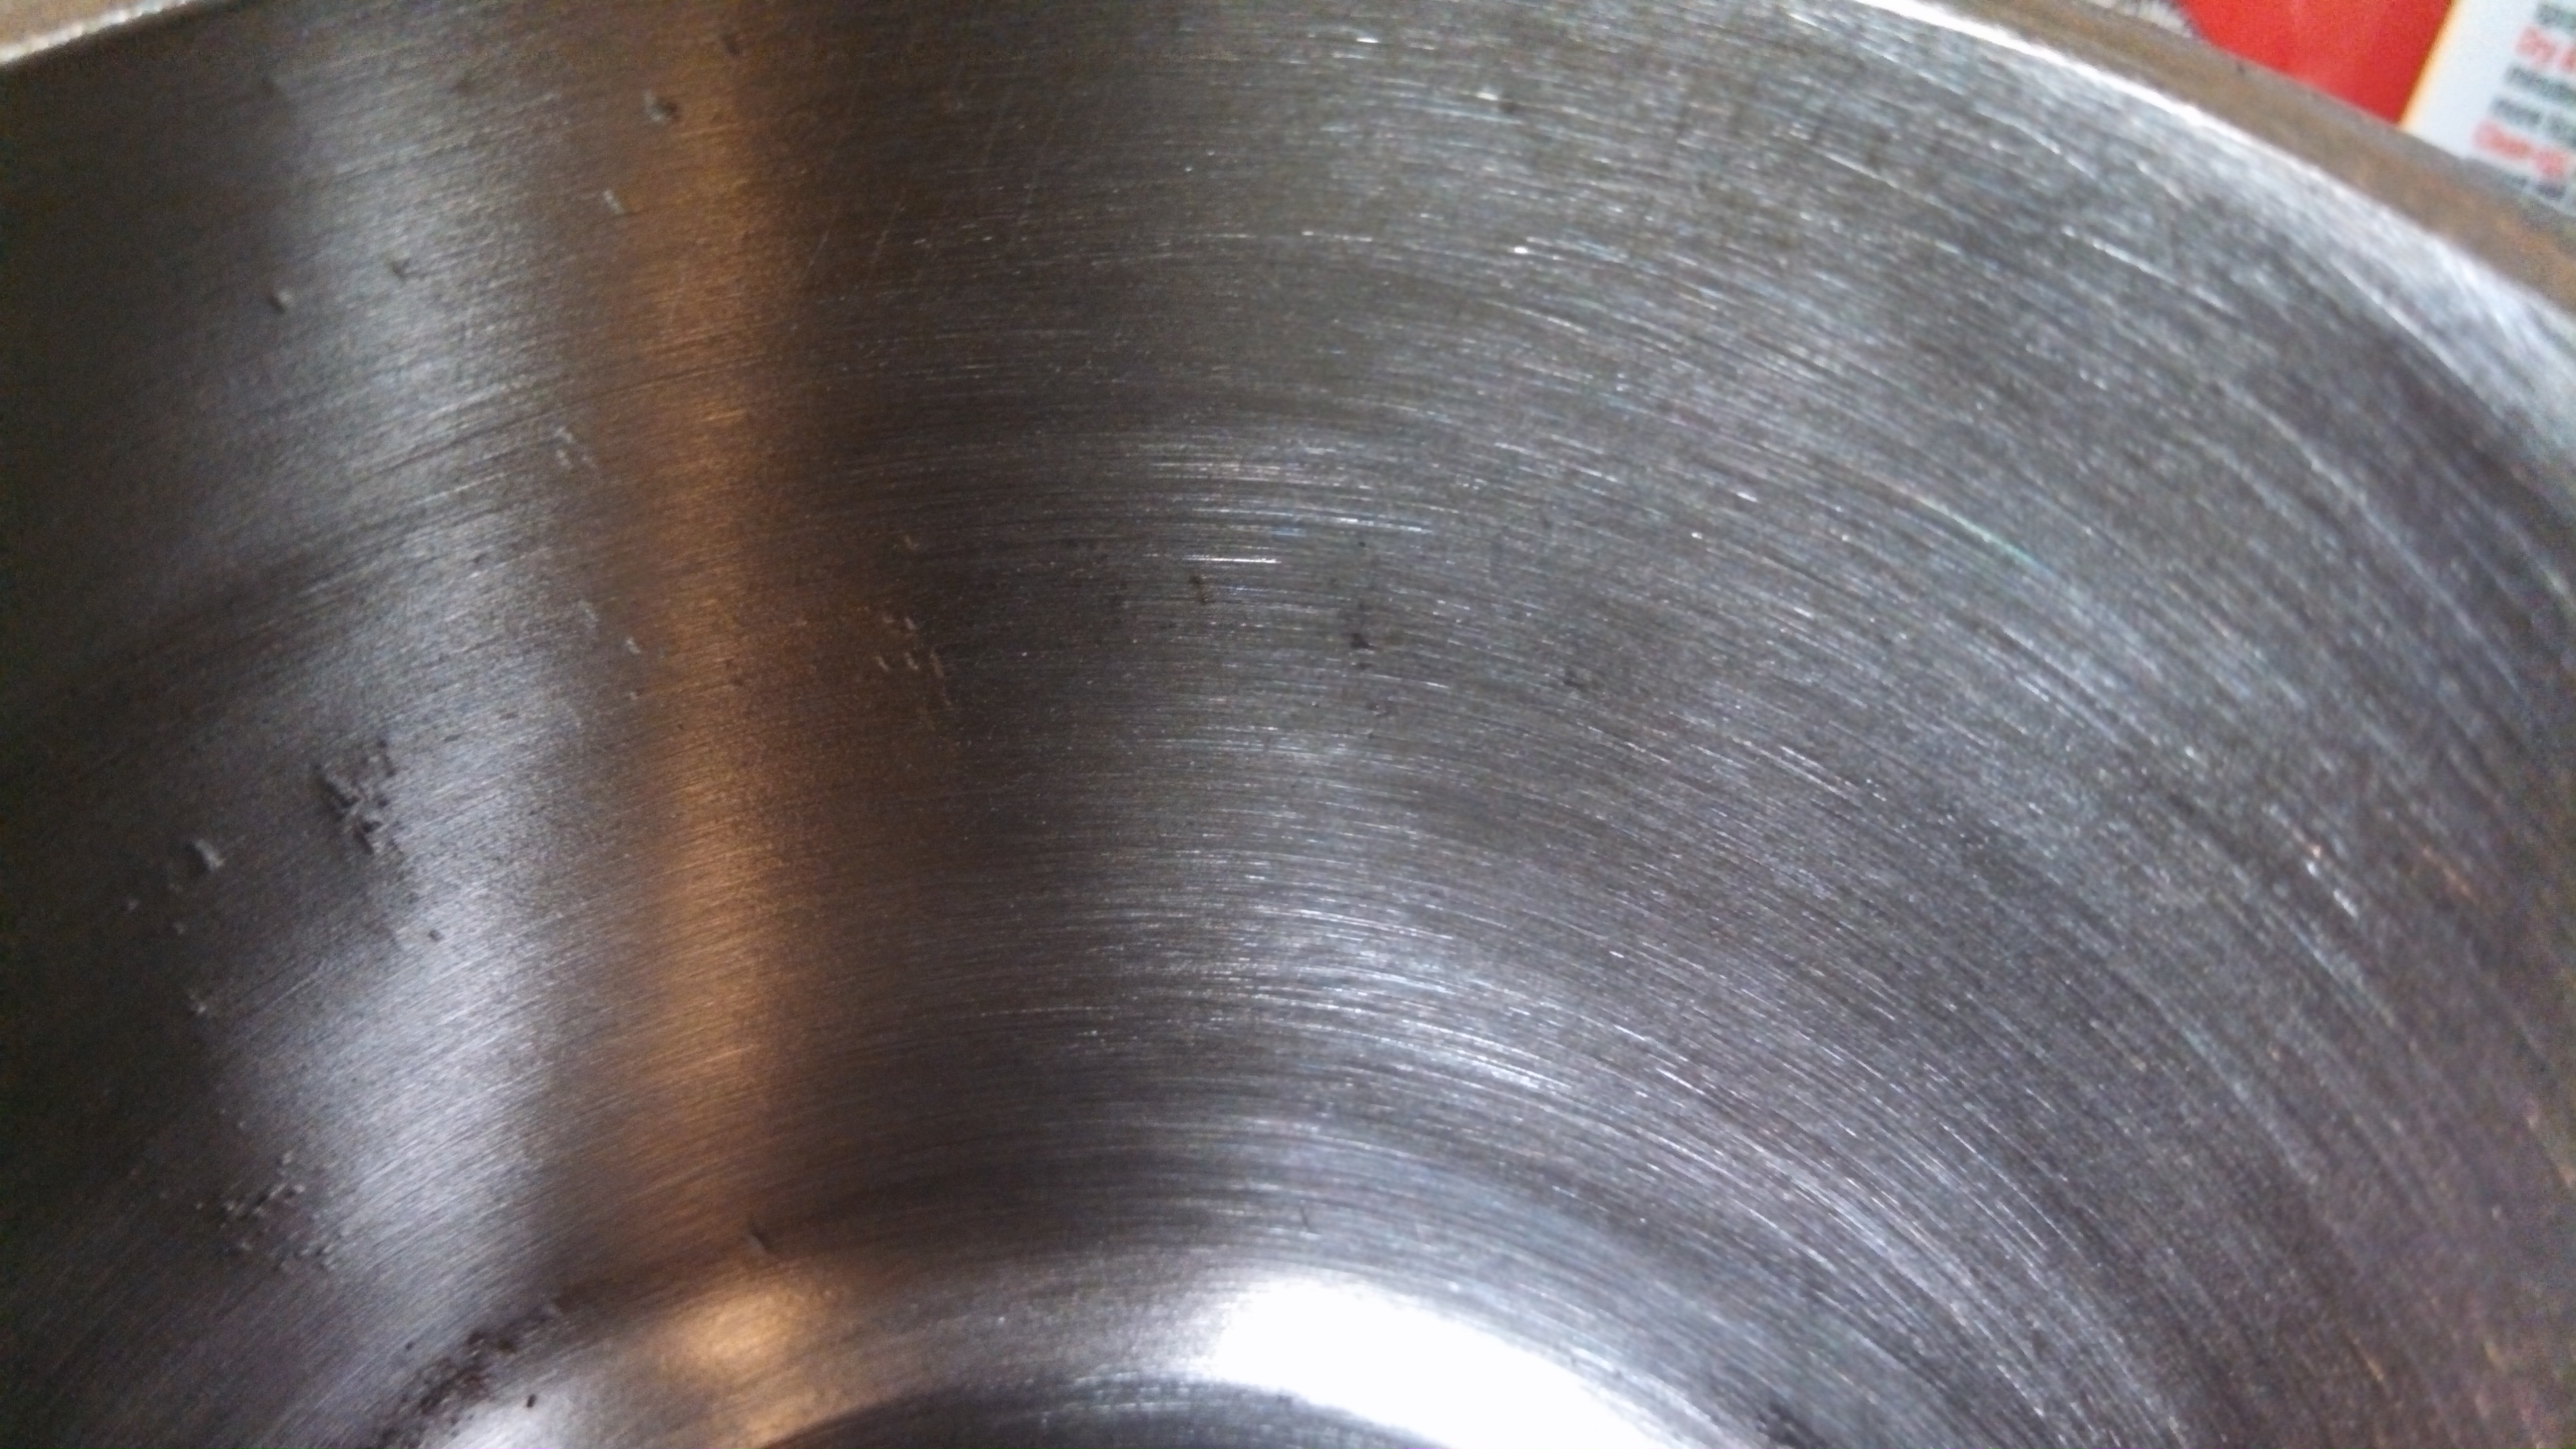
- hotside casting cleaned up detail.jpg (1.51 MiB) Viewed 39111 times
Re: 24vVR6T CQ Project: EATSGTR, chassis FAB
Posted: Fri Sep 20, 2013 7:14 pm
by my2000apb
Re: 24vVR6T CQ Project: EATSGTR, chassis FAB
Posted: Fri Sep 20, 2013 7:20 pm
by my2000apb
Re: 24vVR6T CQ Project: EATSGTR, chassis FAB
Posted: Fri Sep 20, 2013 7:26 pm
by my2000apb
MORE!!
Turbo oil drain to oil pan return got the 16AN bung welded on. I’m not going to finalize the drain location in the pan until the exhaust manifold is done.
- turbo oil drain to pan and radiator hot inlet.jpg (1.46 MiB) Viewed 39101 times
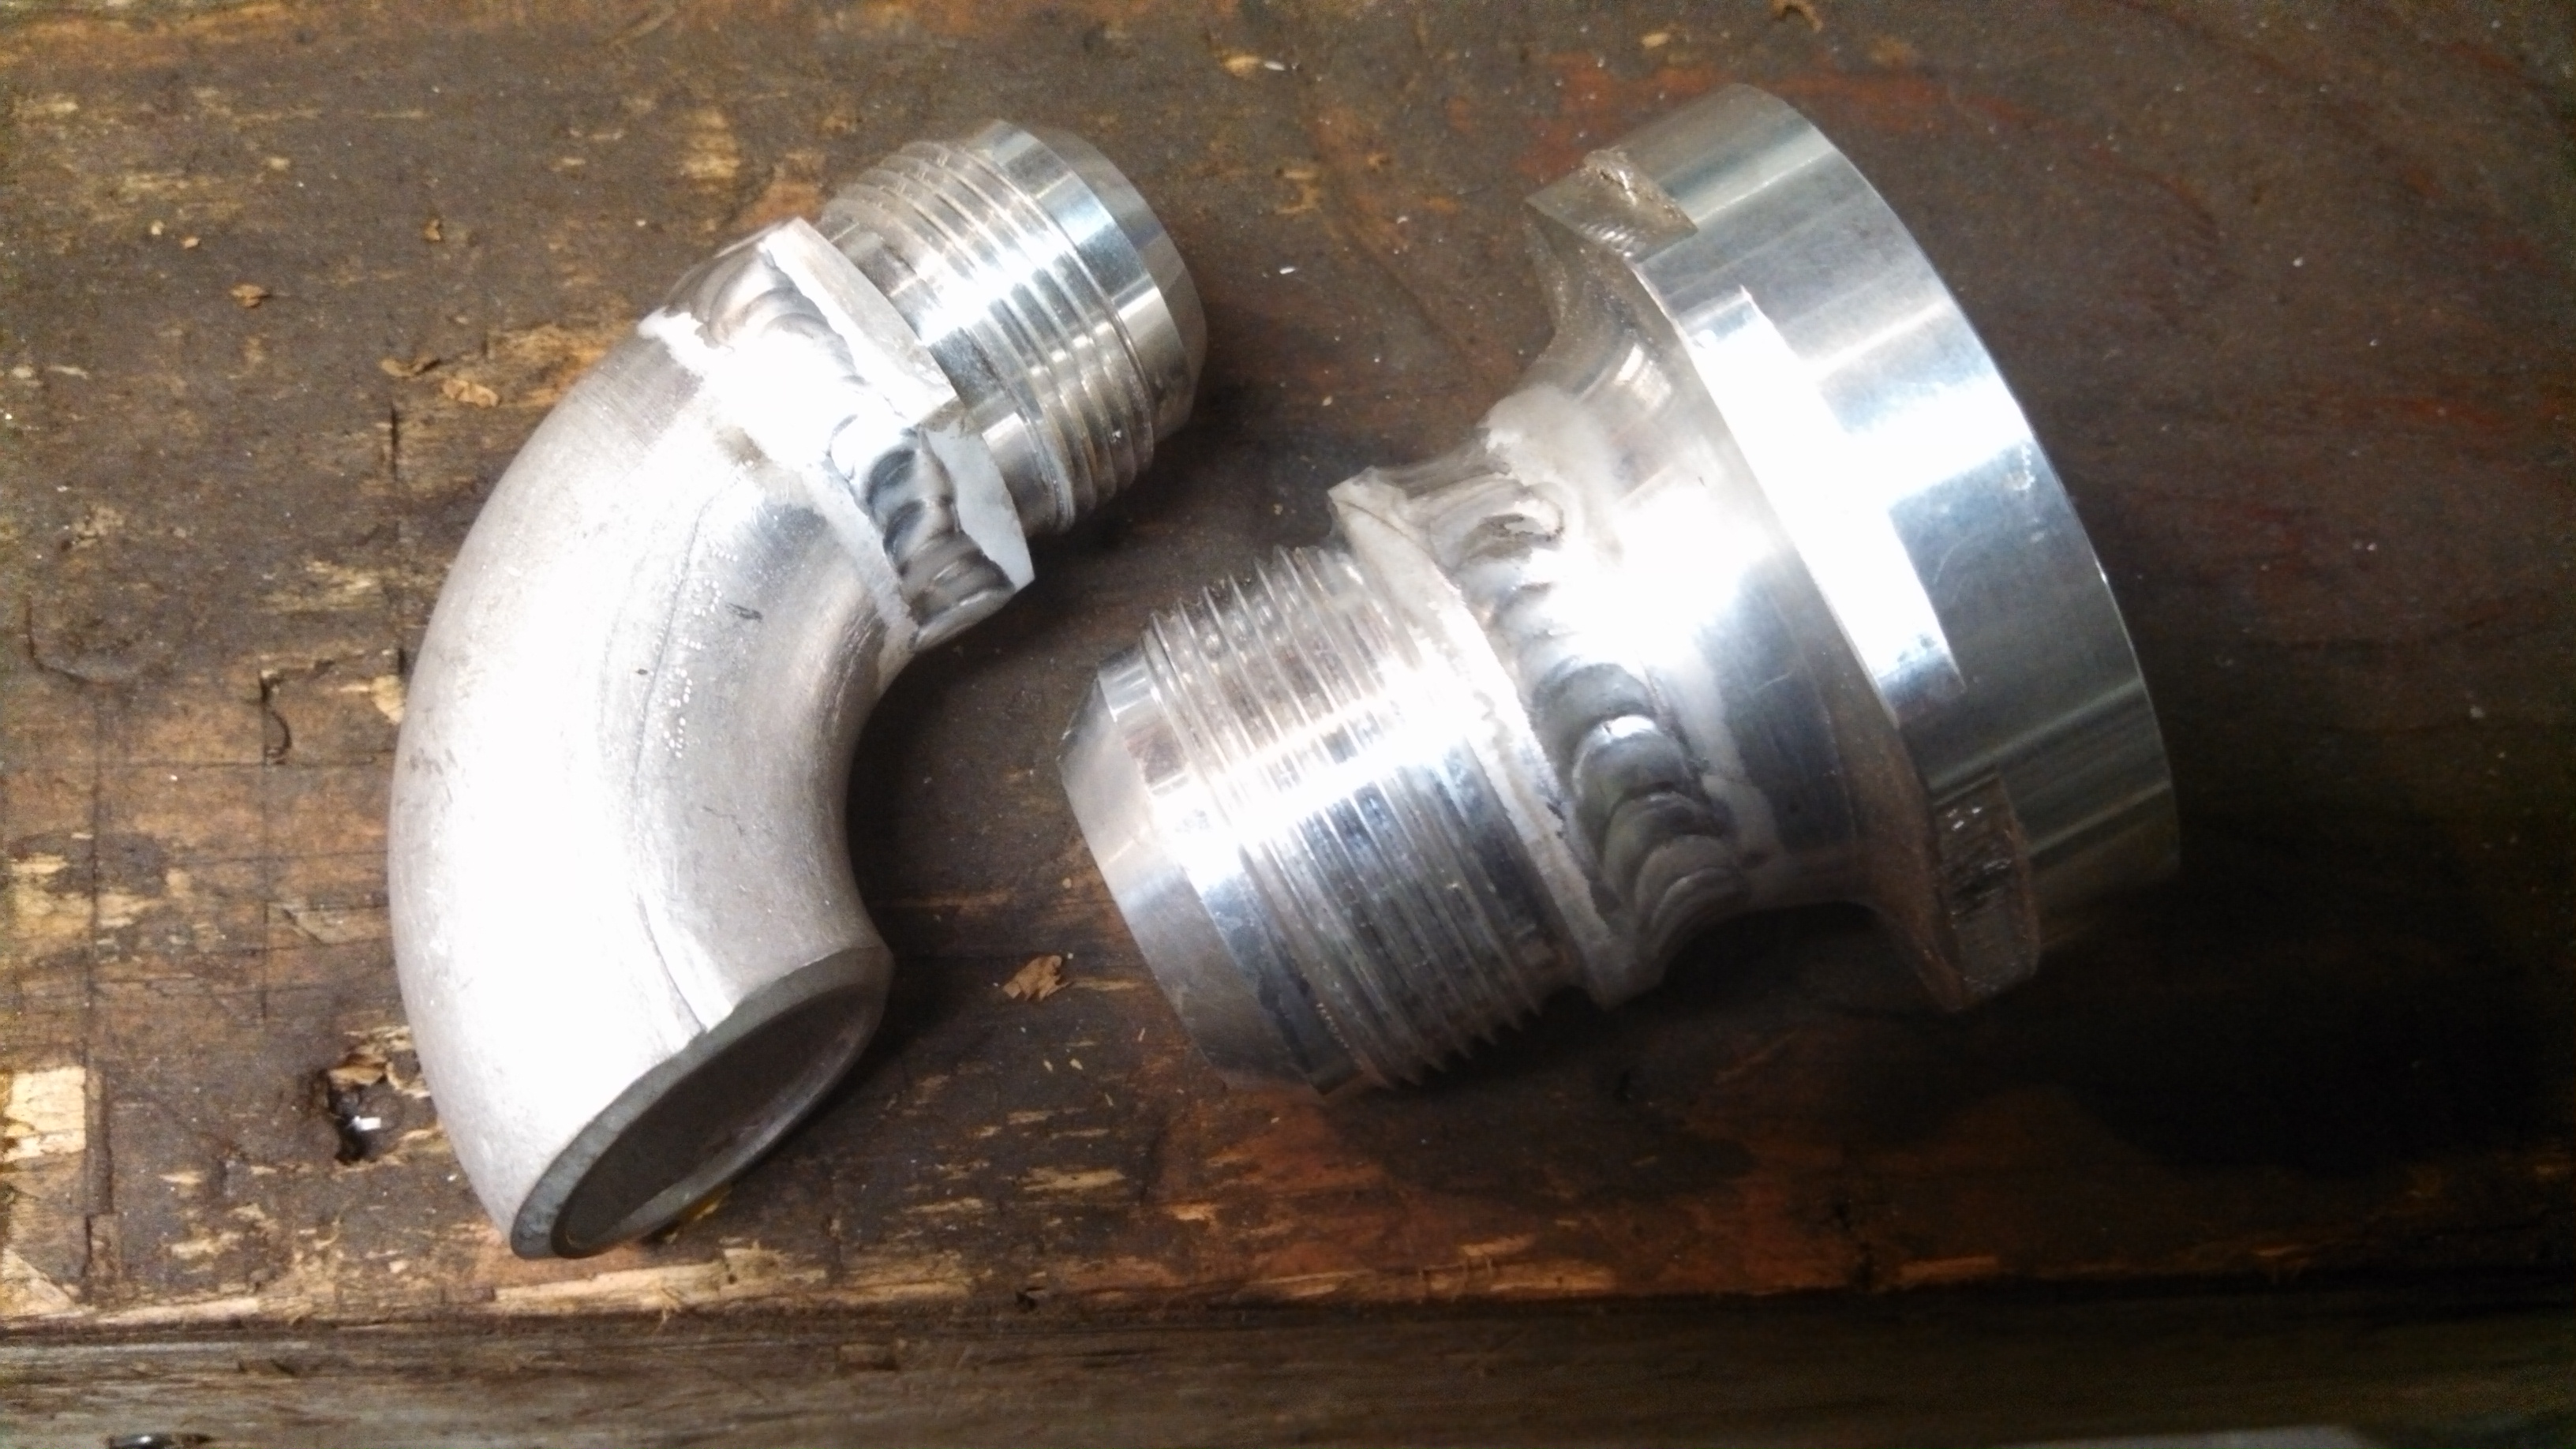
The radiator will be a 20AN hot-side/inlet and a 24AN cold-side/outlet. Here is the inlet welded to its 20AN bung. It just needs to be turned down a bit to get the outer threads off, and it can be welded to the radiator.
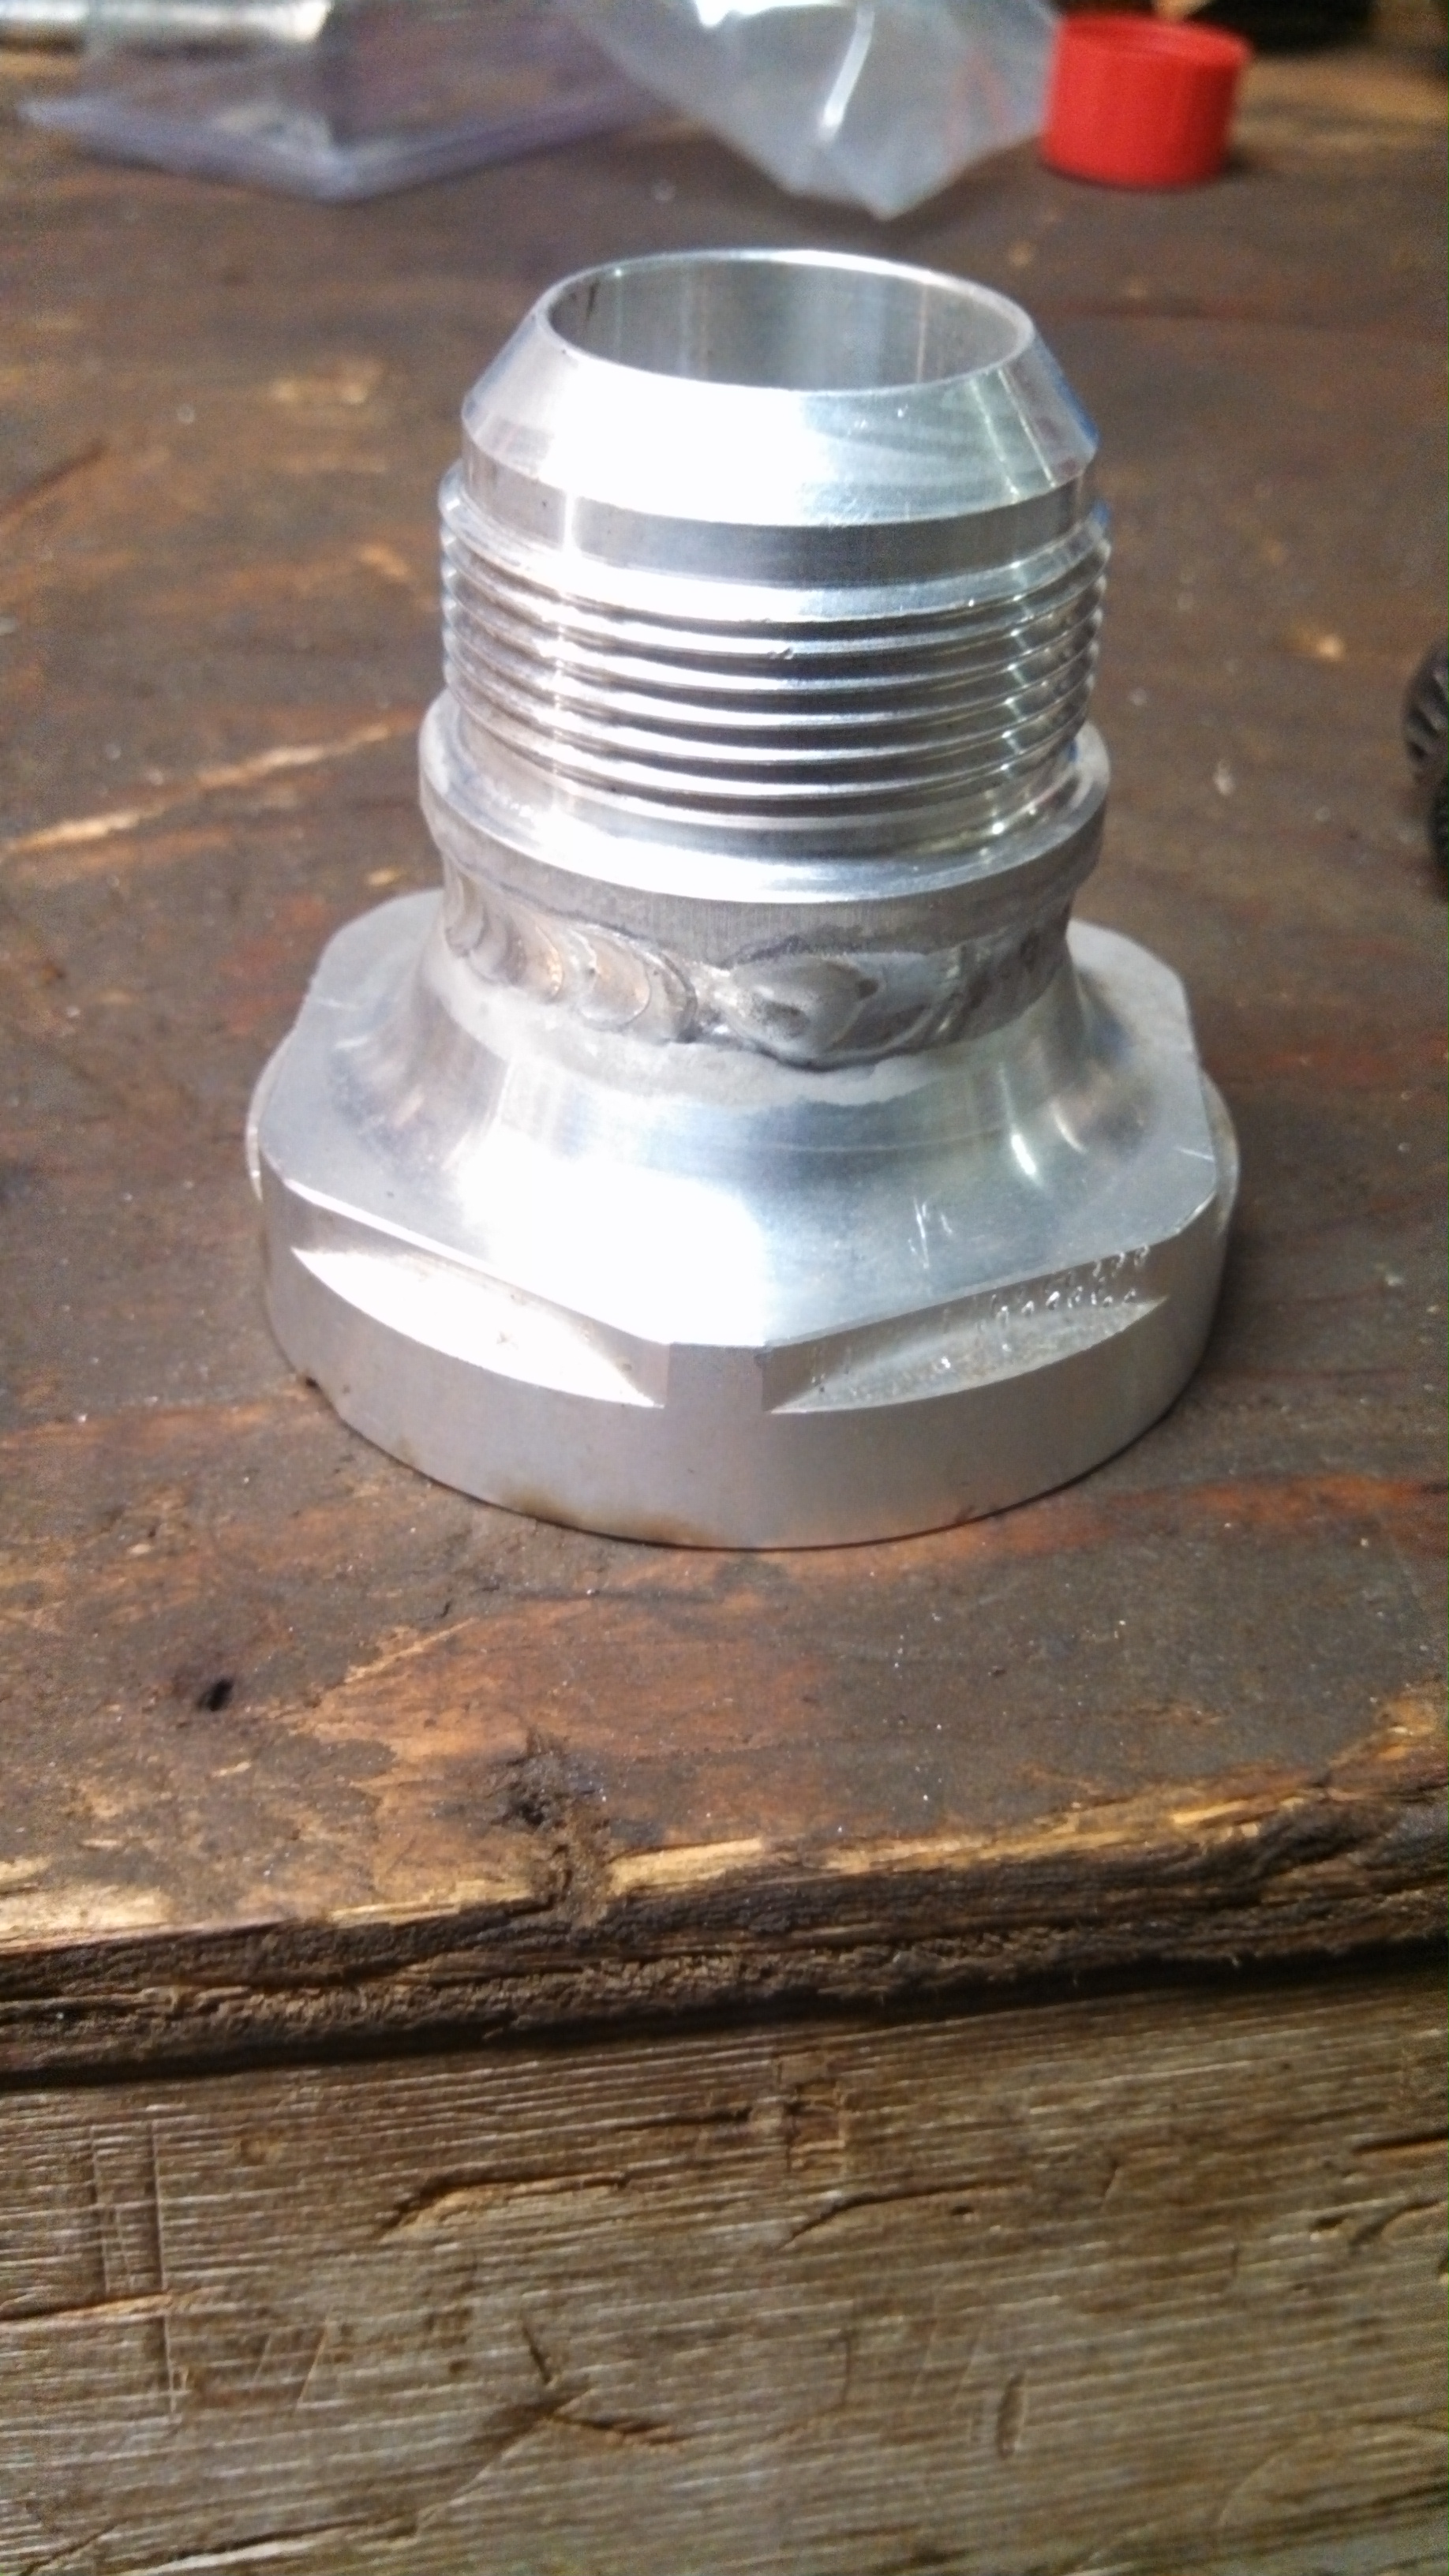
- radiator 20an hotside.jpg (1.53 MiB) Viewed 39101 times
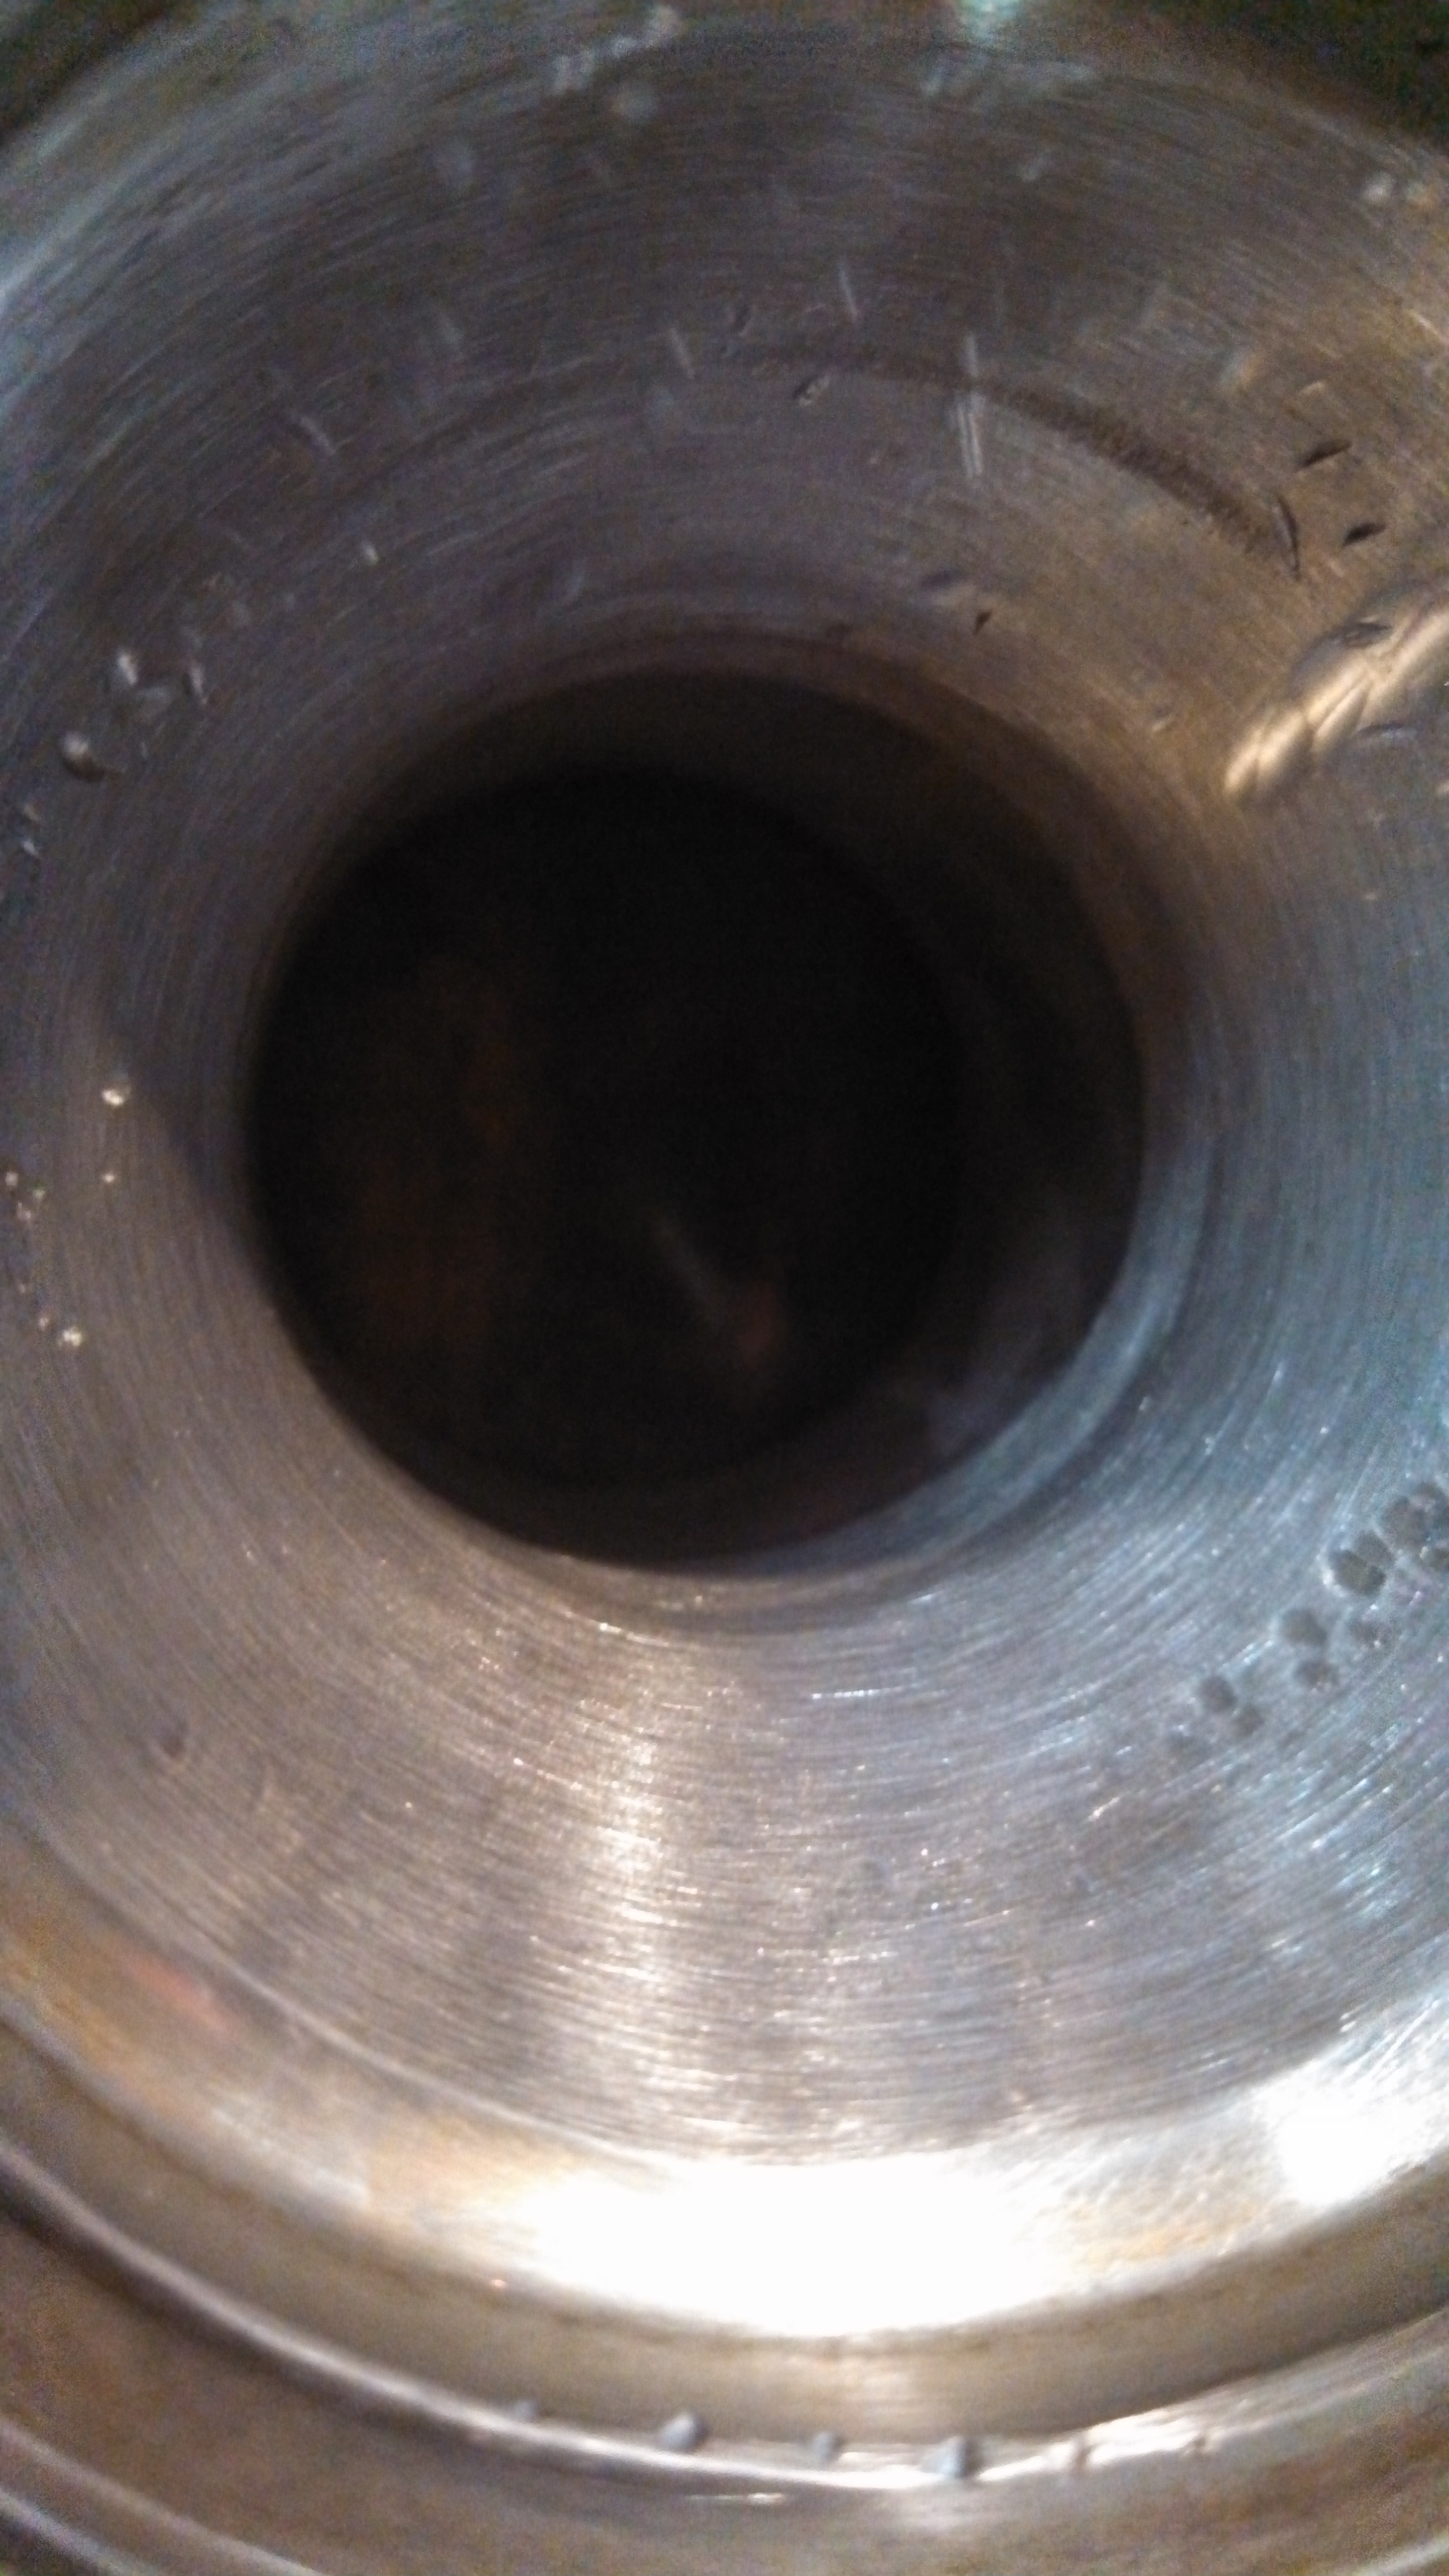
- radiator 20an inside transition.jpg (1.31 MiB) Viewed 39101 times
I also got a change to get down to Haydn’s to get my subframe transverse connector pieces bent up. Yes, I know, the bends aren’t the same on both sides. This is to allow the 4” downpipe and 3.5” exhaust to have good clearances. I wanted to be able to drop exhaust without having to touch the sub-frames.
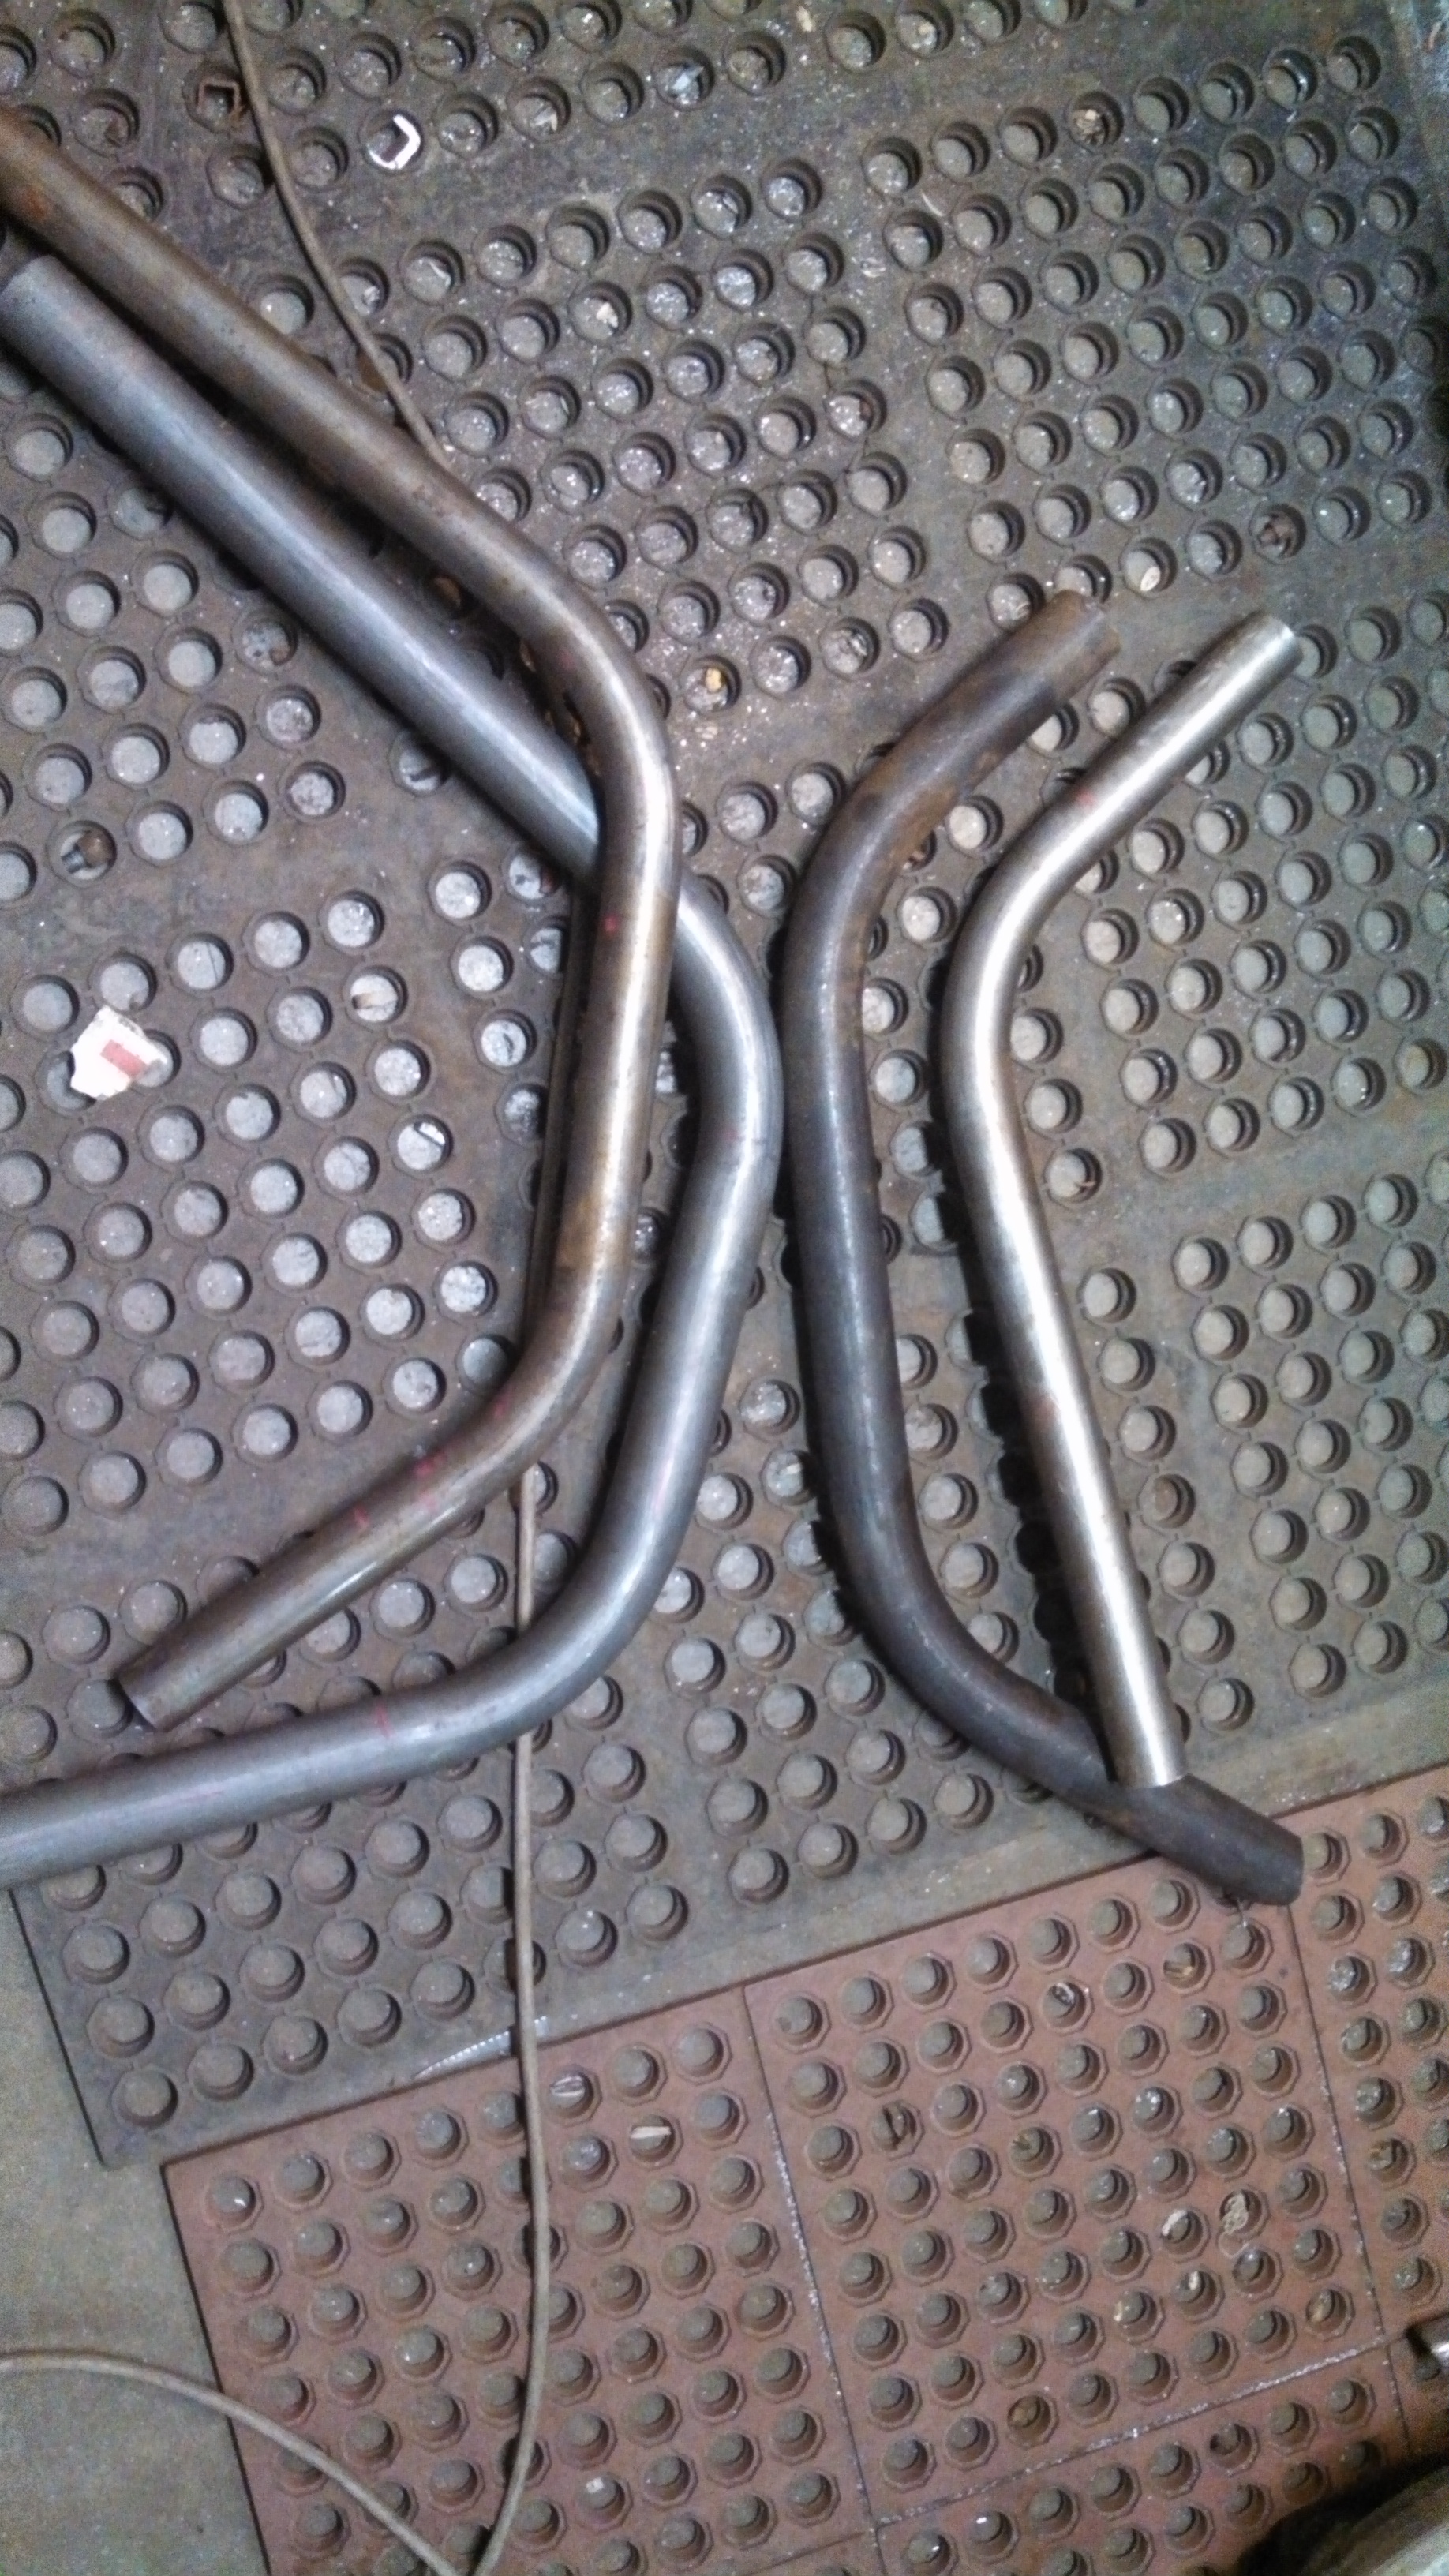
- bent tubing for subframe transverse members.jpg (1.92 MiB) Viewed 39101 times
Re: 24vVR6T CQ Project: EATSGTR, chassis FAB
Posted: Fri Sep 20, 2013 7:32 pm
by my2000apb
UPDATE!!!
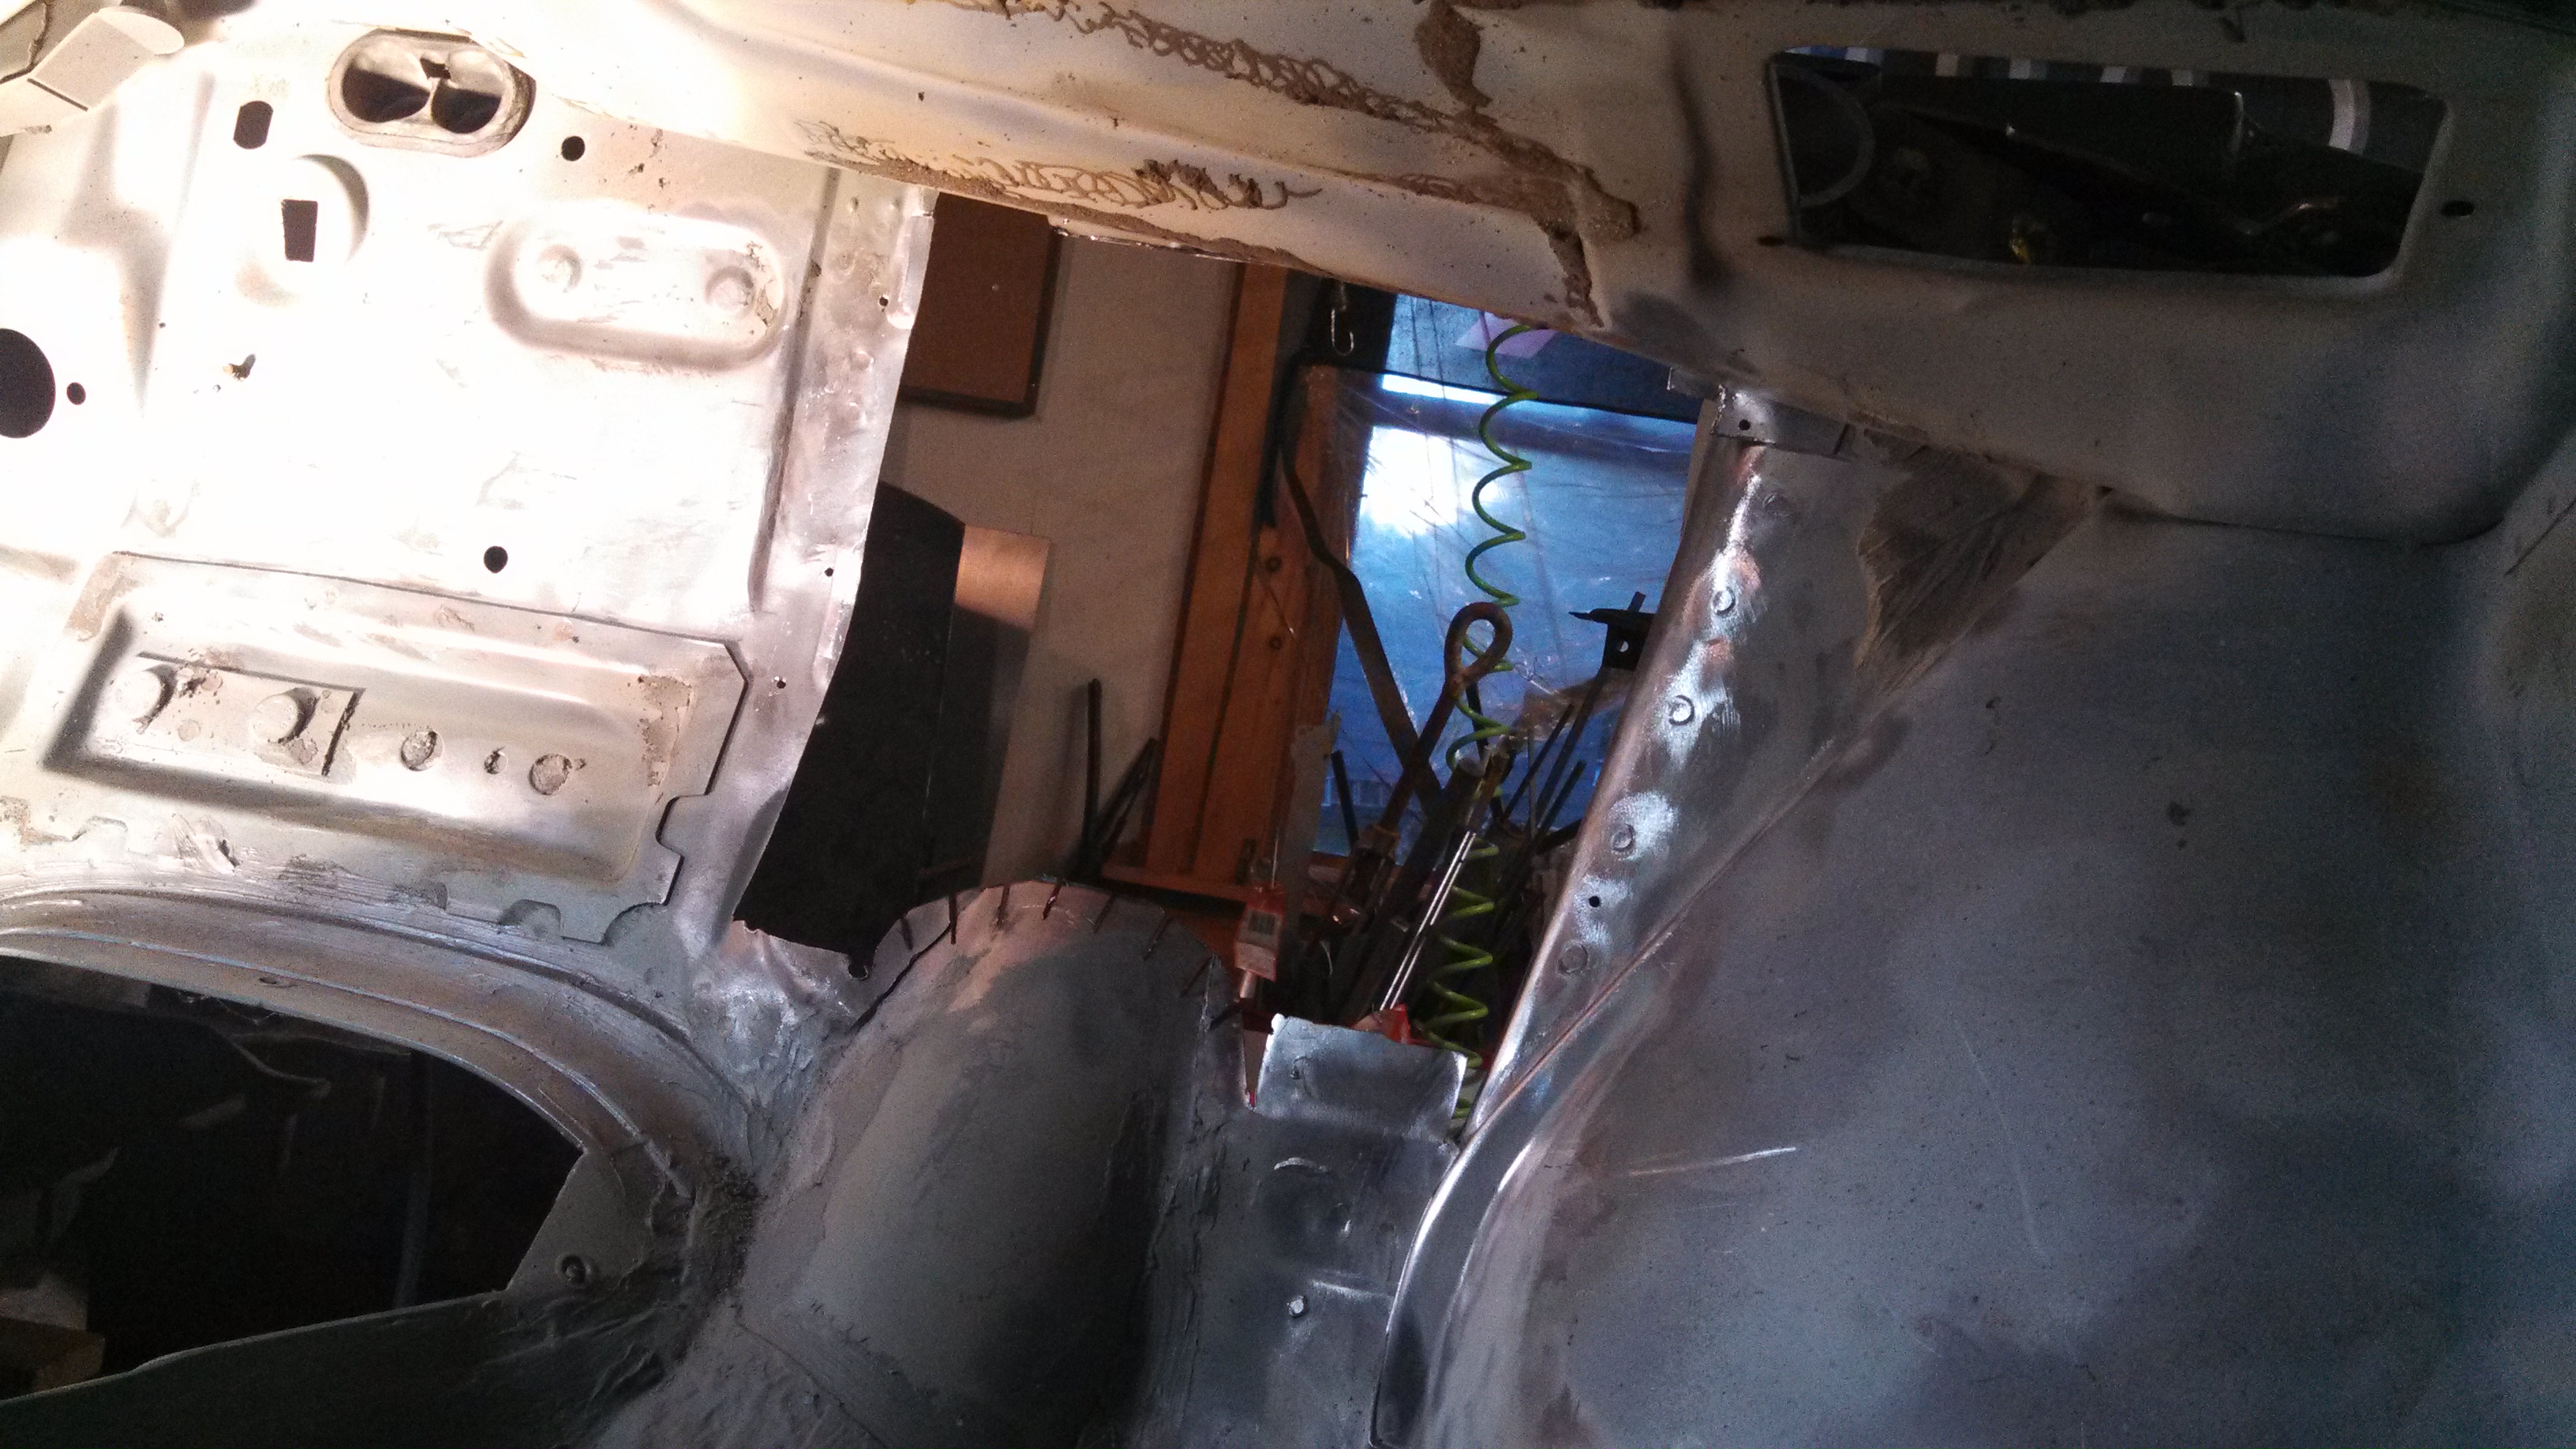
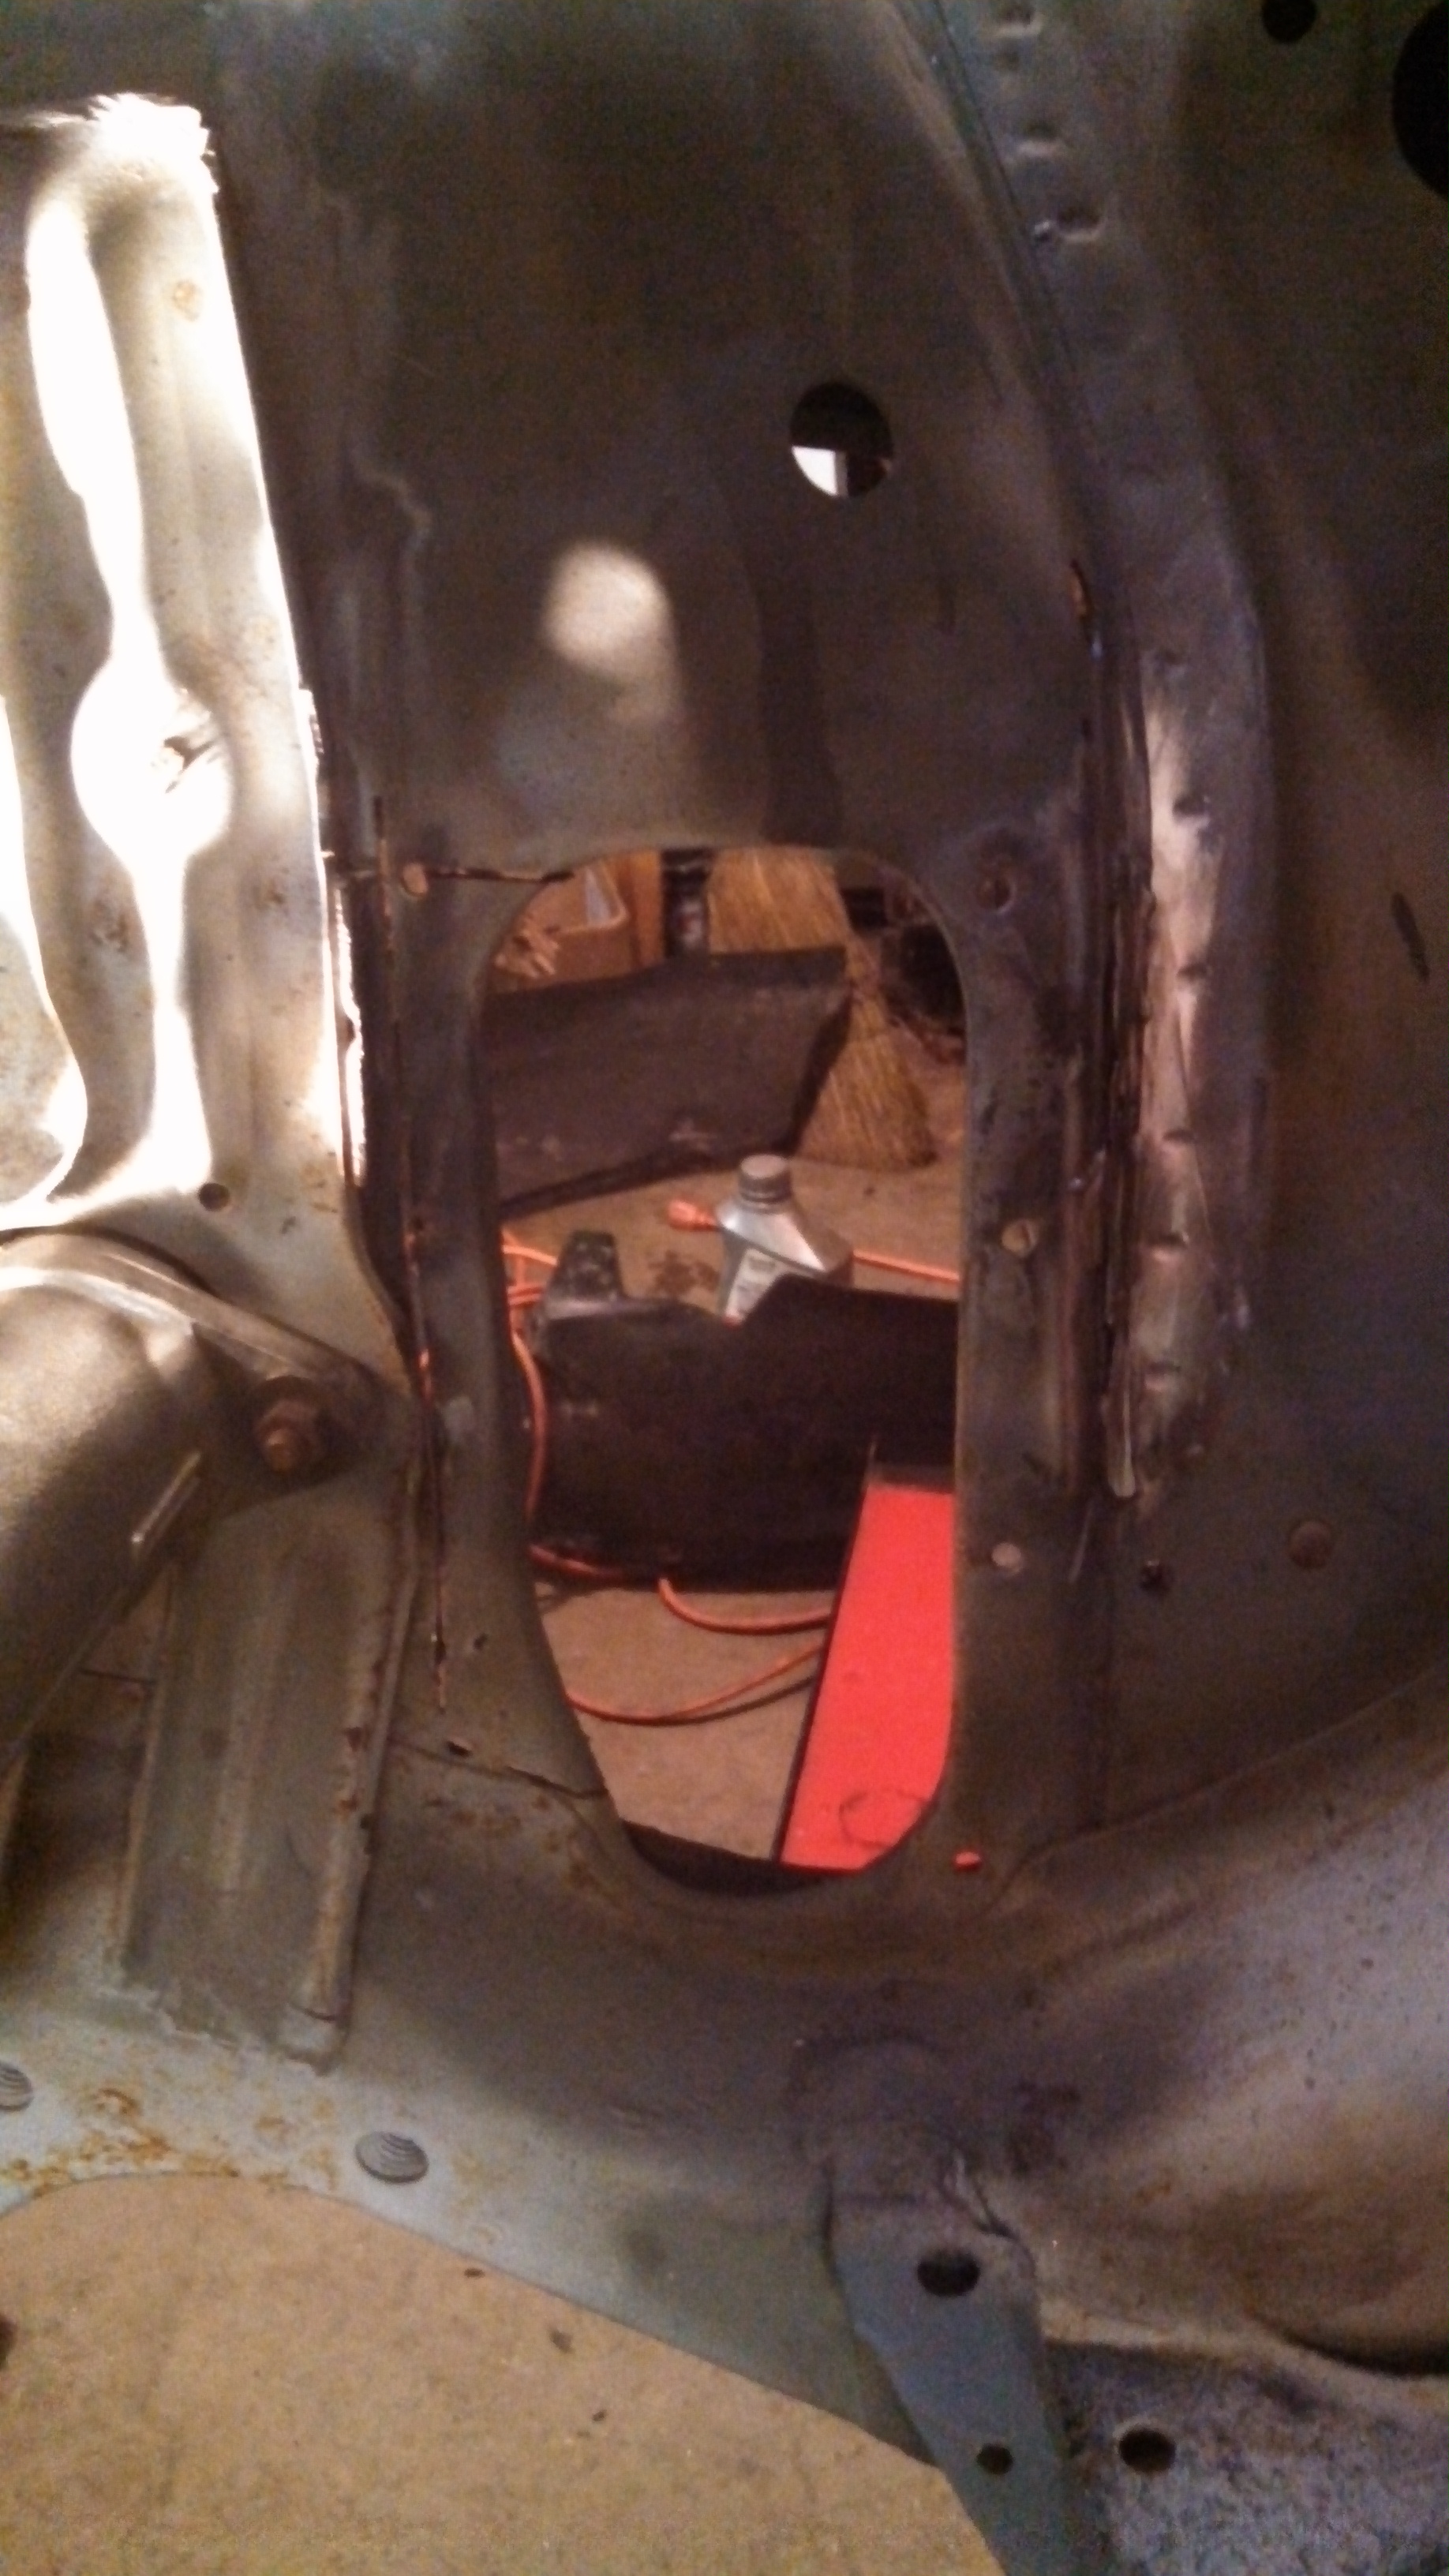
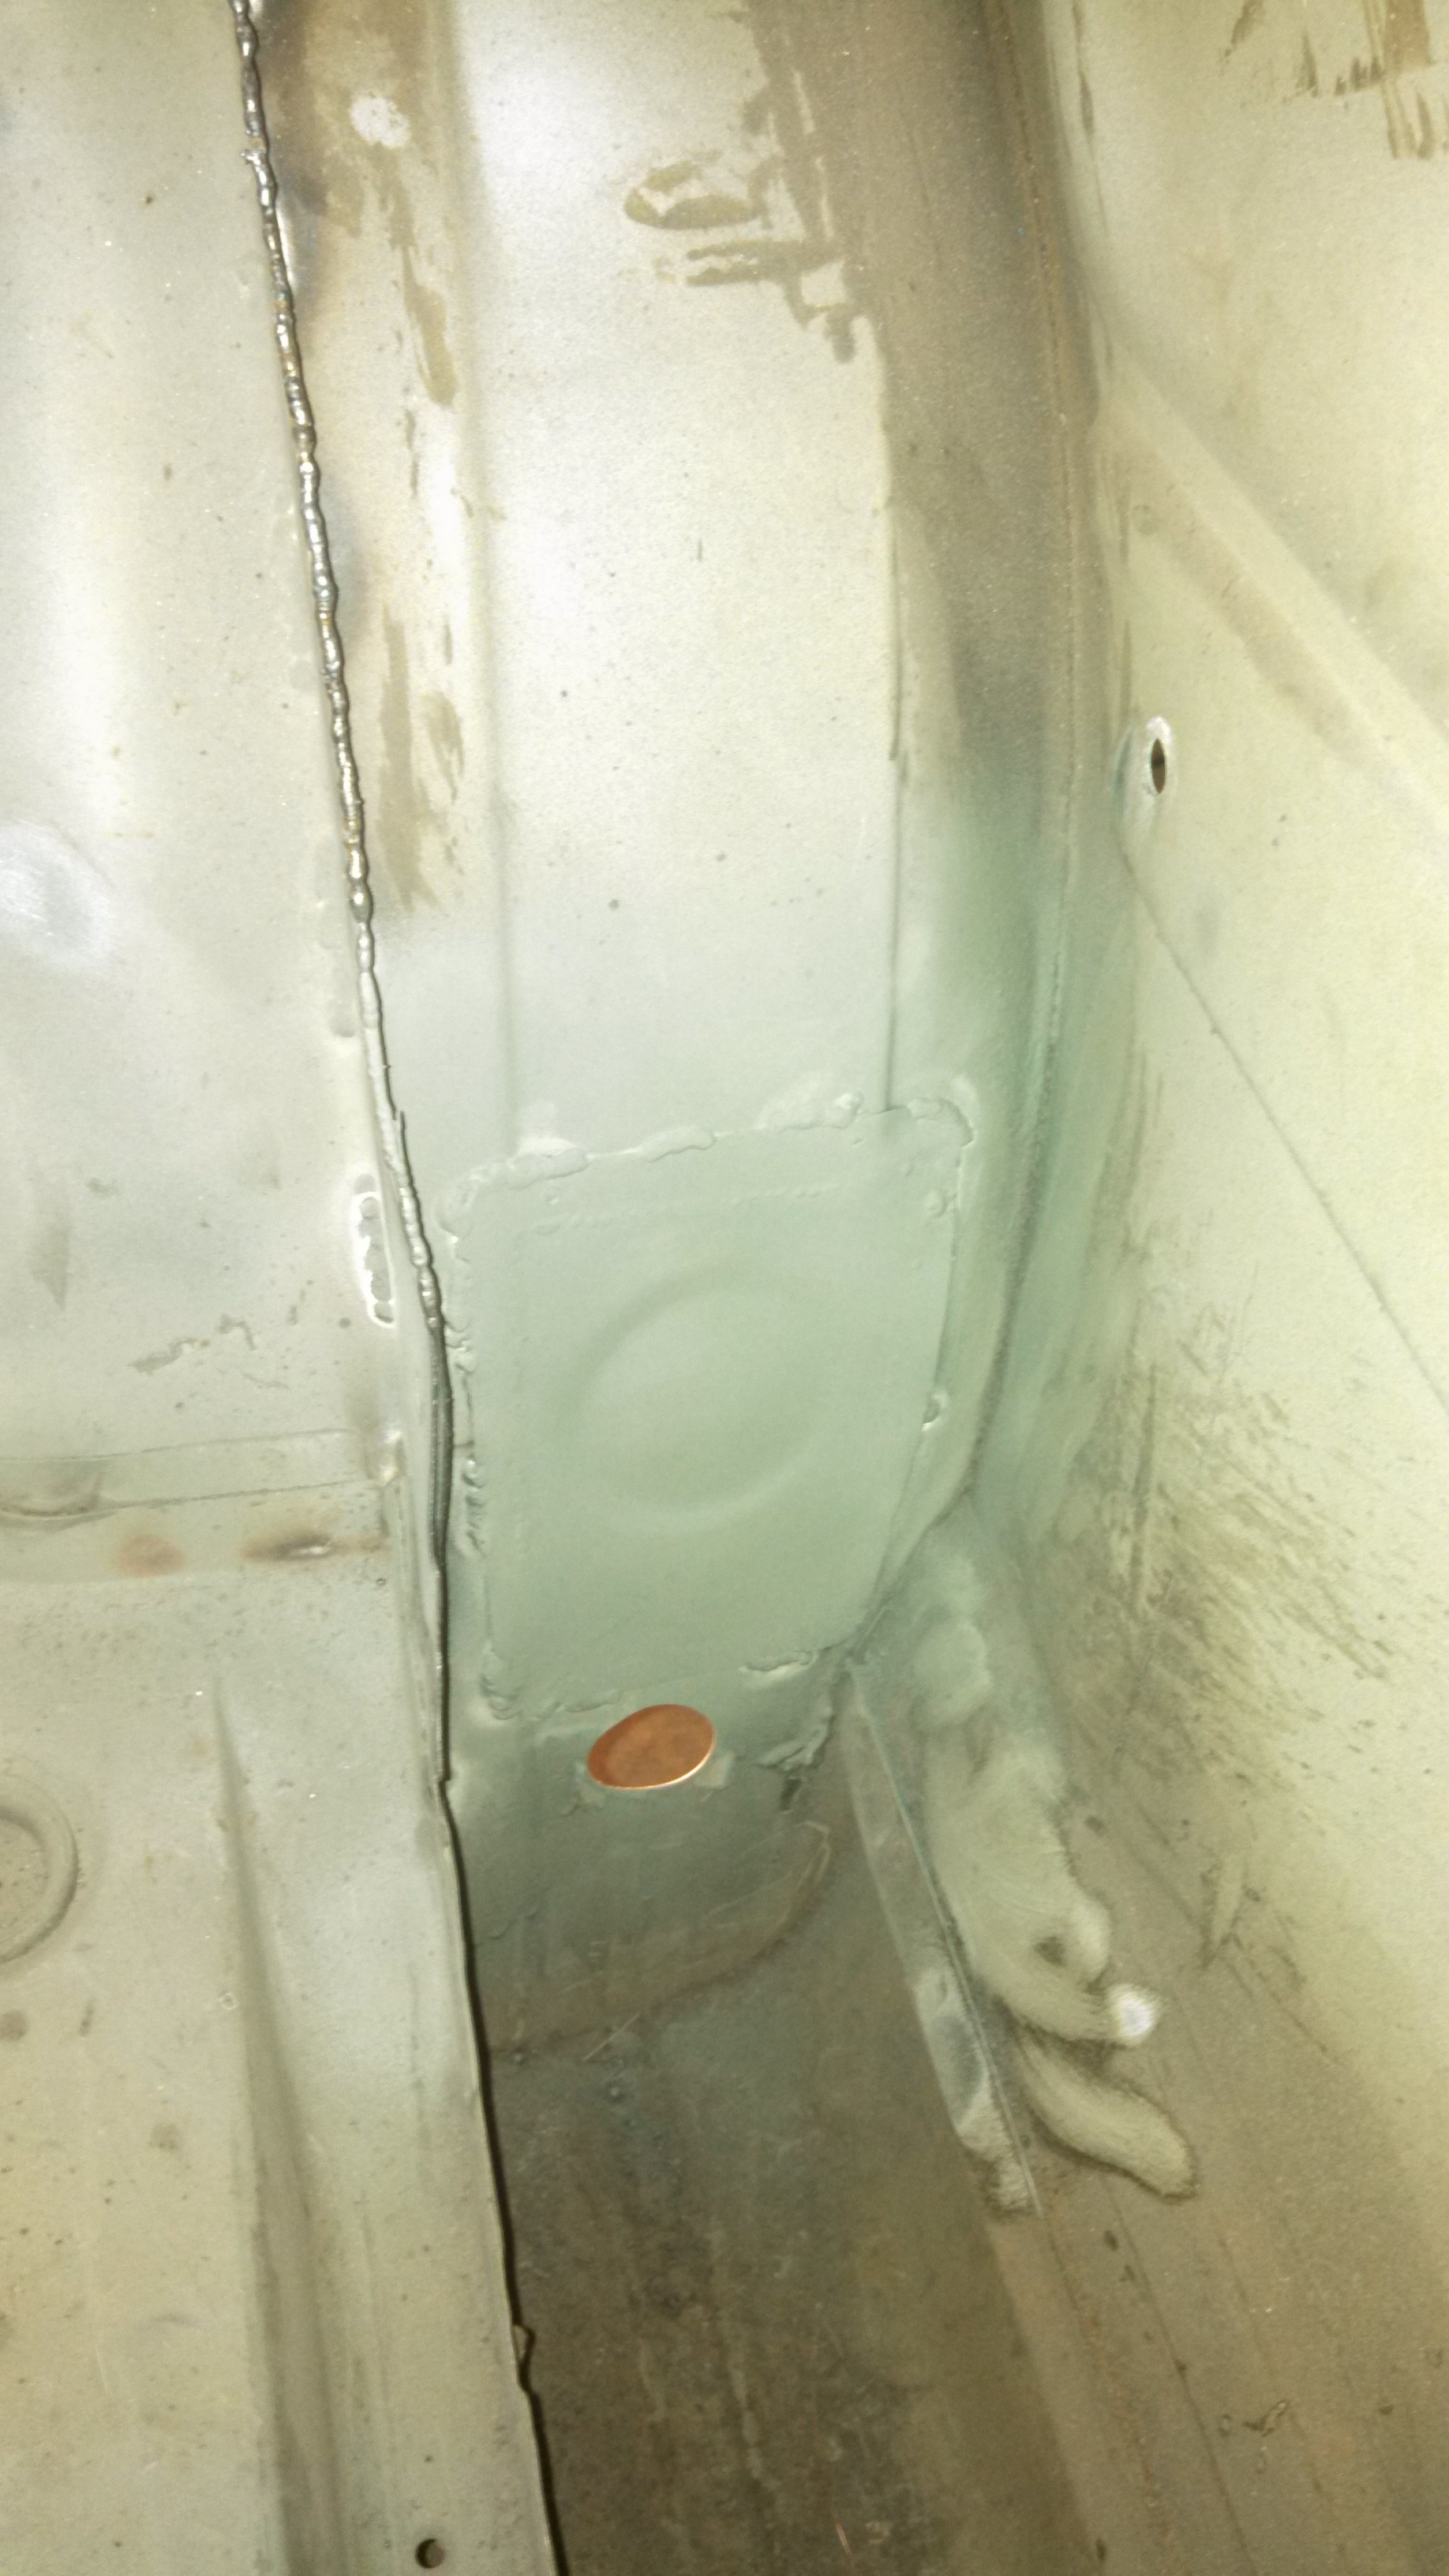
I had a few small rust patches in the rear wheel well area so I set to cutting it out and replacing the sheet metal.
Here it is all cutout and cleco’d in place.
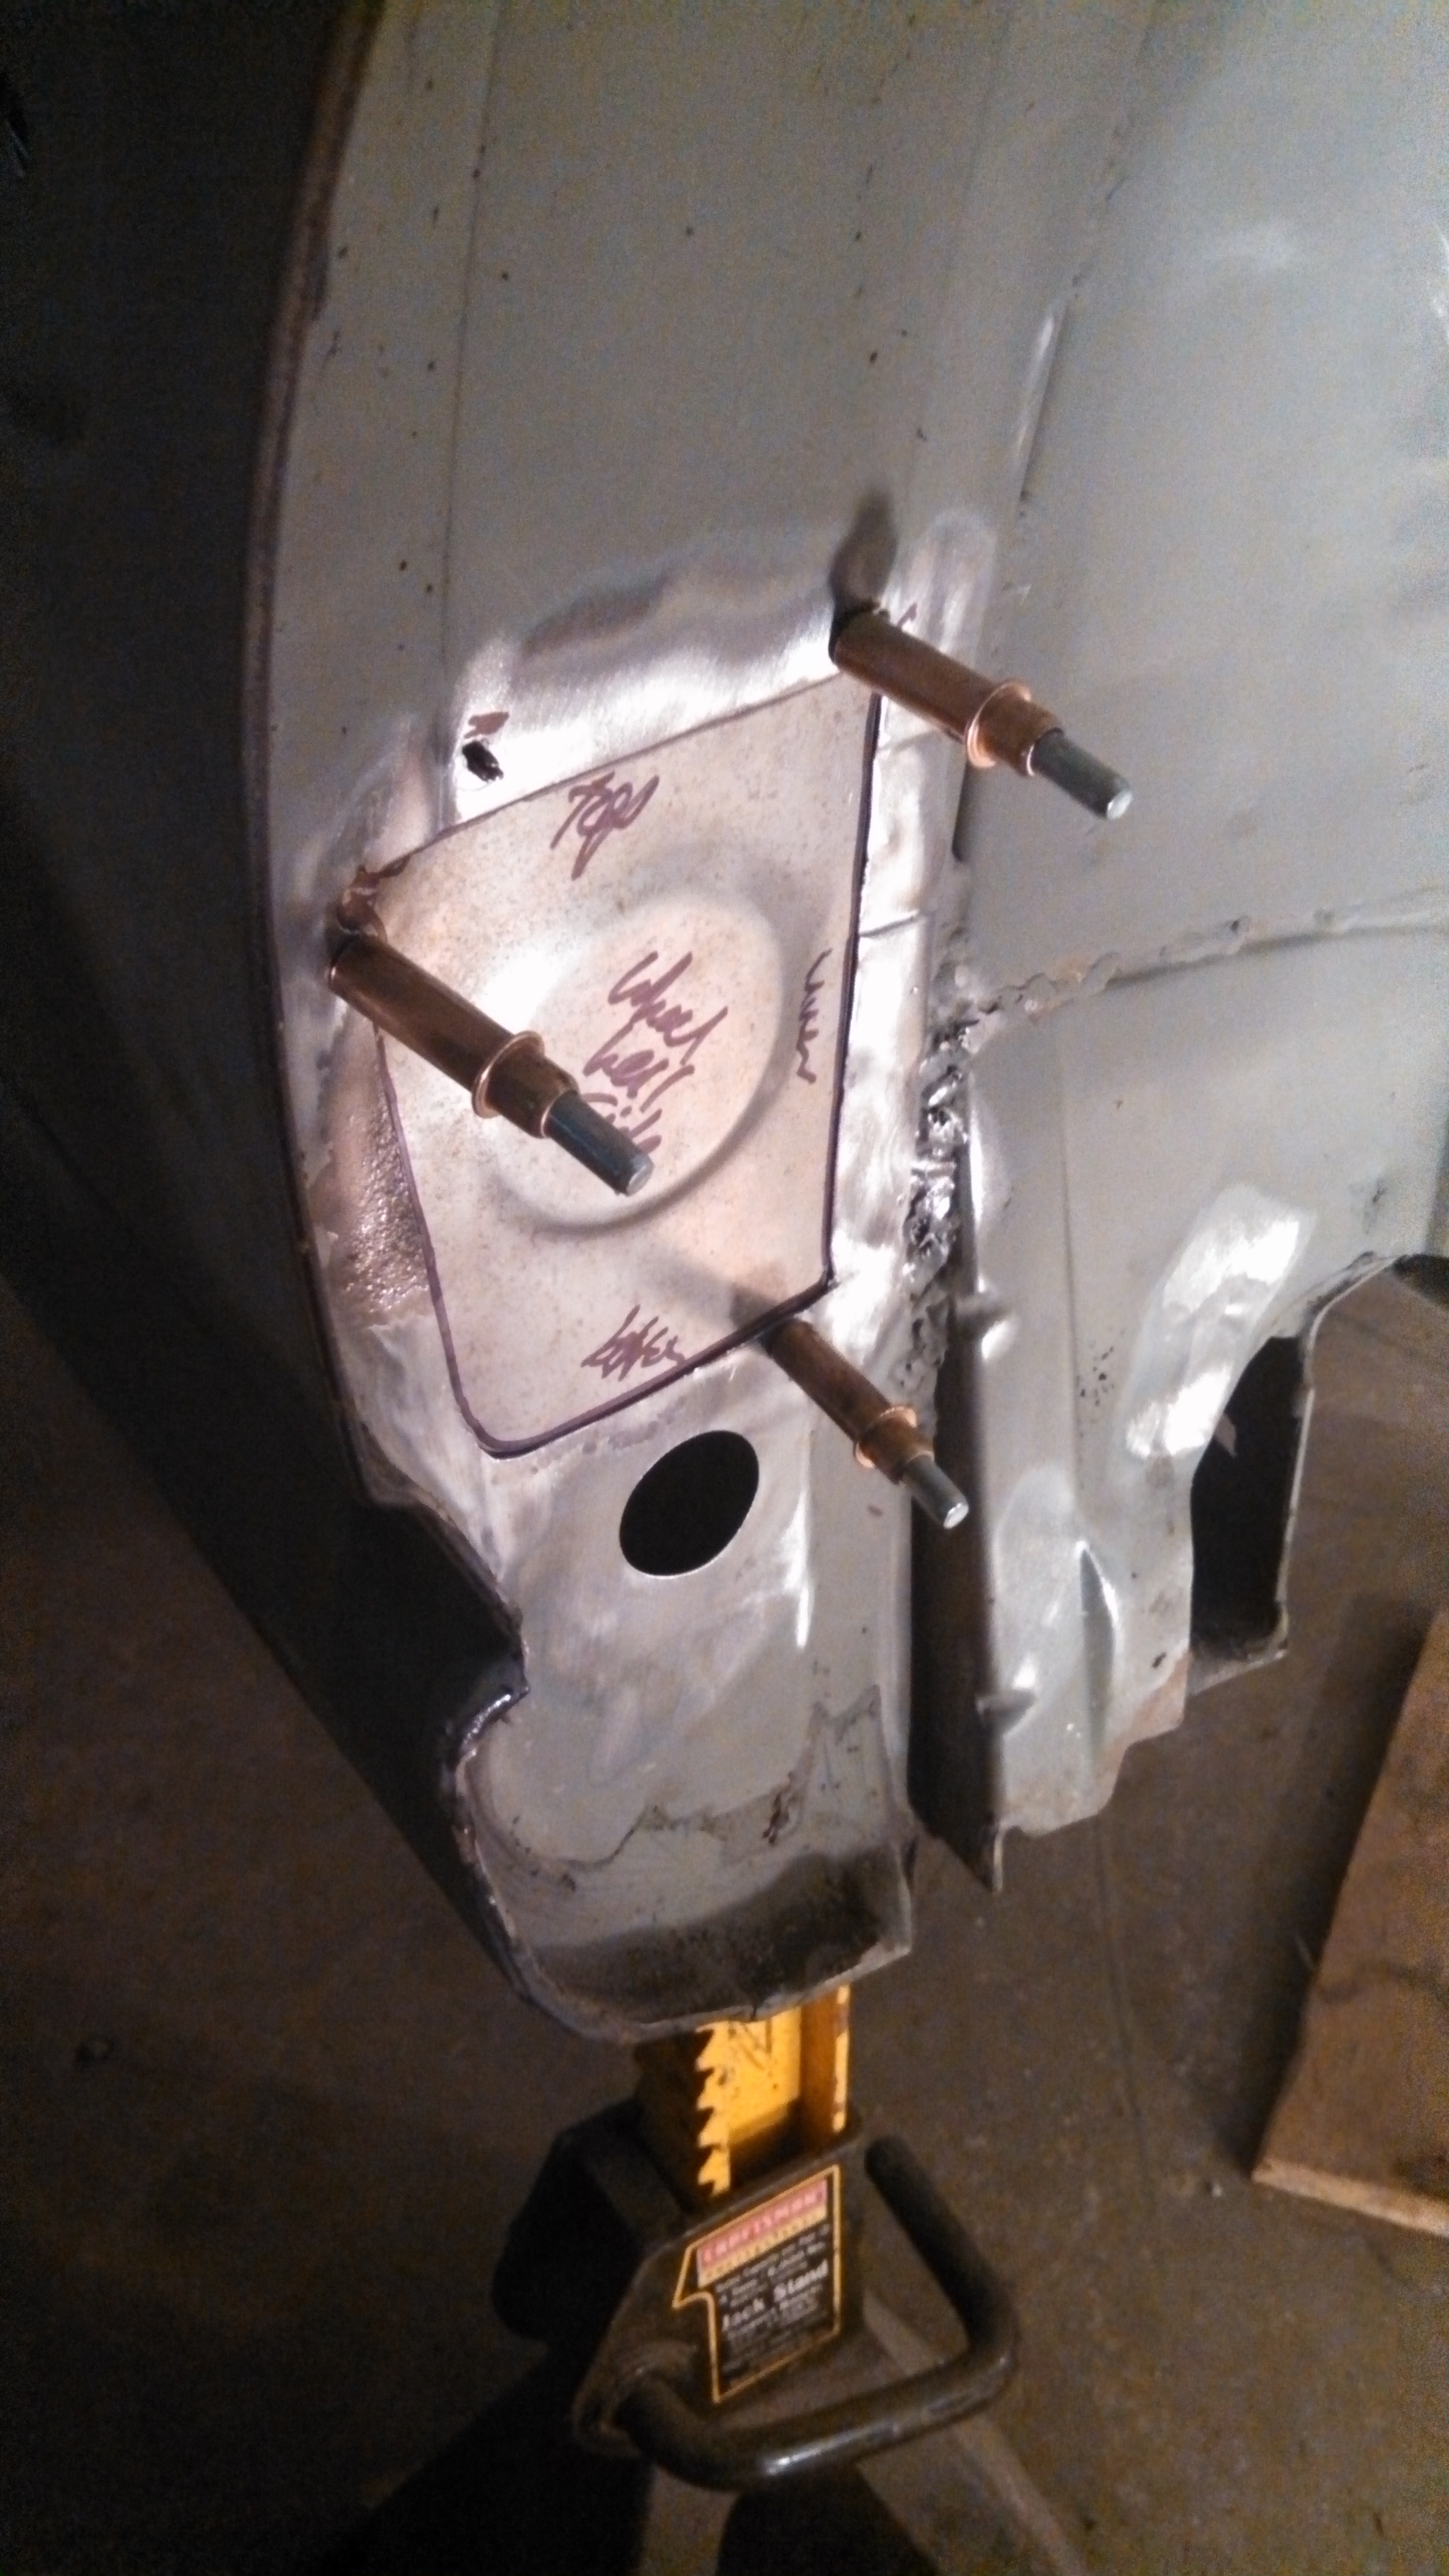
- driver rear wheel well patch cleco'd in.jpg (1.38 MiB) Viewed 39113 times
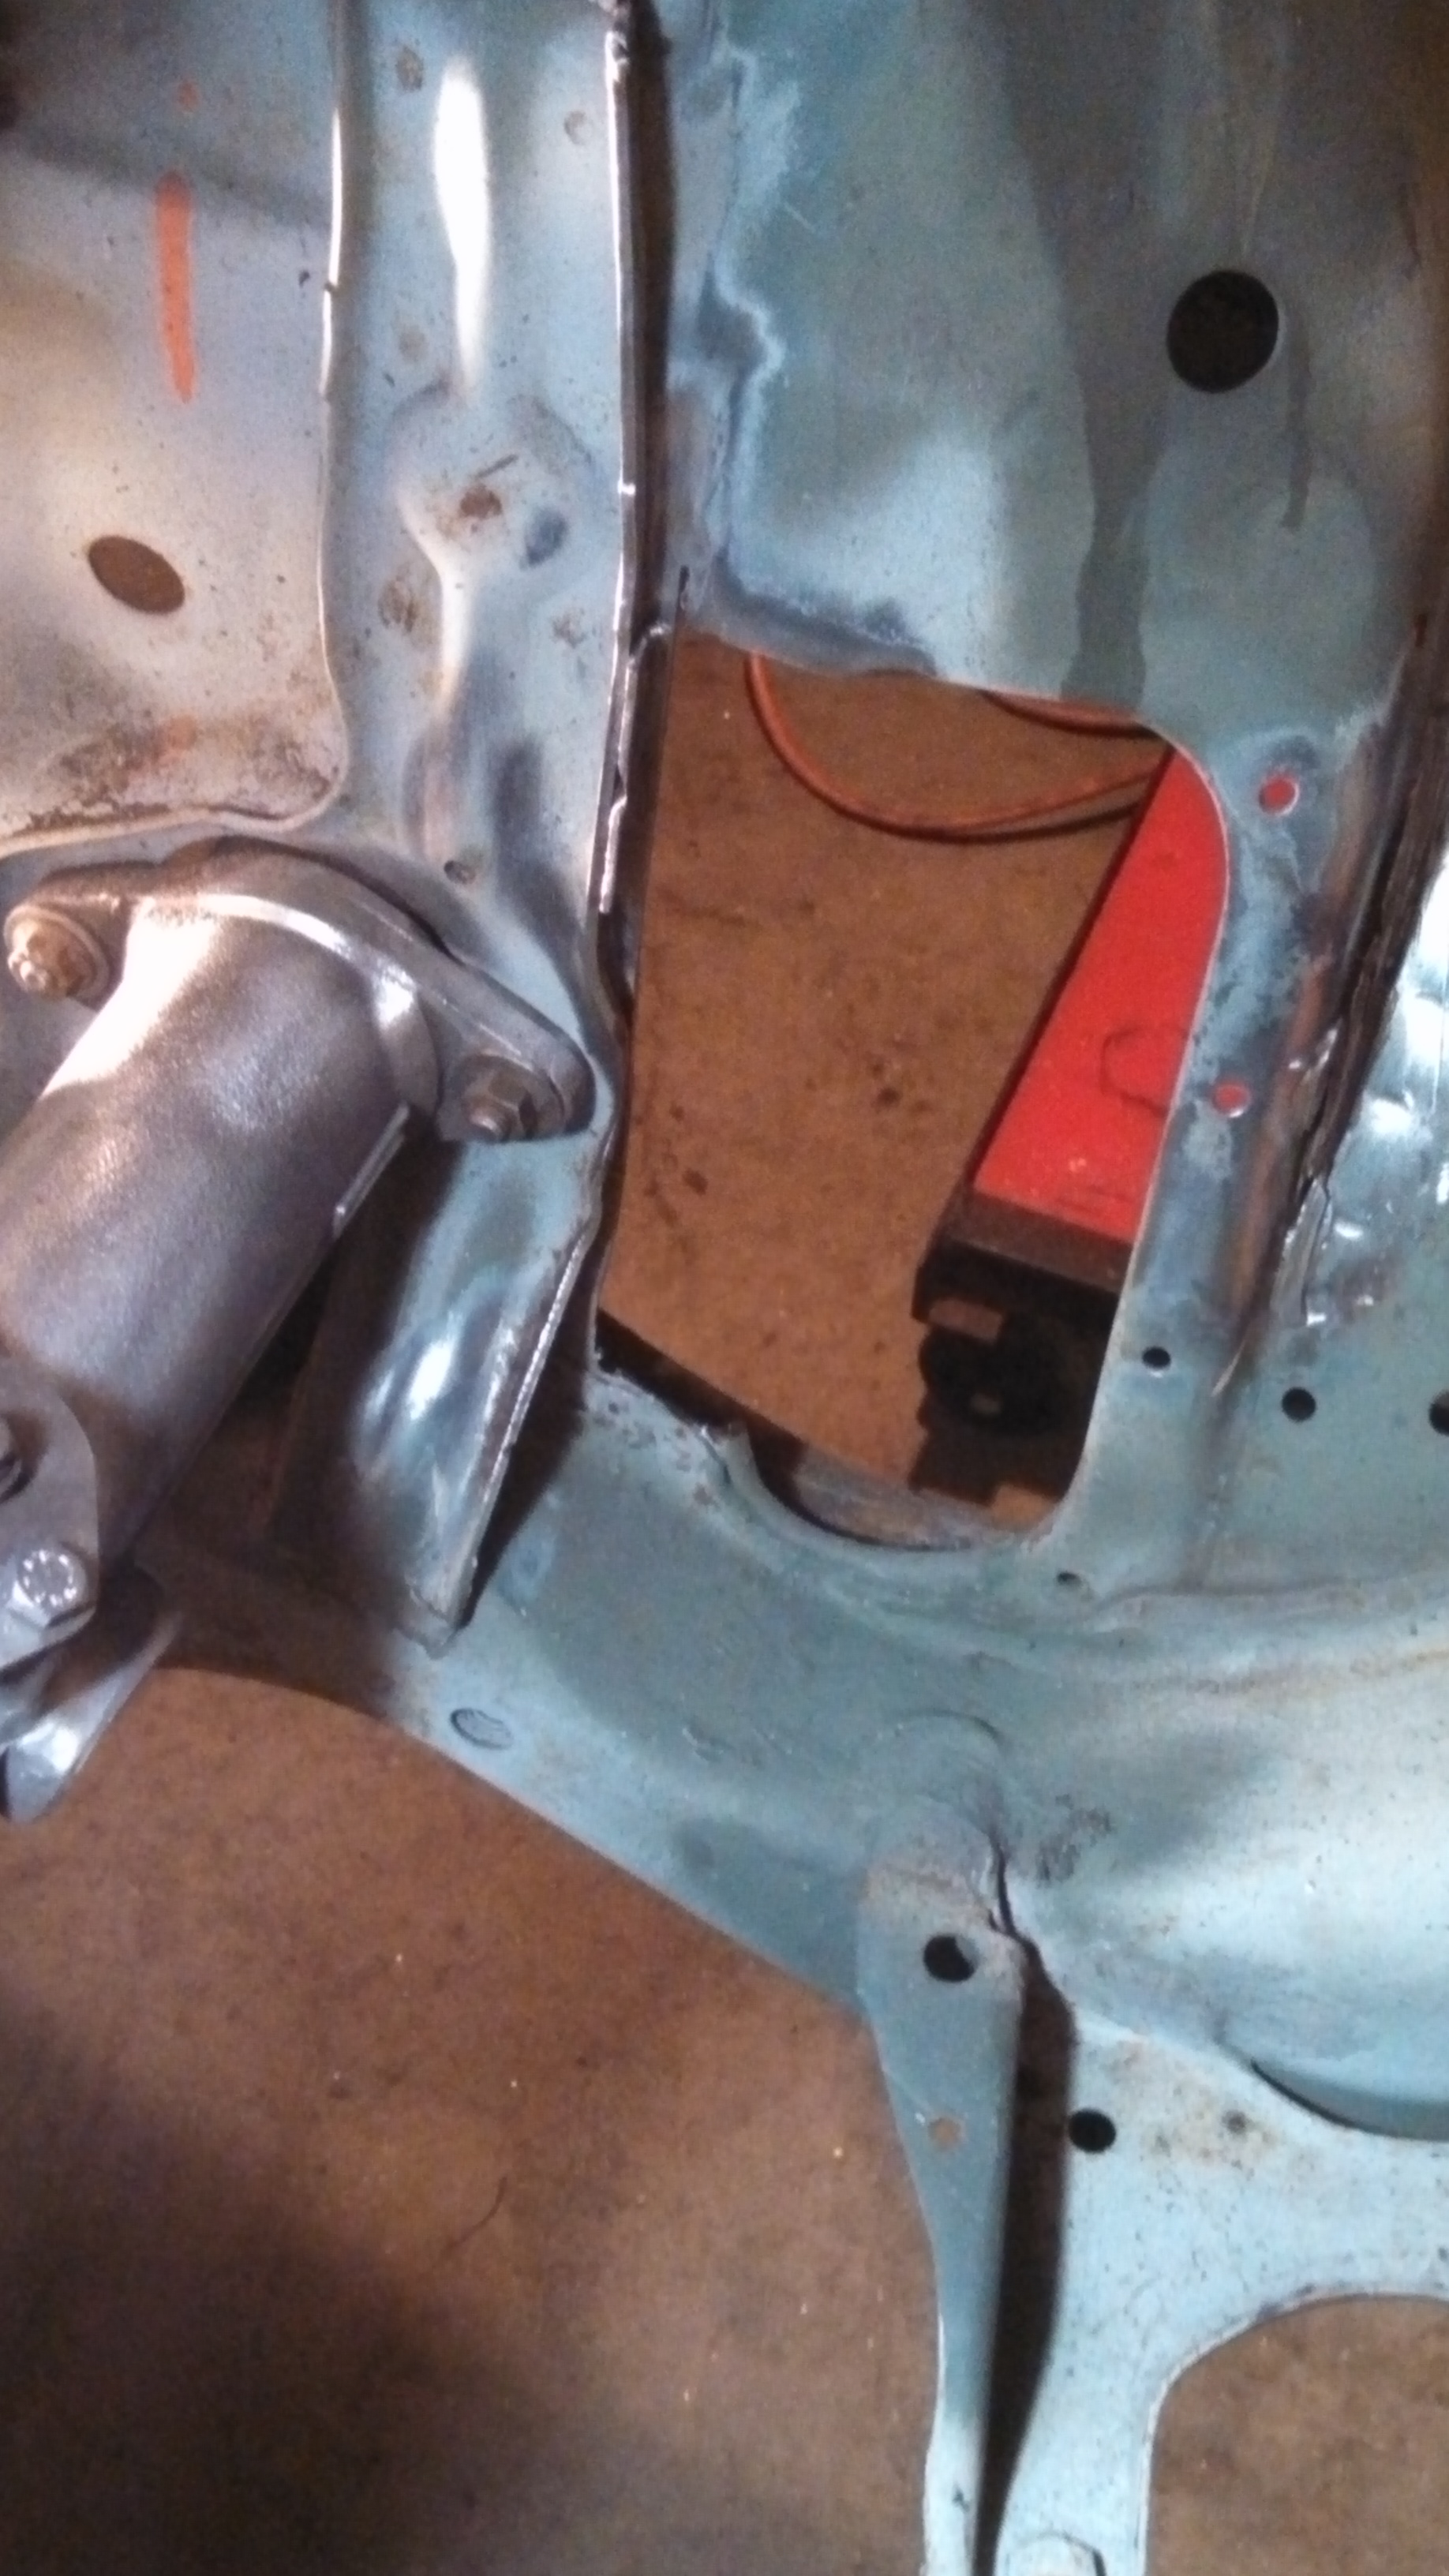
Seam welded in place and primed. It will get seam sealed as the rest of the chassis works gets finished.
- drivver rear wheel well patch.jpg (1.28 MiB) Viewed 39113 times
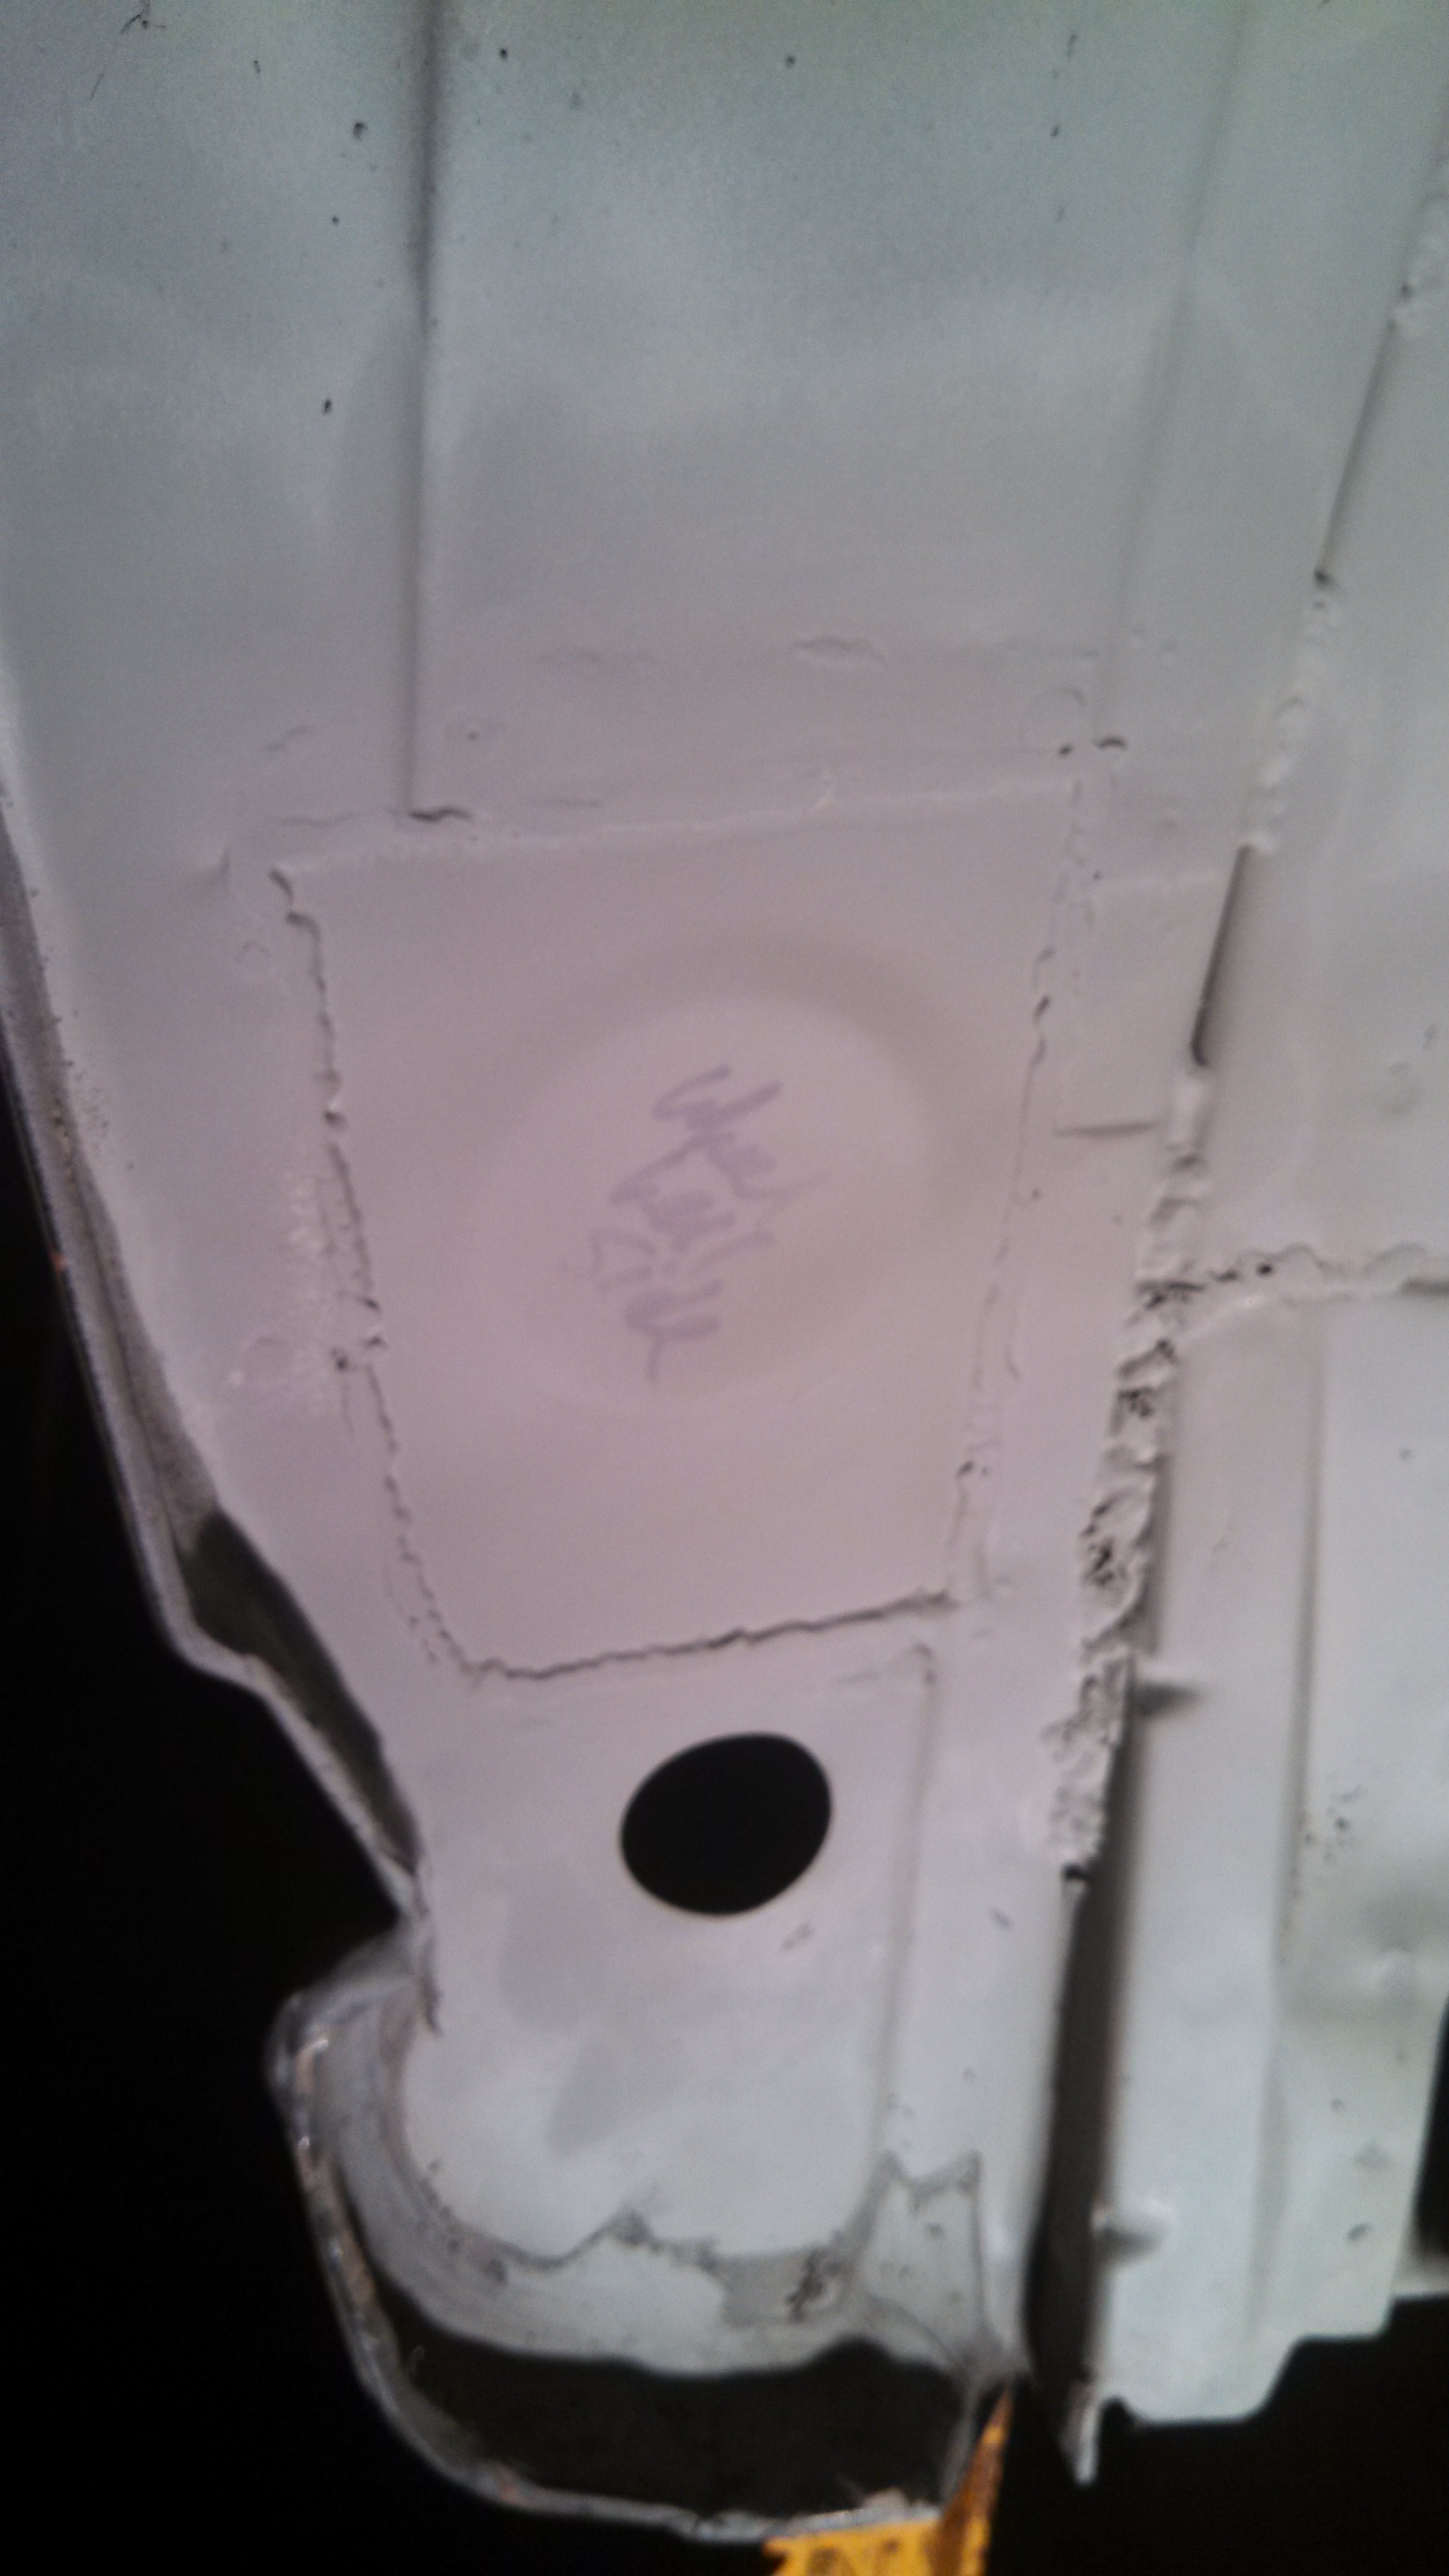
- dr rear wheel well patch primed.jpg (1.14 MiB) Viewed 39113 times
I also cut off the old brake line hangers. The part where the soft and hard lines meet, was a bit crunchy, not horrible but not cleeeean. So I cut them out and will be replacing them shortly.
- brake line hangers removed.jpg (1.88 MiB) Viewed 39113 times
Re: 24vVR6T CQ Project: EATSGTR, chassis FAB
Posted: Fri Sep 20, 2013 7:47 pm
by my2000apb
MORE!!!
I also started collecting a bunch of small rod ends, spacers, seals etc. to convert the 01e b5s4 shifter x-rod to a small spherical joint. It will use rod end seals and some alu. spacers to give it correct height and articulation. More on that later
- o1e crossrod spherical in the works.jpg (972.62 KiB) Viewed 39111 times
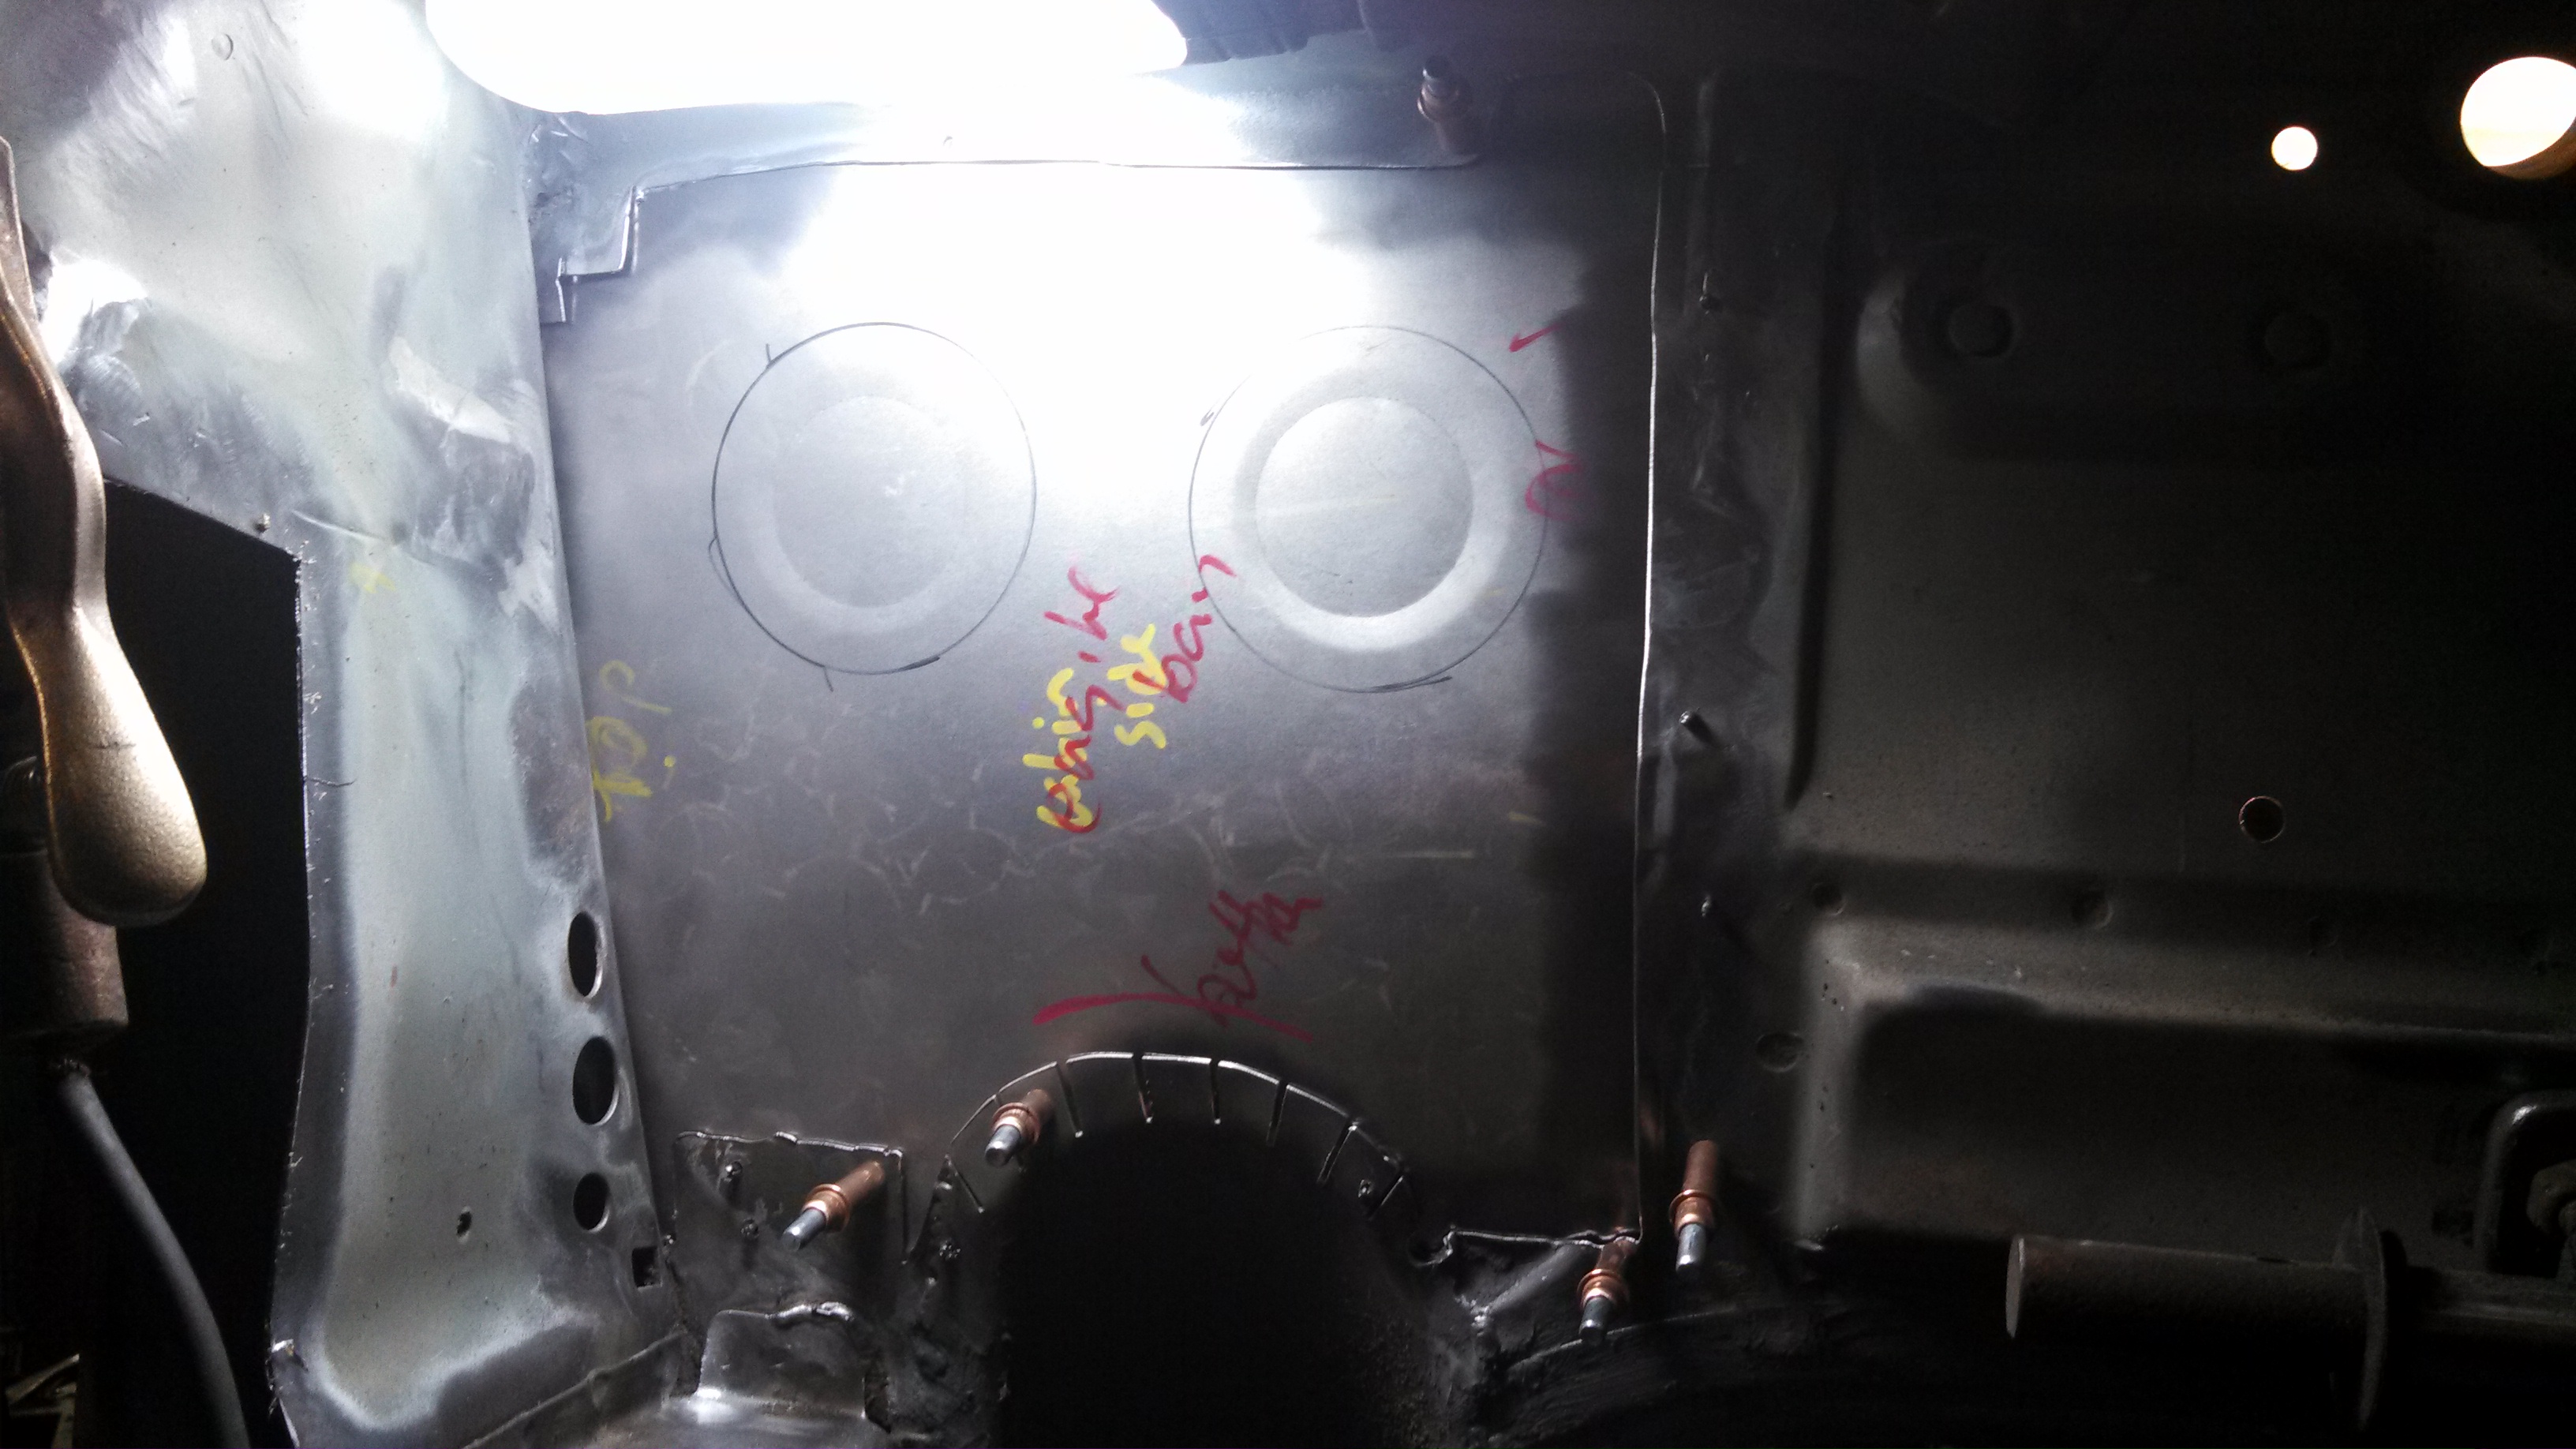
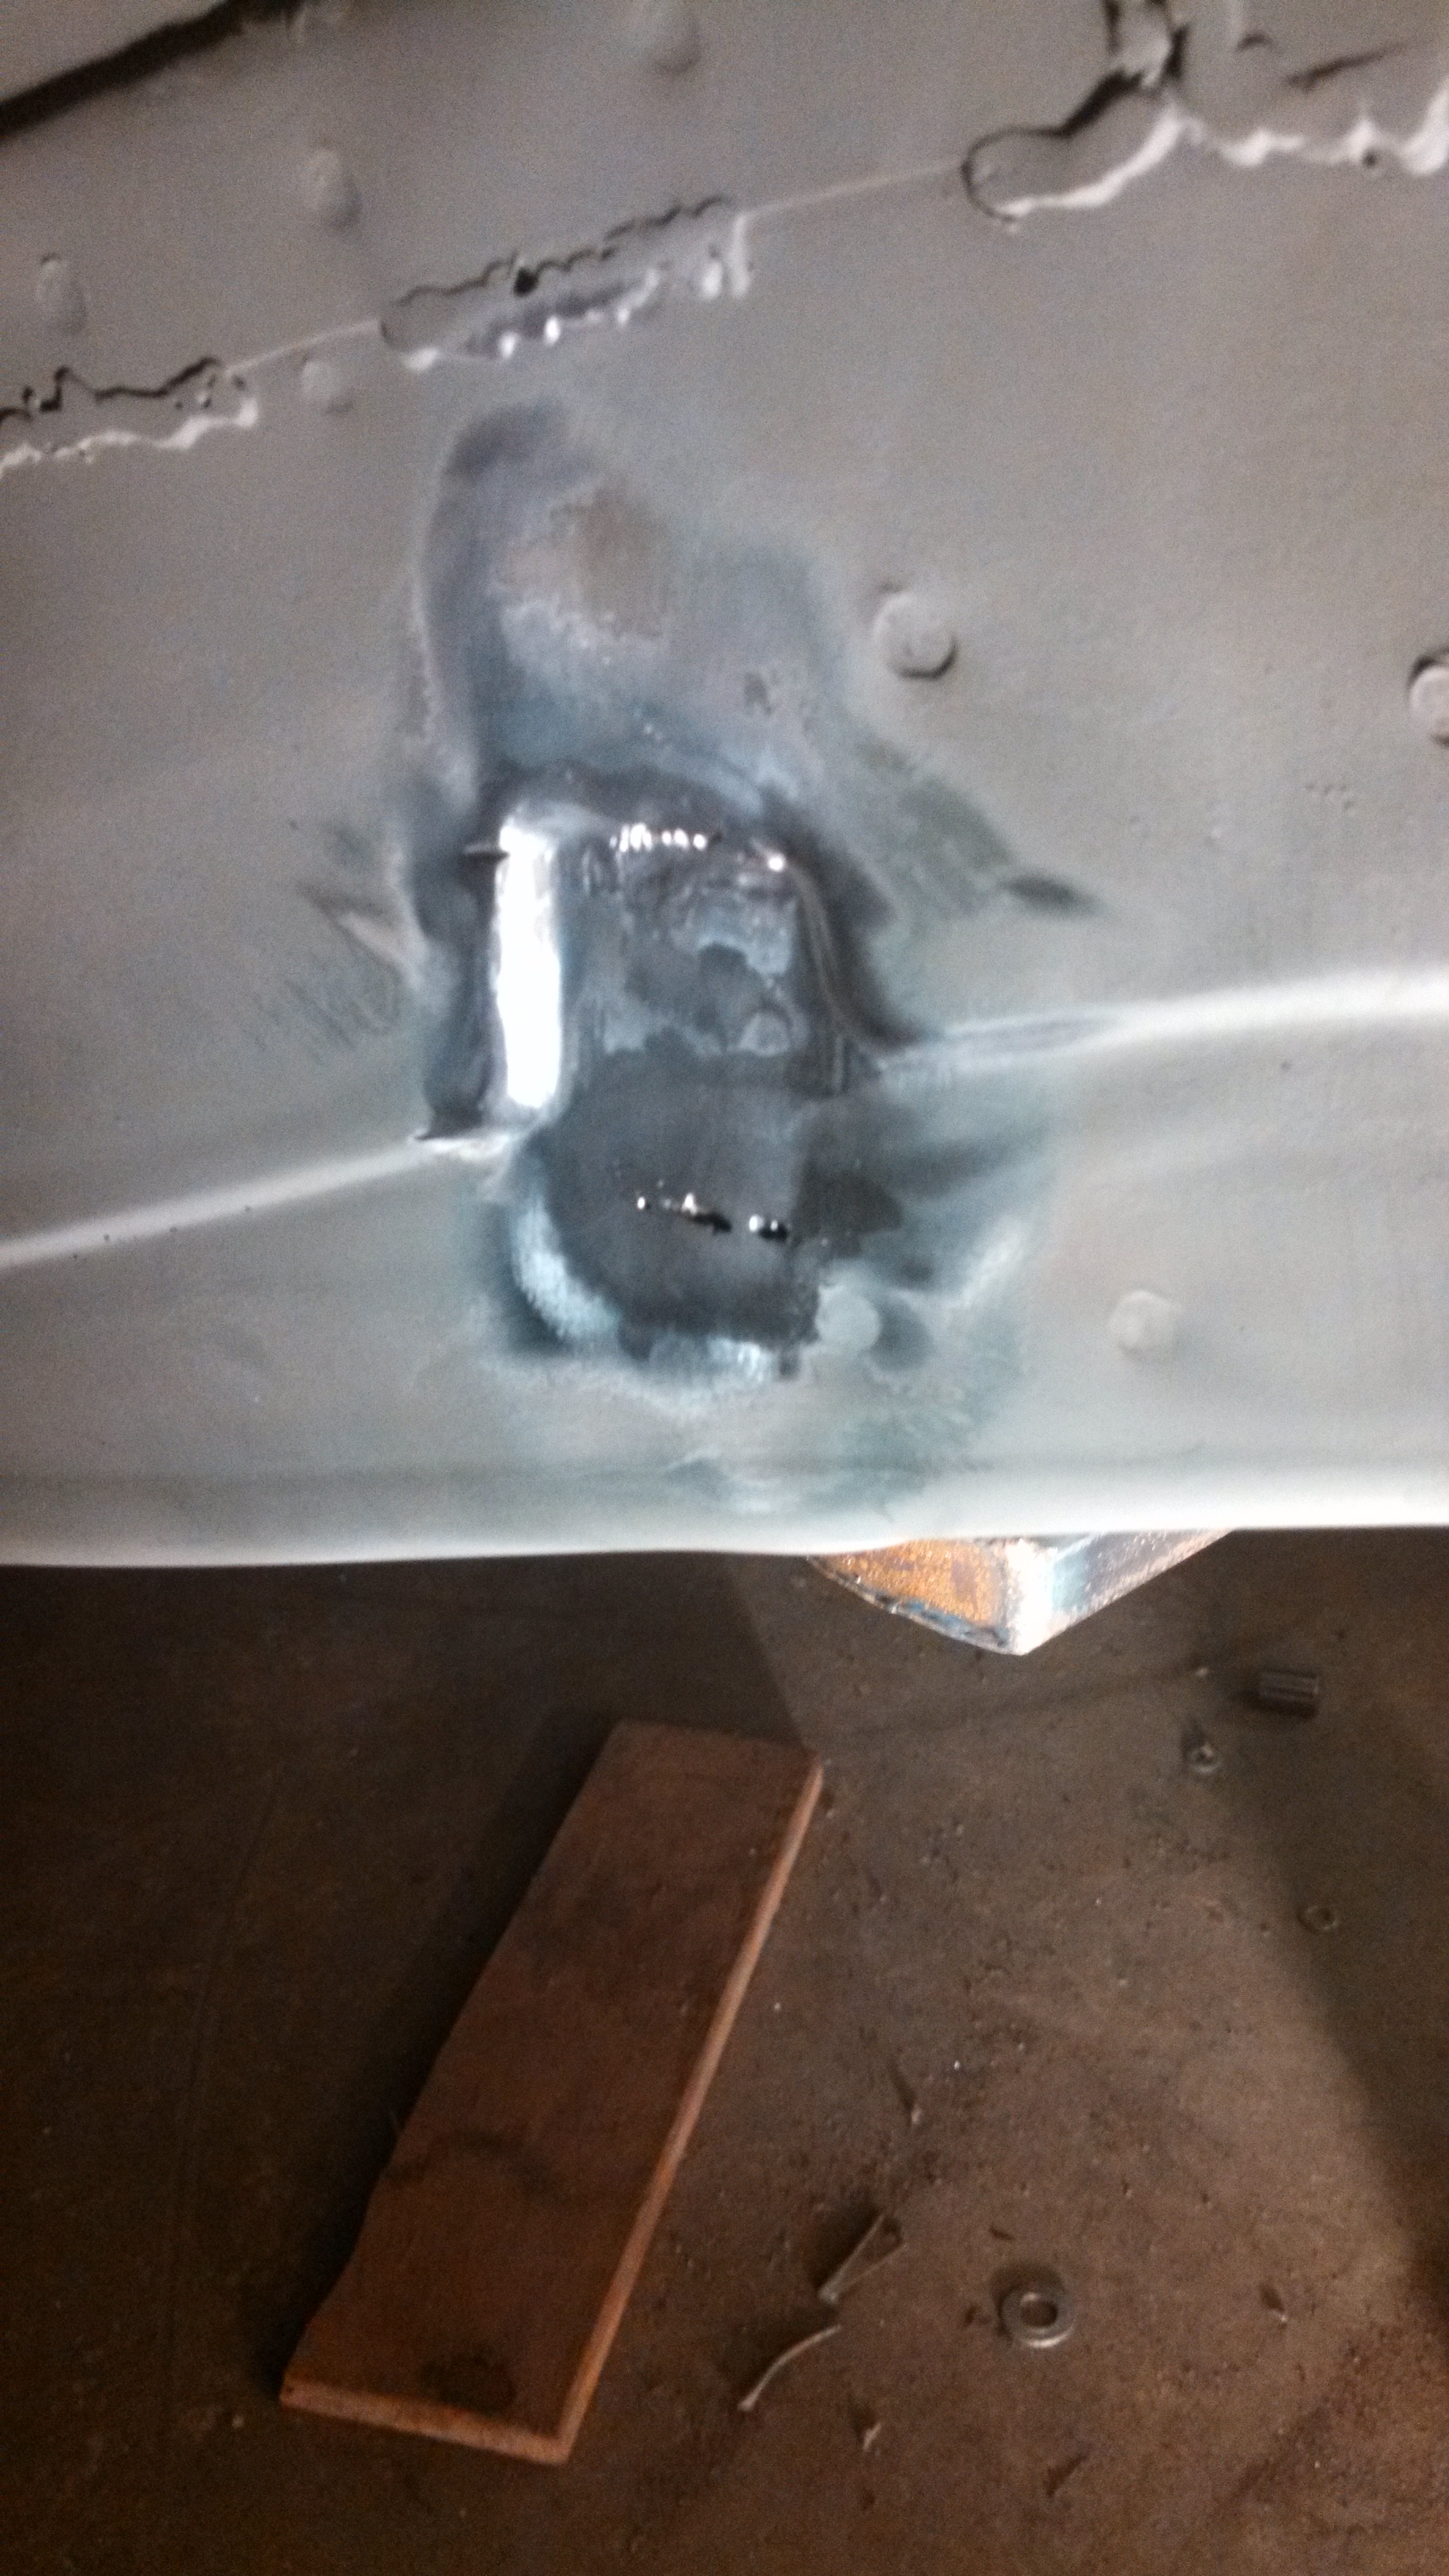
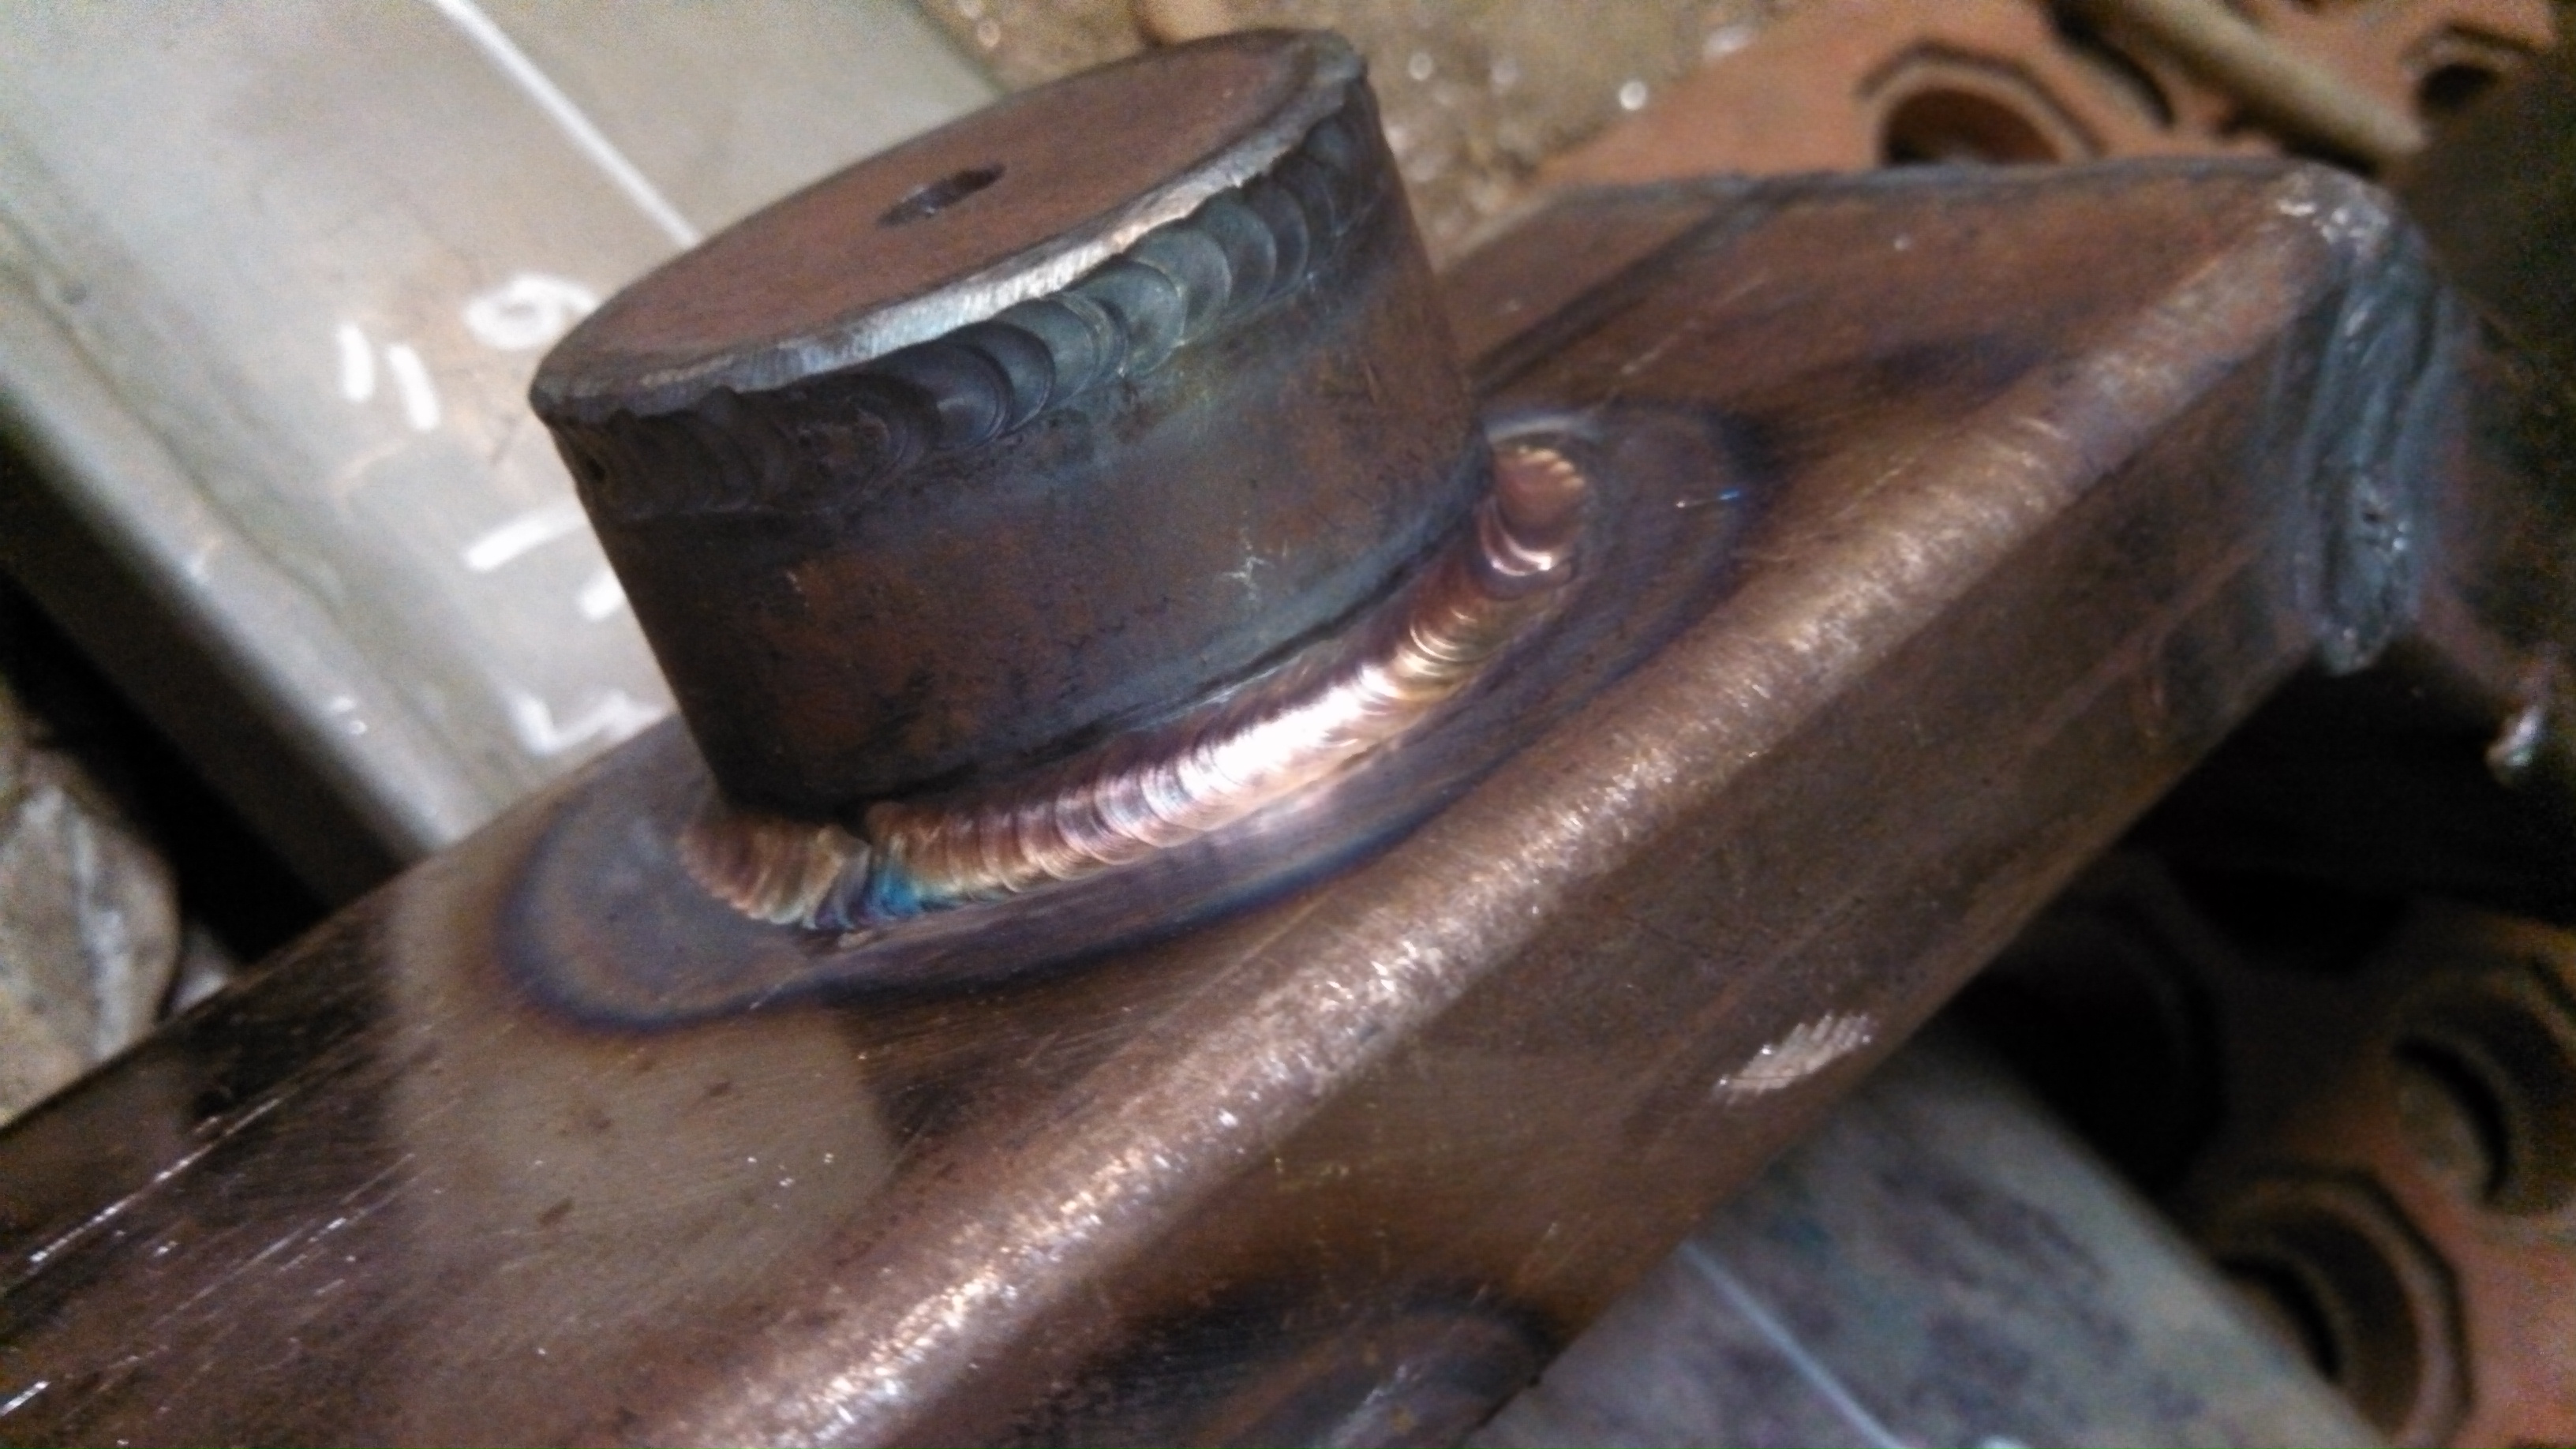
I had originally relieved the t44 rear diff mount bracket for exhaust clearance (see pic)
But that just wasn’t up to my standards for the rest of the car, so what to do? BILLET!
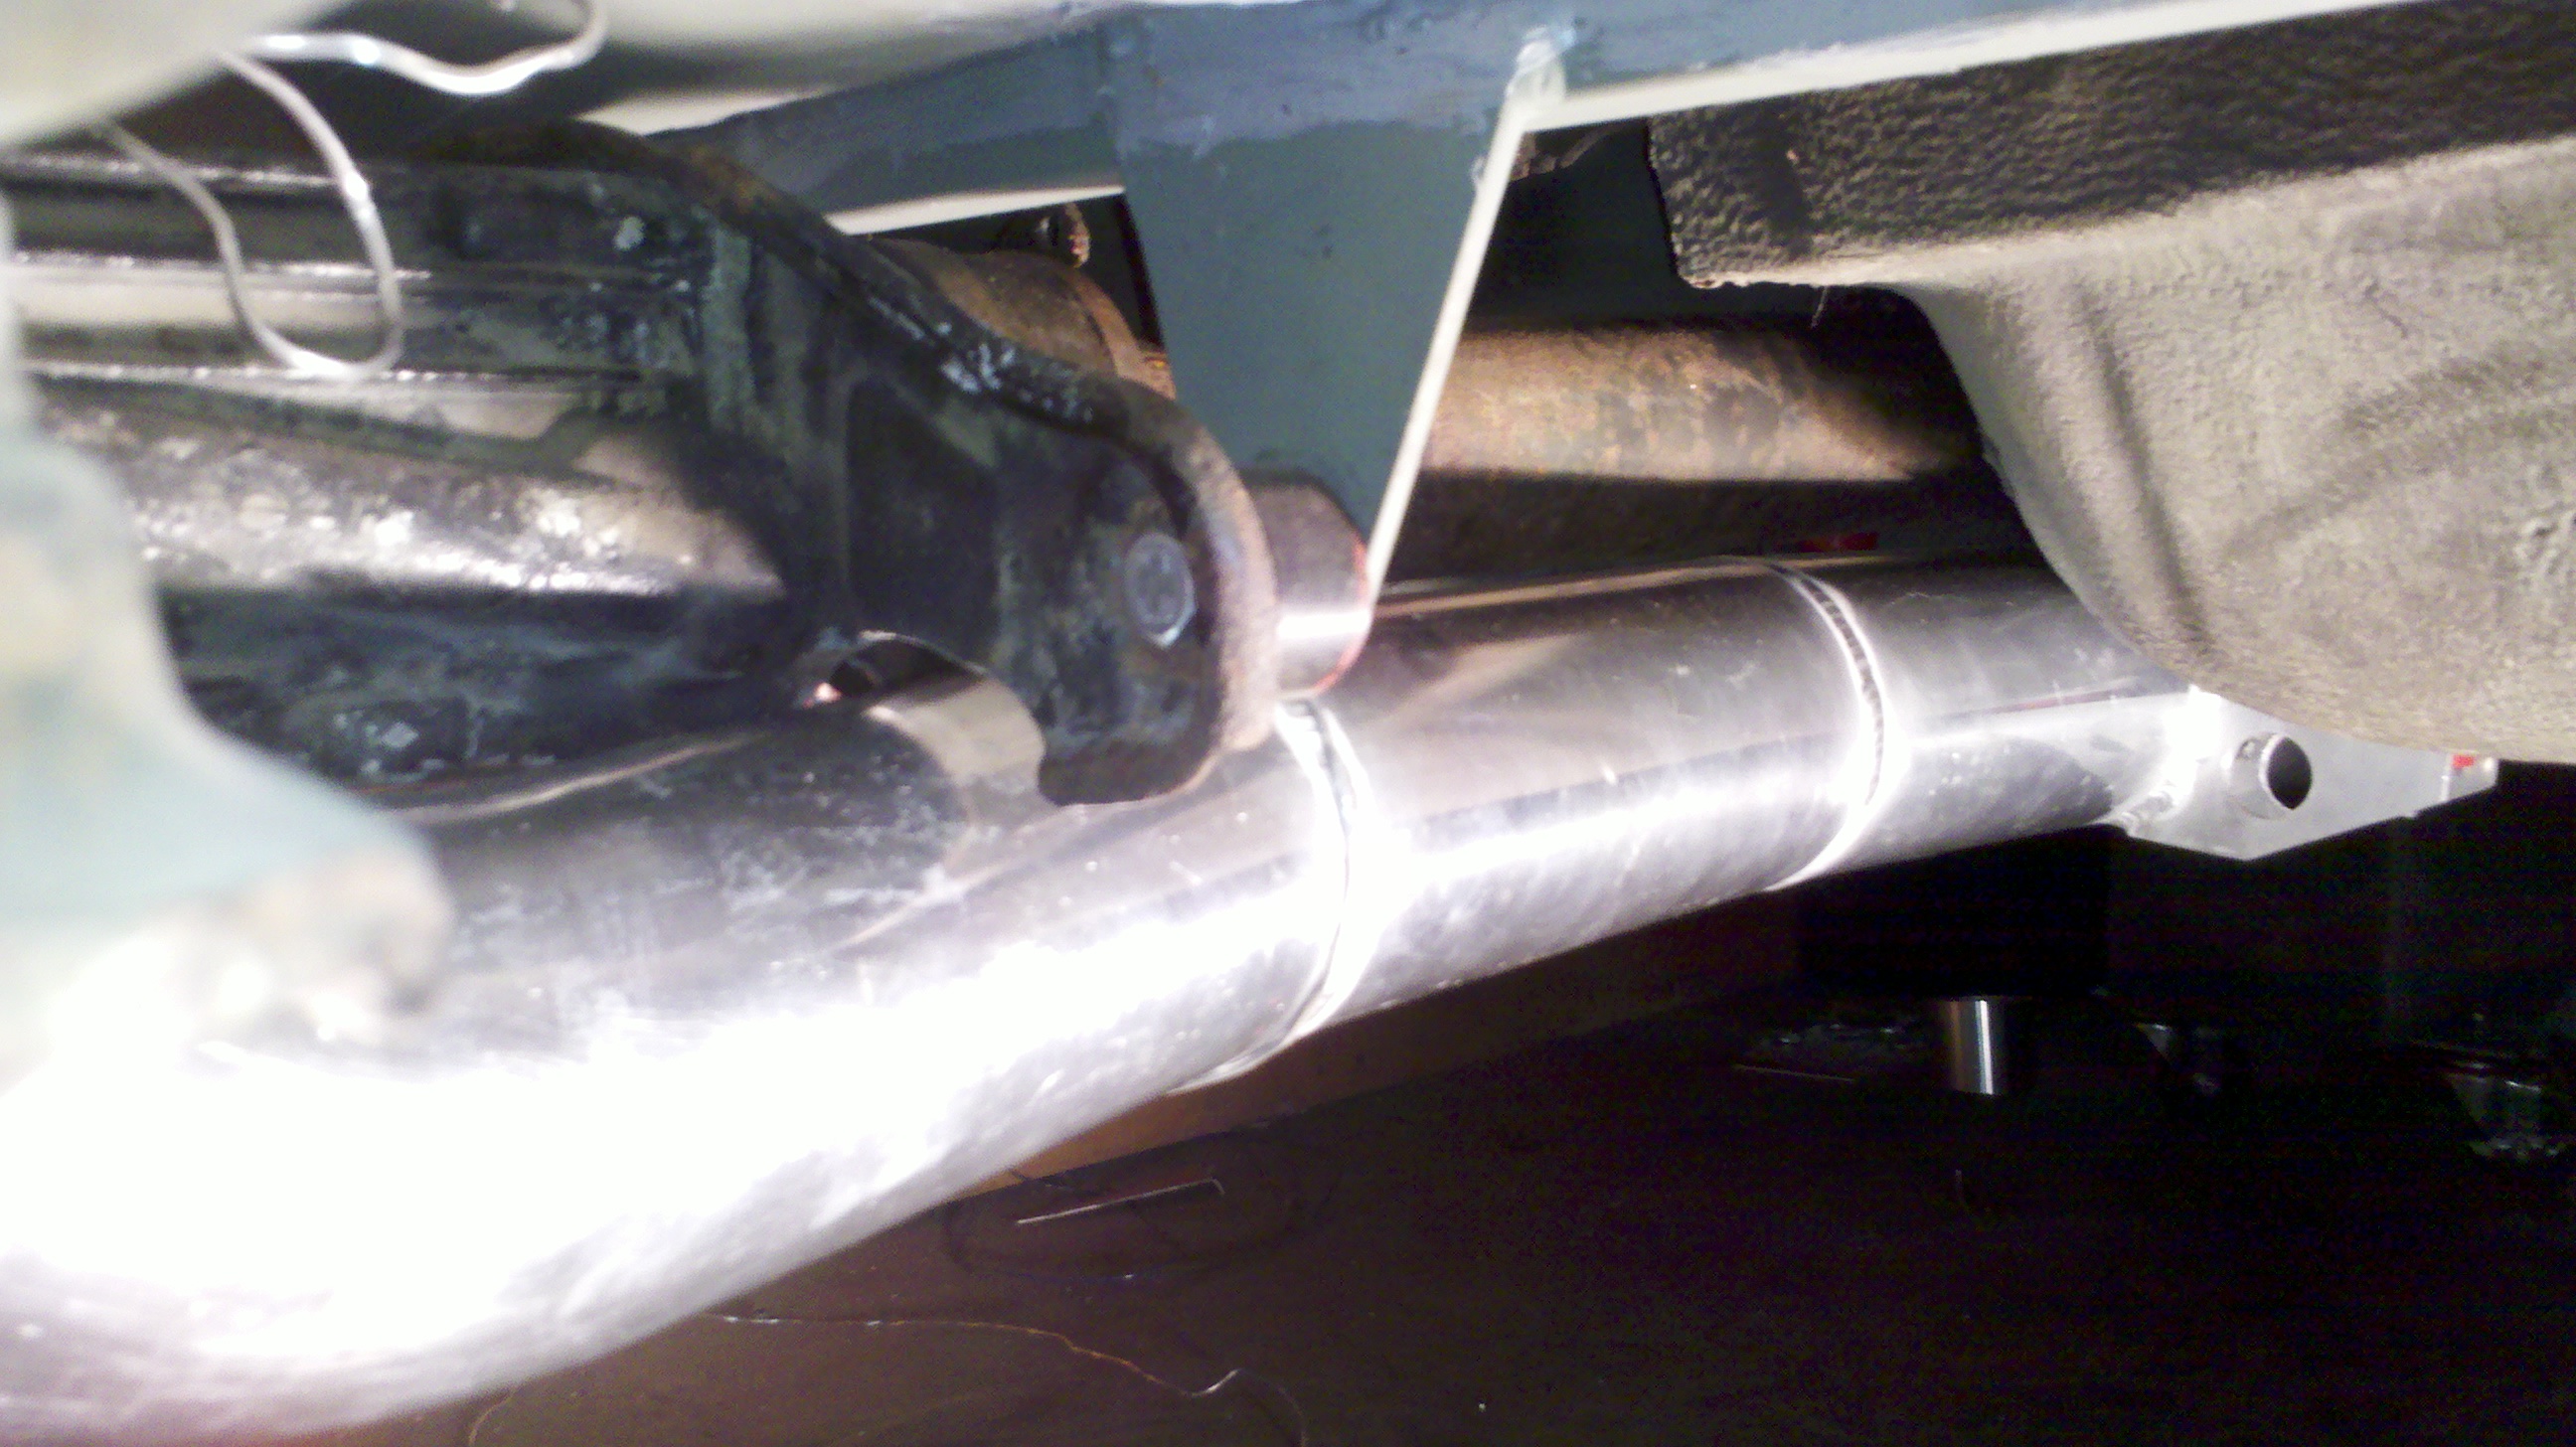
- exh clearanced v8 dif mount.jpg (1.07 MiB) Viewed 39111 times
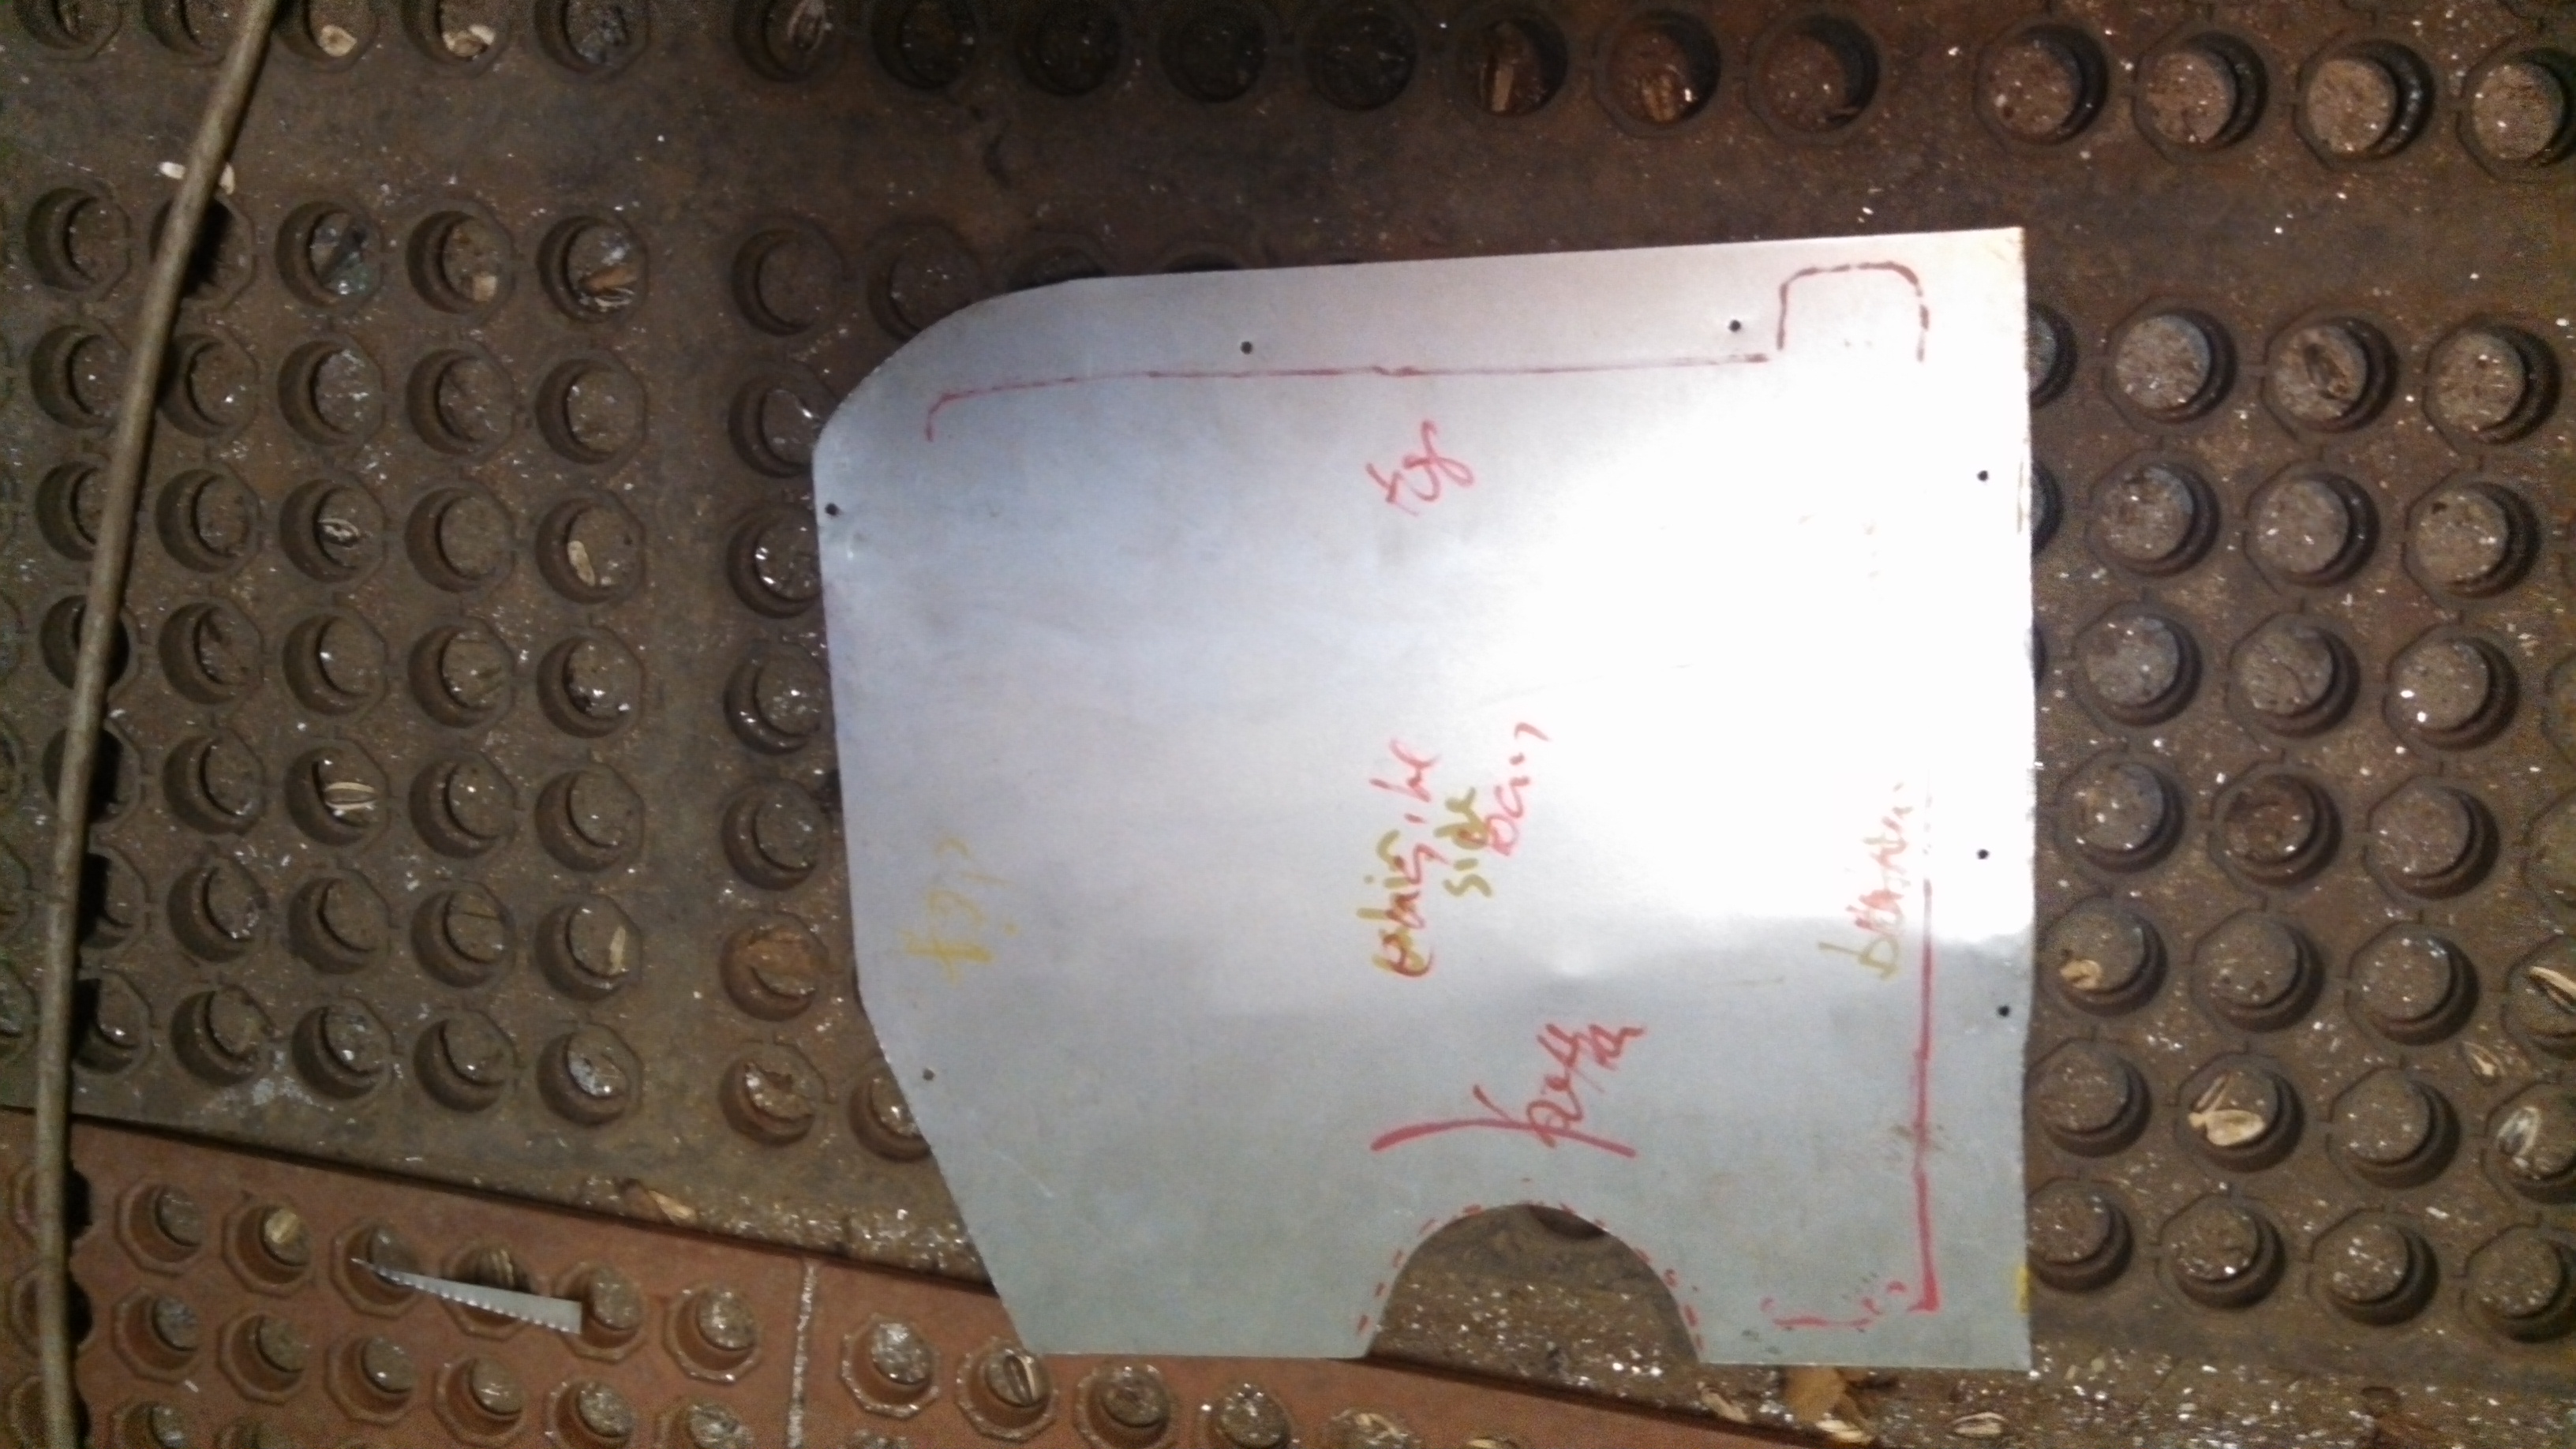
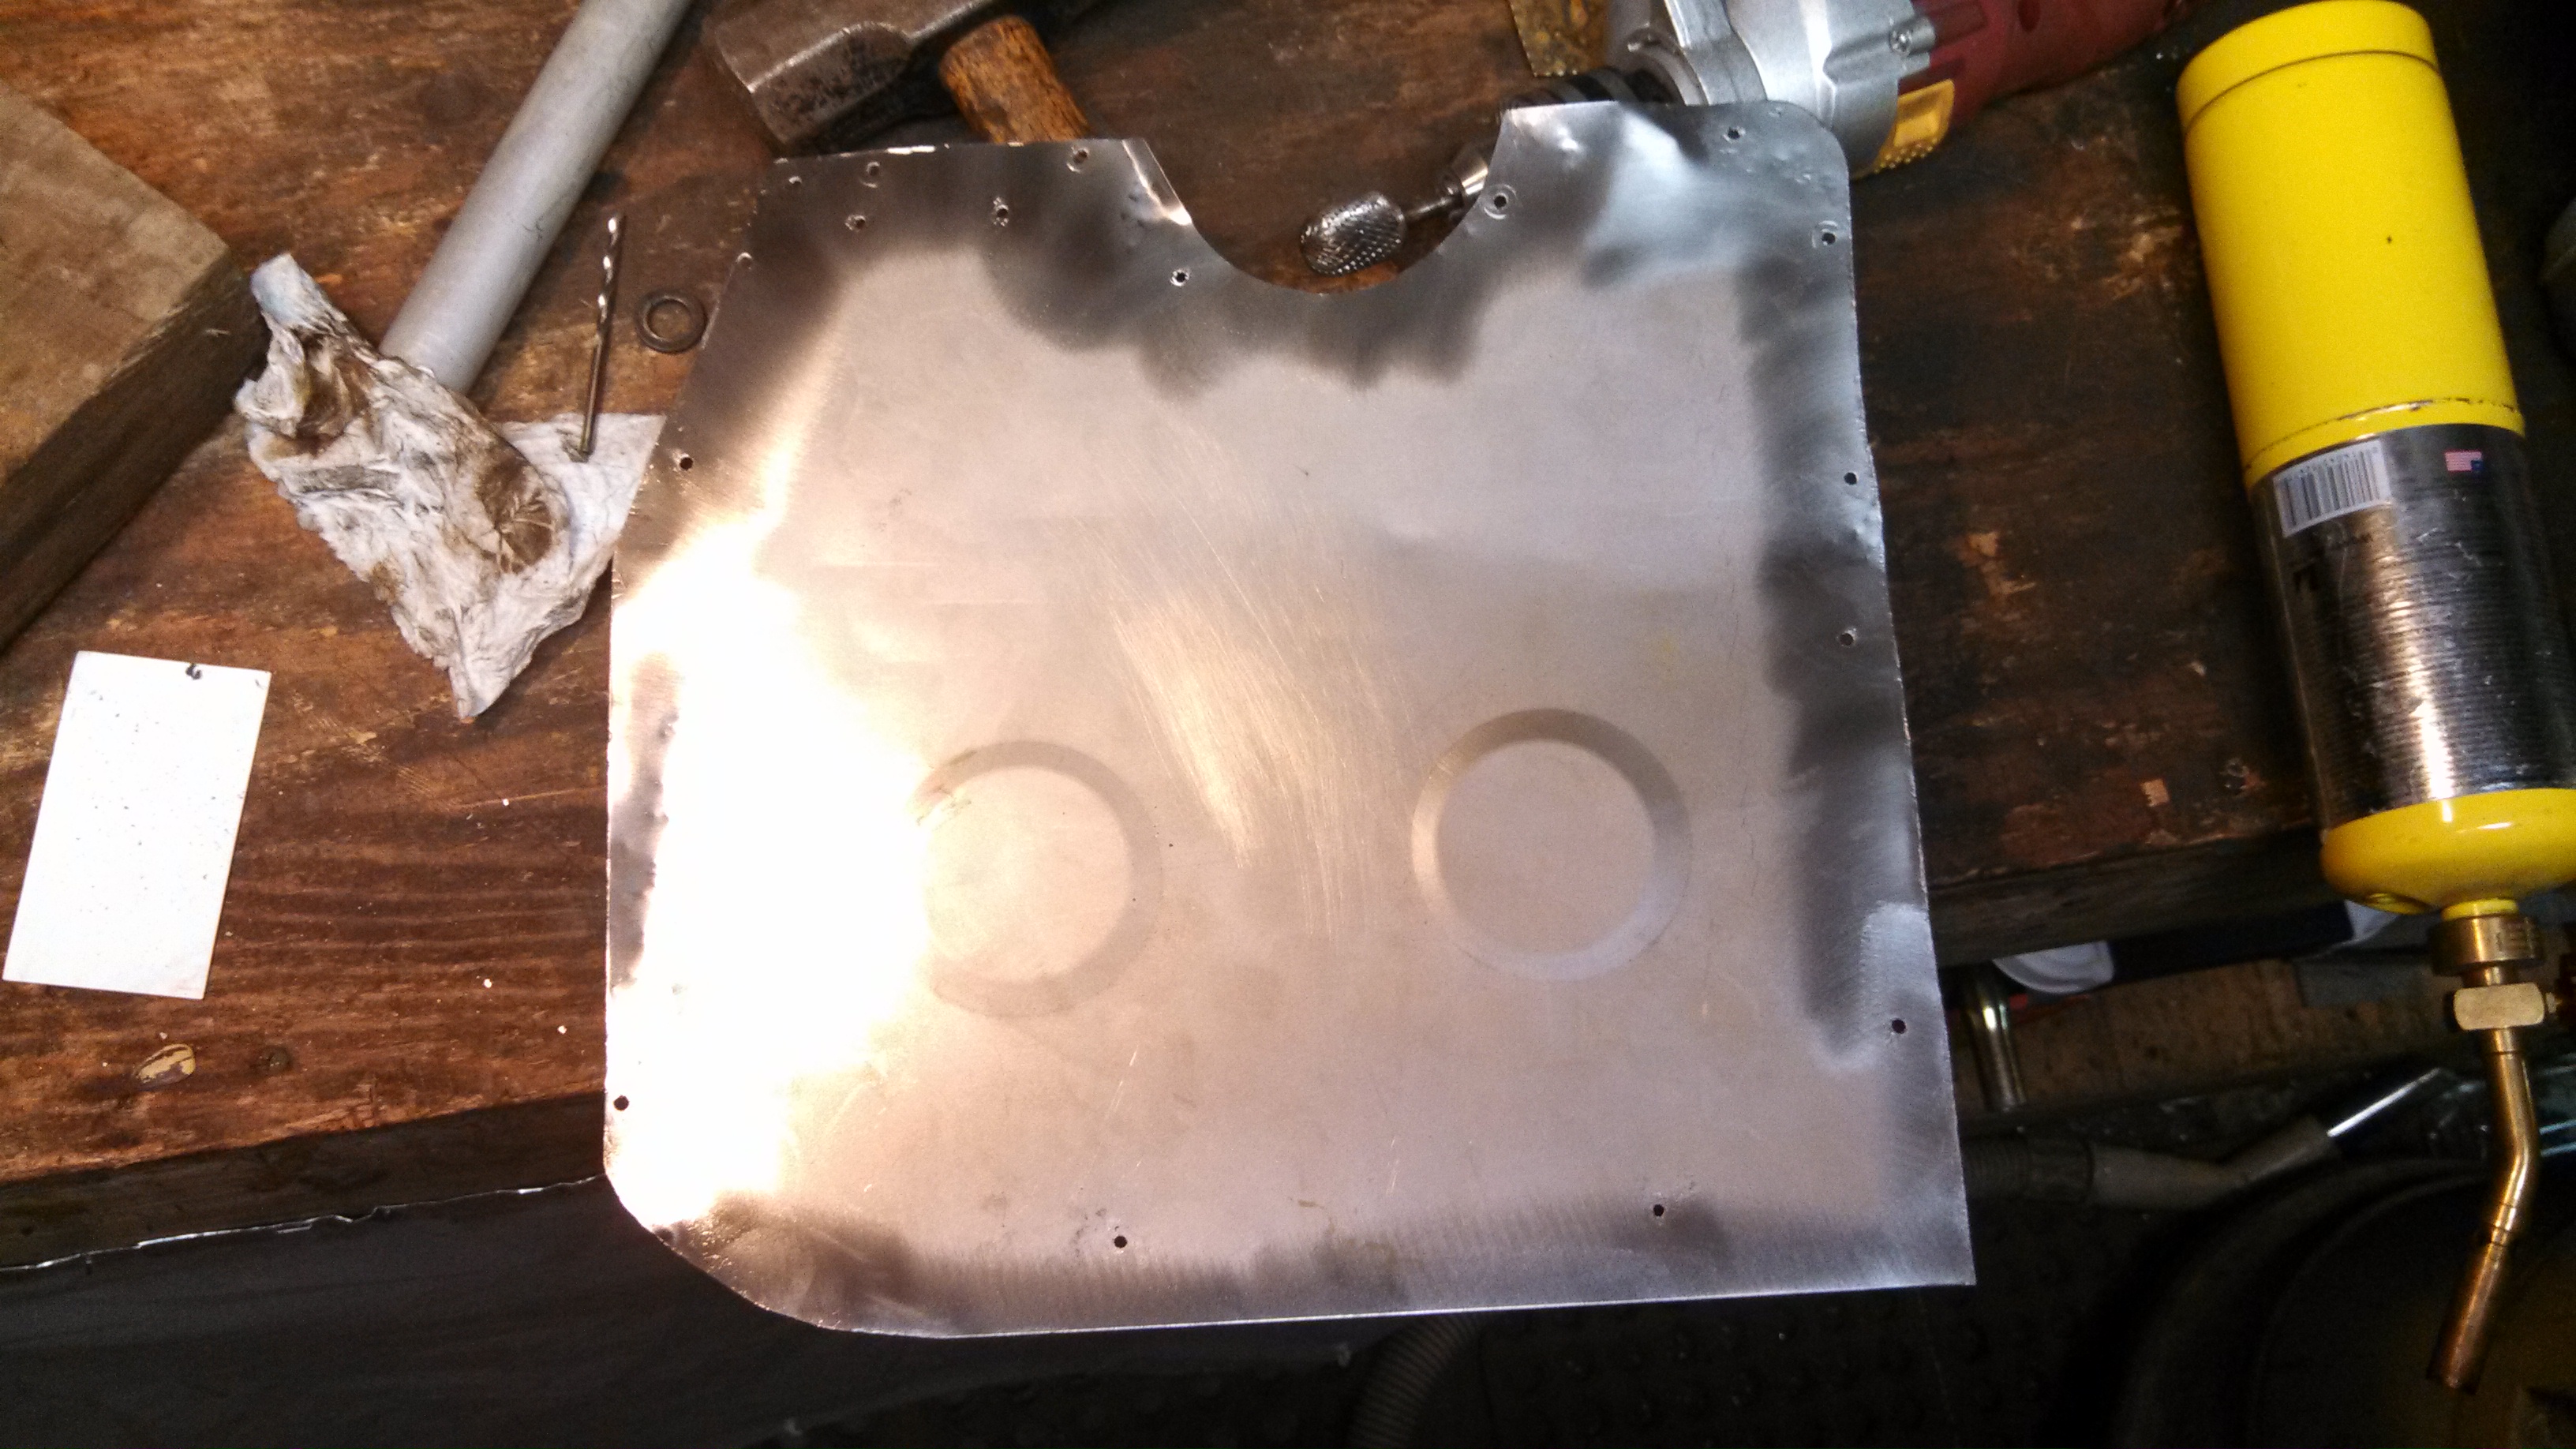
Yup, so I grabbed a piece of ½” 6061 plate and dove right in!! I diligently marked all the holes on the mount first. Then I took a hole saw to the diff. input cup hole and also to the exhaust relief. And that’s it, haha not really. I sent it off to my buddy who works at a machine shop. Its going to be milled down along the edges, have a radius cut along the edges, the diff mount bushings are being recessed to make up for the oem vs billet mount plate thickness, and lastly a light fly cutting for sexiness. It should be here in plenty of time to go to the first round of anodizing. Pics!!!
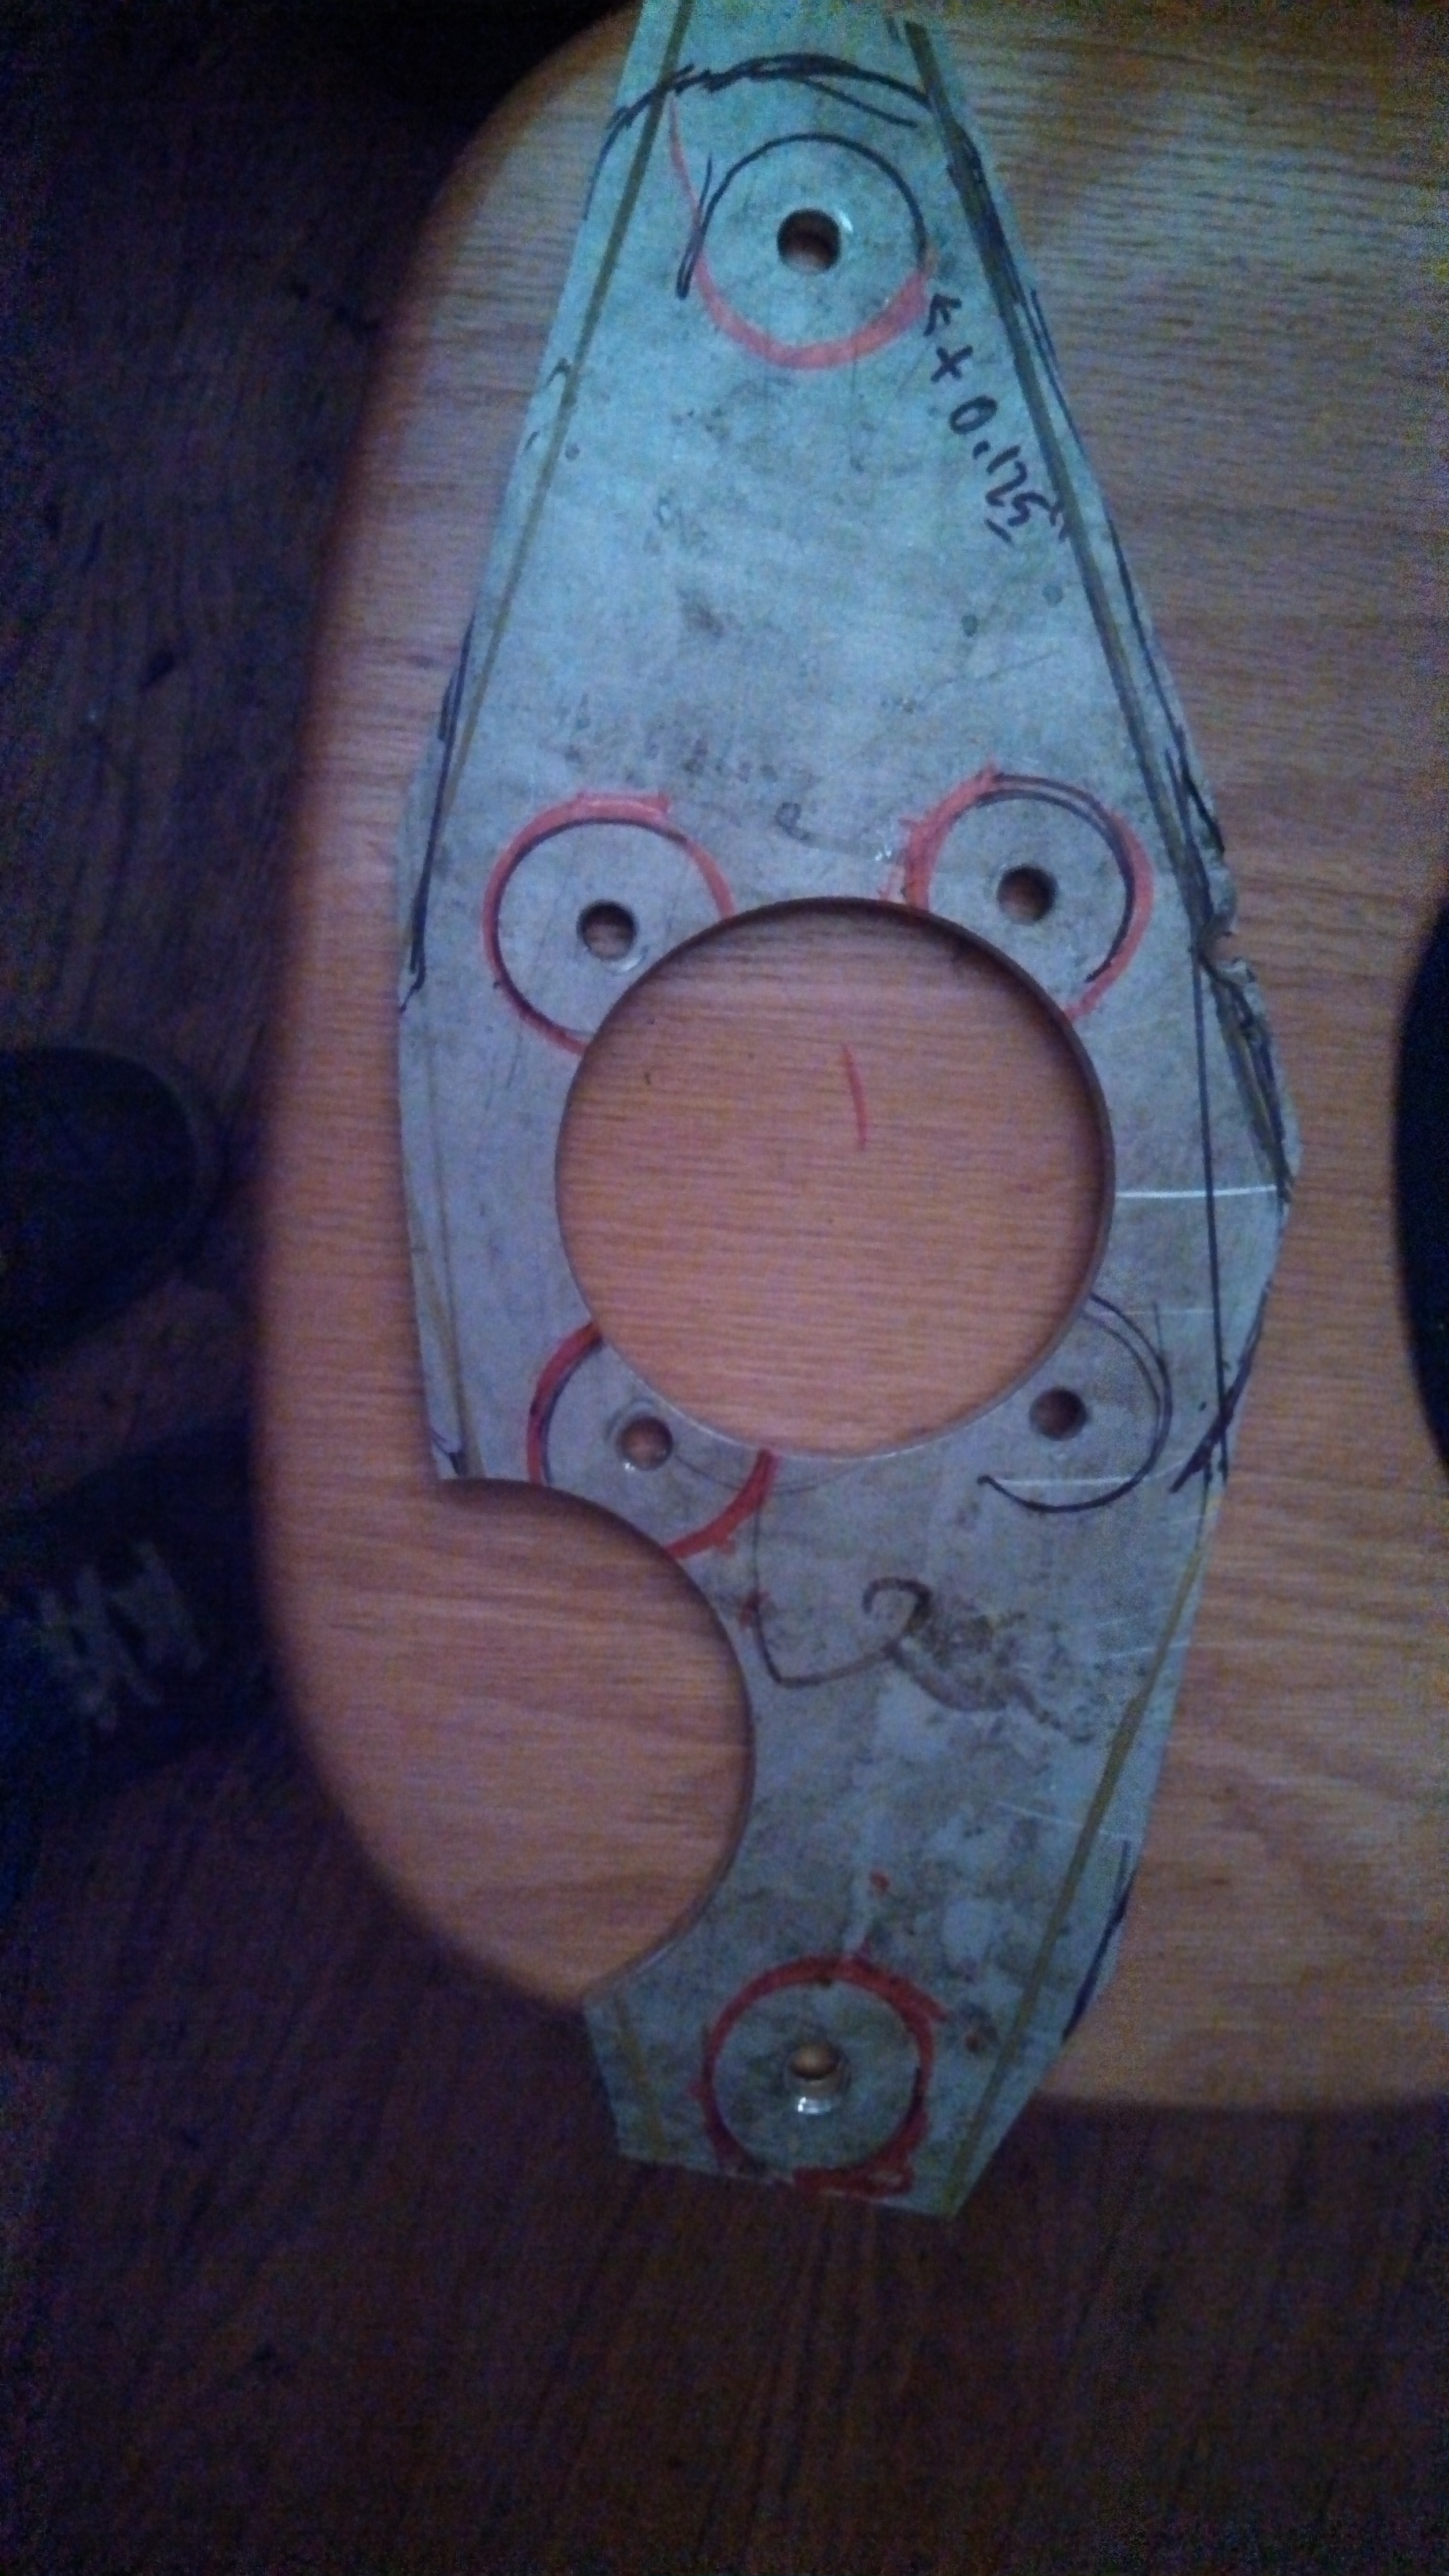
- rear diff mount bracket roughed out.jpg (1.56 MiB) Viewed 39111 times
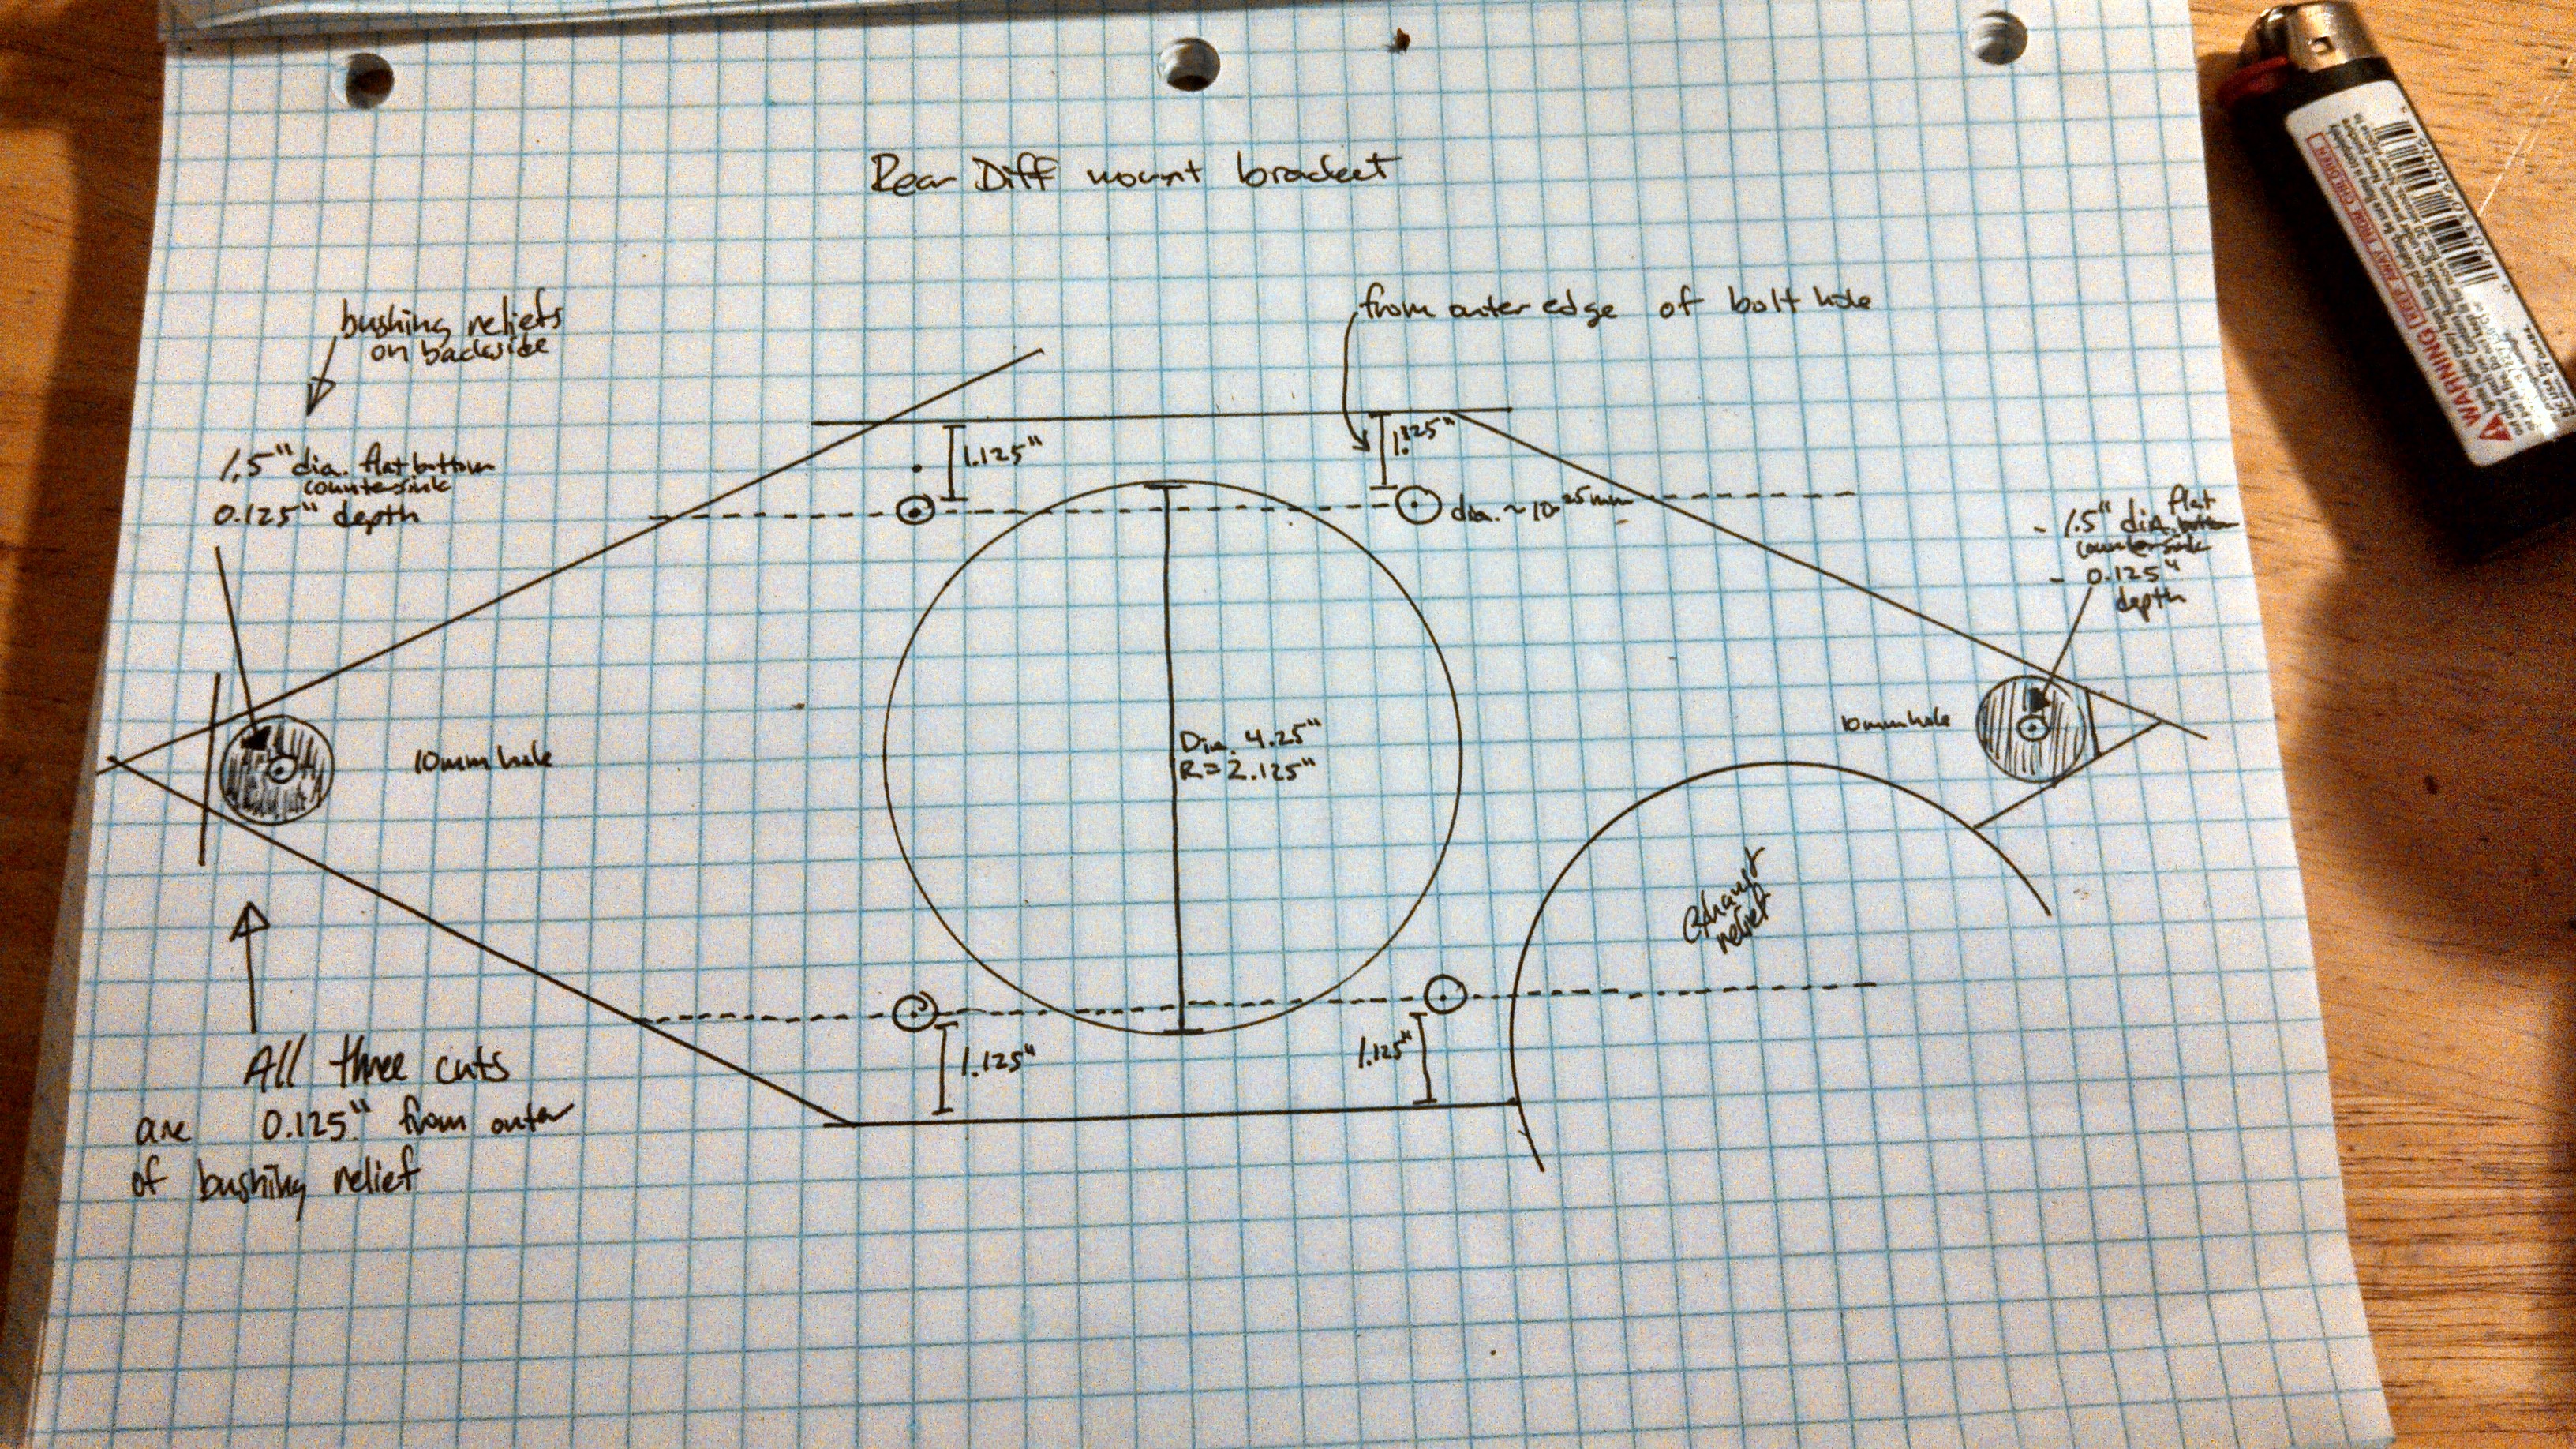
- rear diff mount bracket drawing.jpg (2.17 MiB) Viewed 39111 times
Re: 24vVR6T CQ Project: EATSGTR, chassis FAB
Posted: Sun Oct 06, 2013 11:08 am
by my2000apb
Re: 24vVR6T CQ Project: EATSGTR, chassis FAB
Posted: Sun Oct 06, 2013 11:18 am
by my2000apb
UPDATE!!!
I also got over to Ryan’s to pick up a bunch of stuff from seam welding. I had to pop off one of the rear diff mount ears so that it could be fully seamed.
- rear SF seamed, now to finish diff mount.jpg (1.61 MiB) Viewed 39035 times
- more SF weld detail.jpg (1.24 MiB) Viewed 39035 times
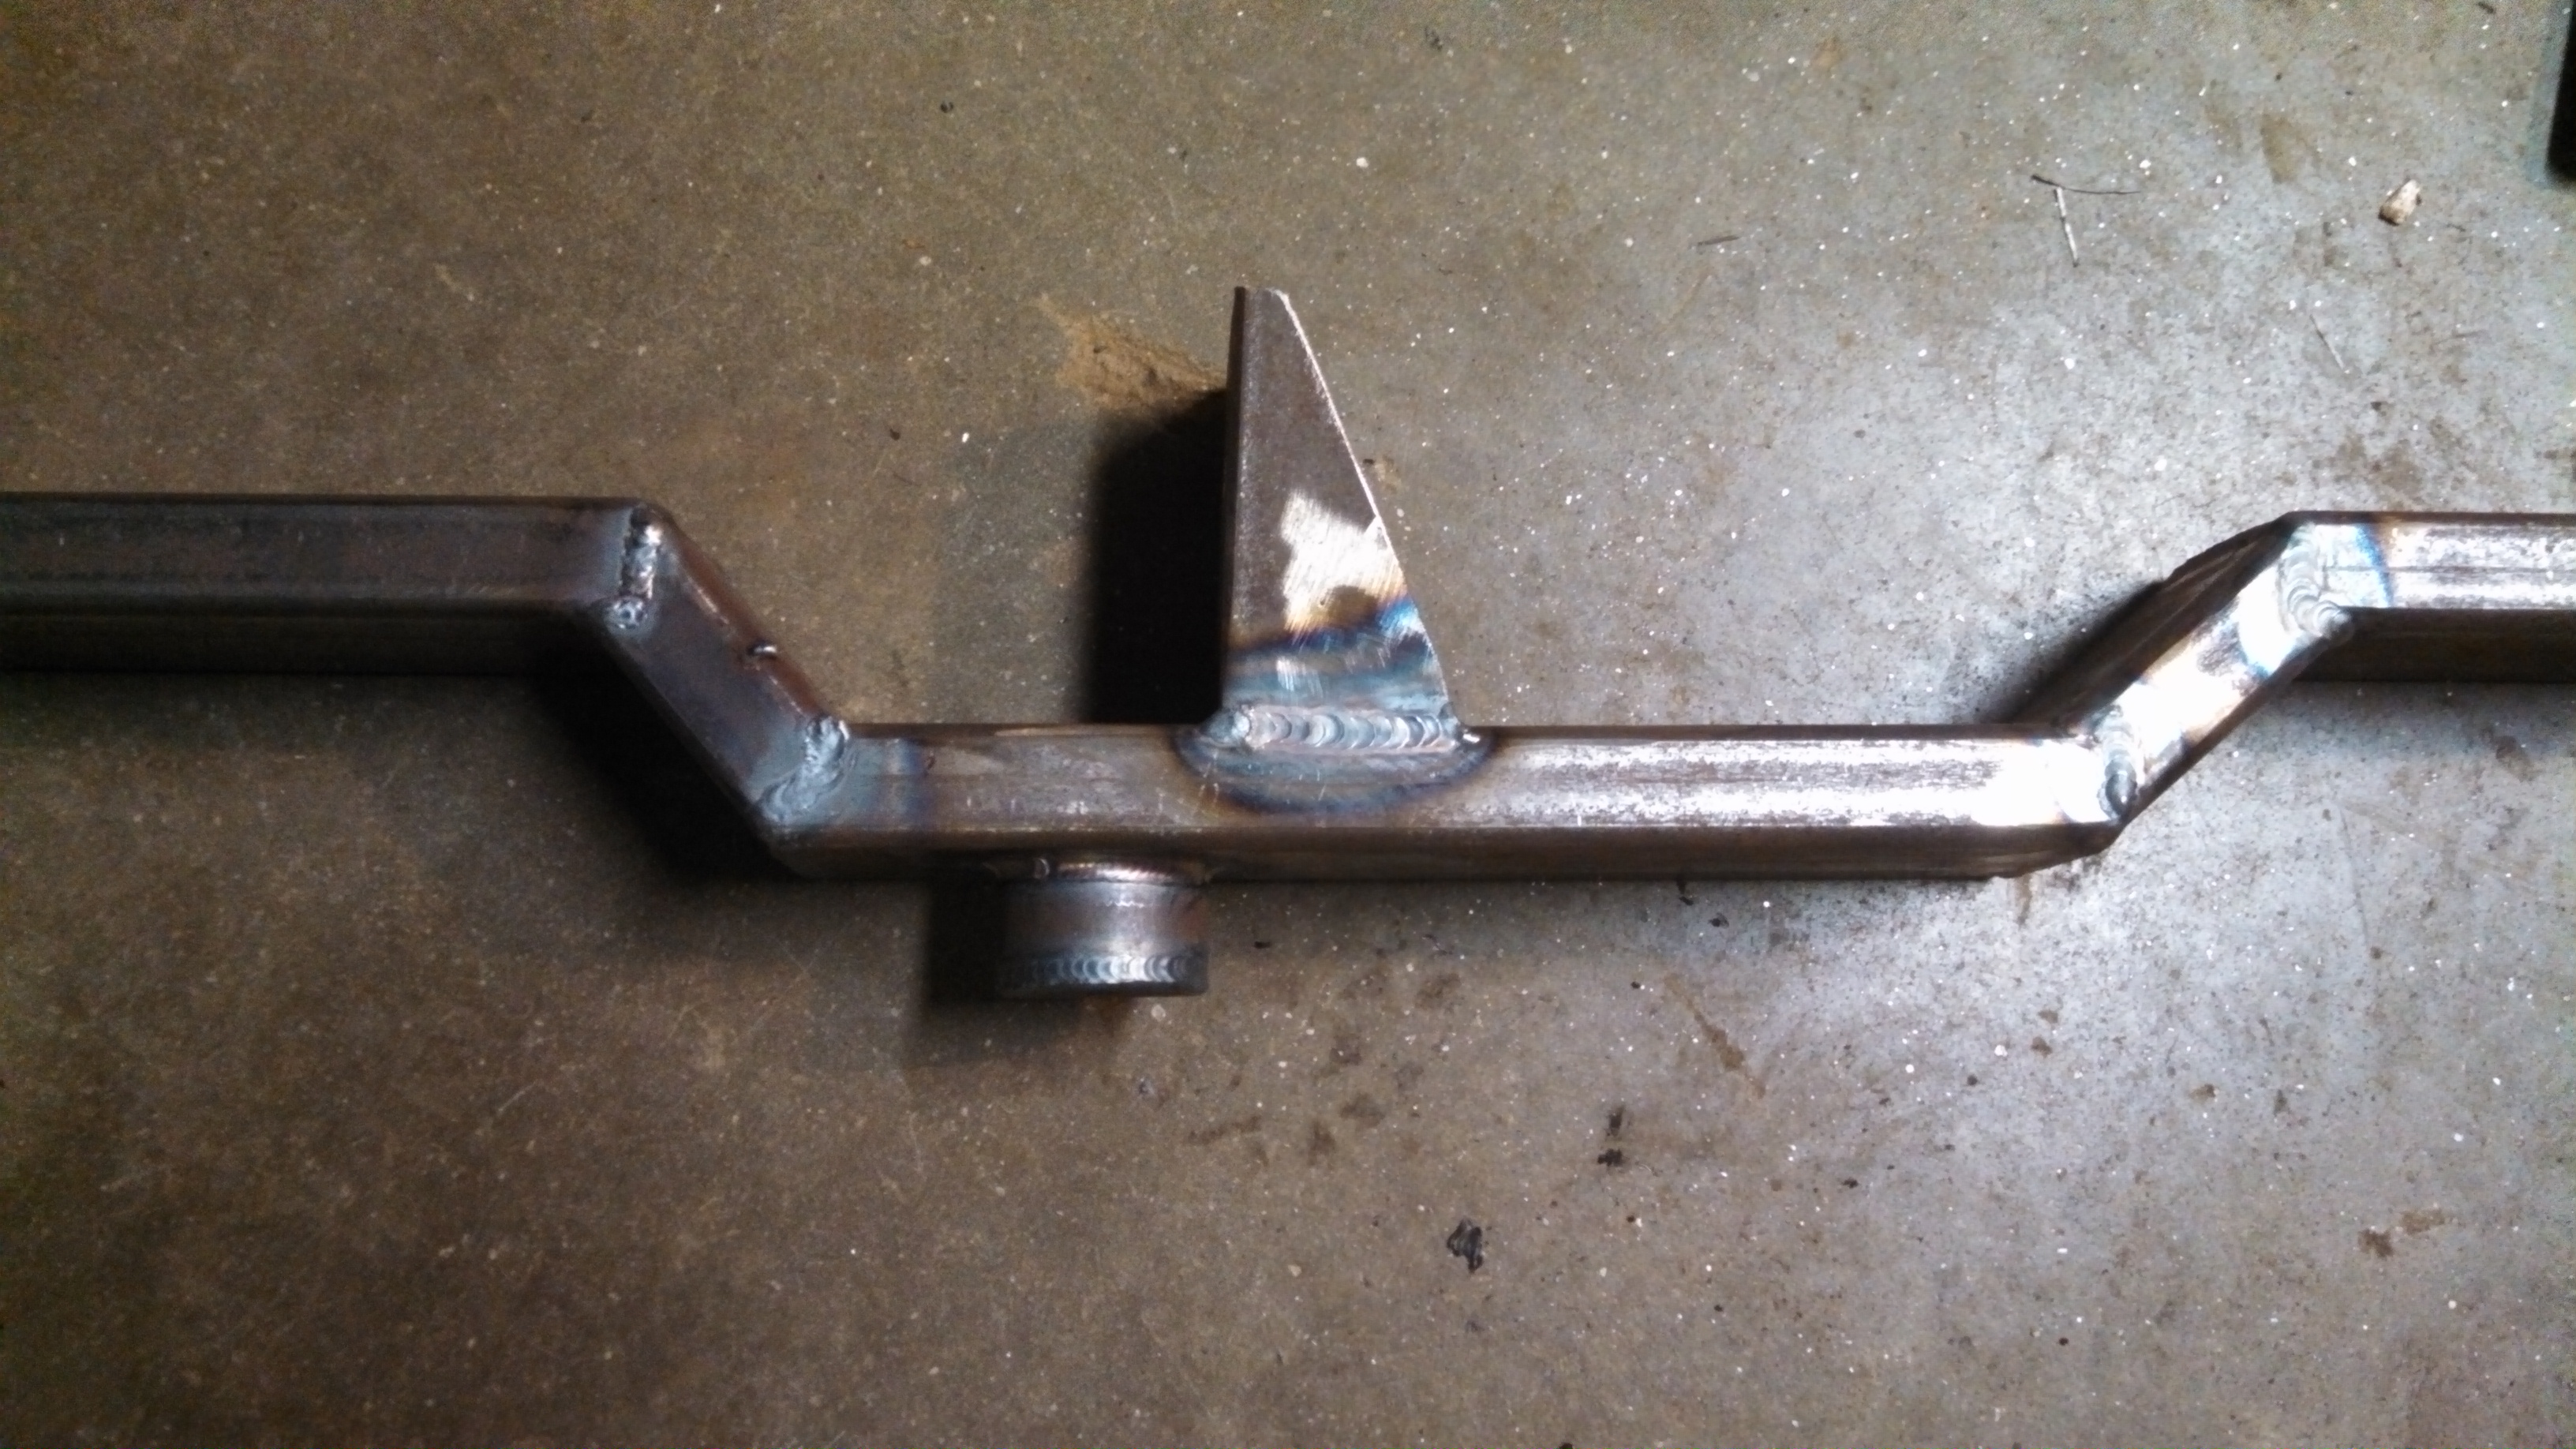
I also added a jack point on the bottom of the rear subframe, this makes it sooo much easier to jack car up and move it around garage etc.
- SF jacking point.jpg (1.26 MiB) Viewed 39035 times

- SF jacking point 2.jpg (1.39 MiB) Viewed 39035 times
Lower portion of the DP has been seamed as well, now I can make a hanger for the trans tunnel area.
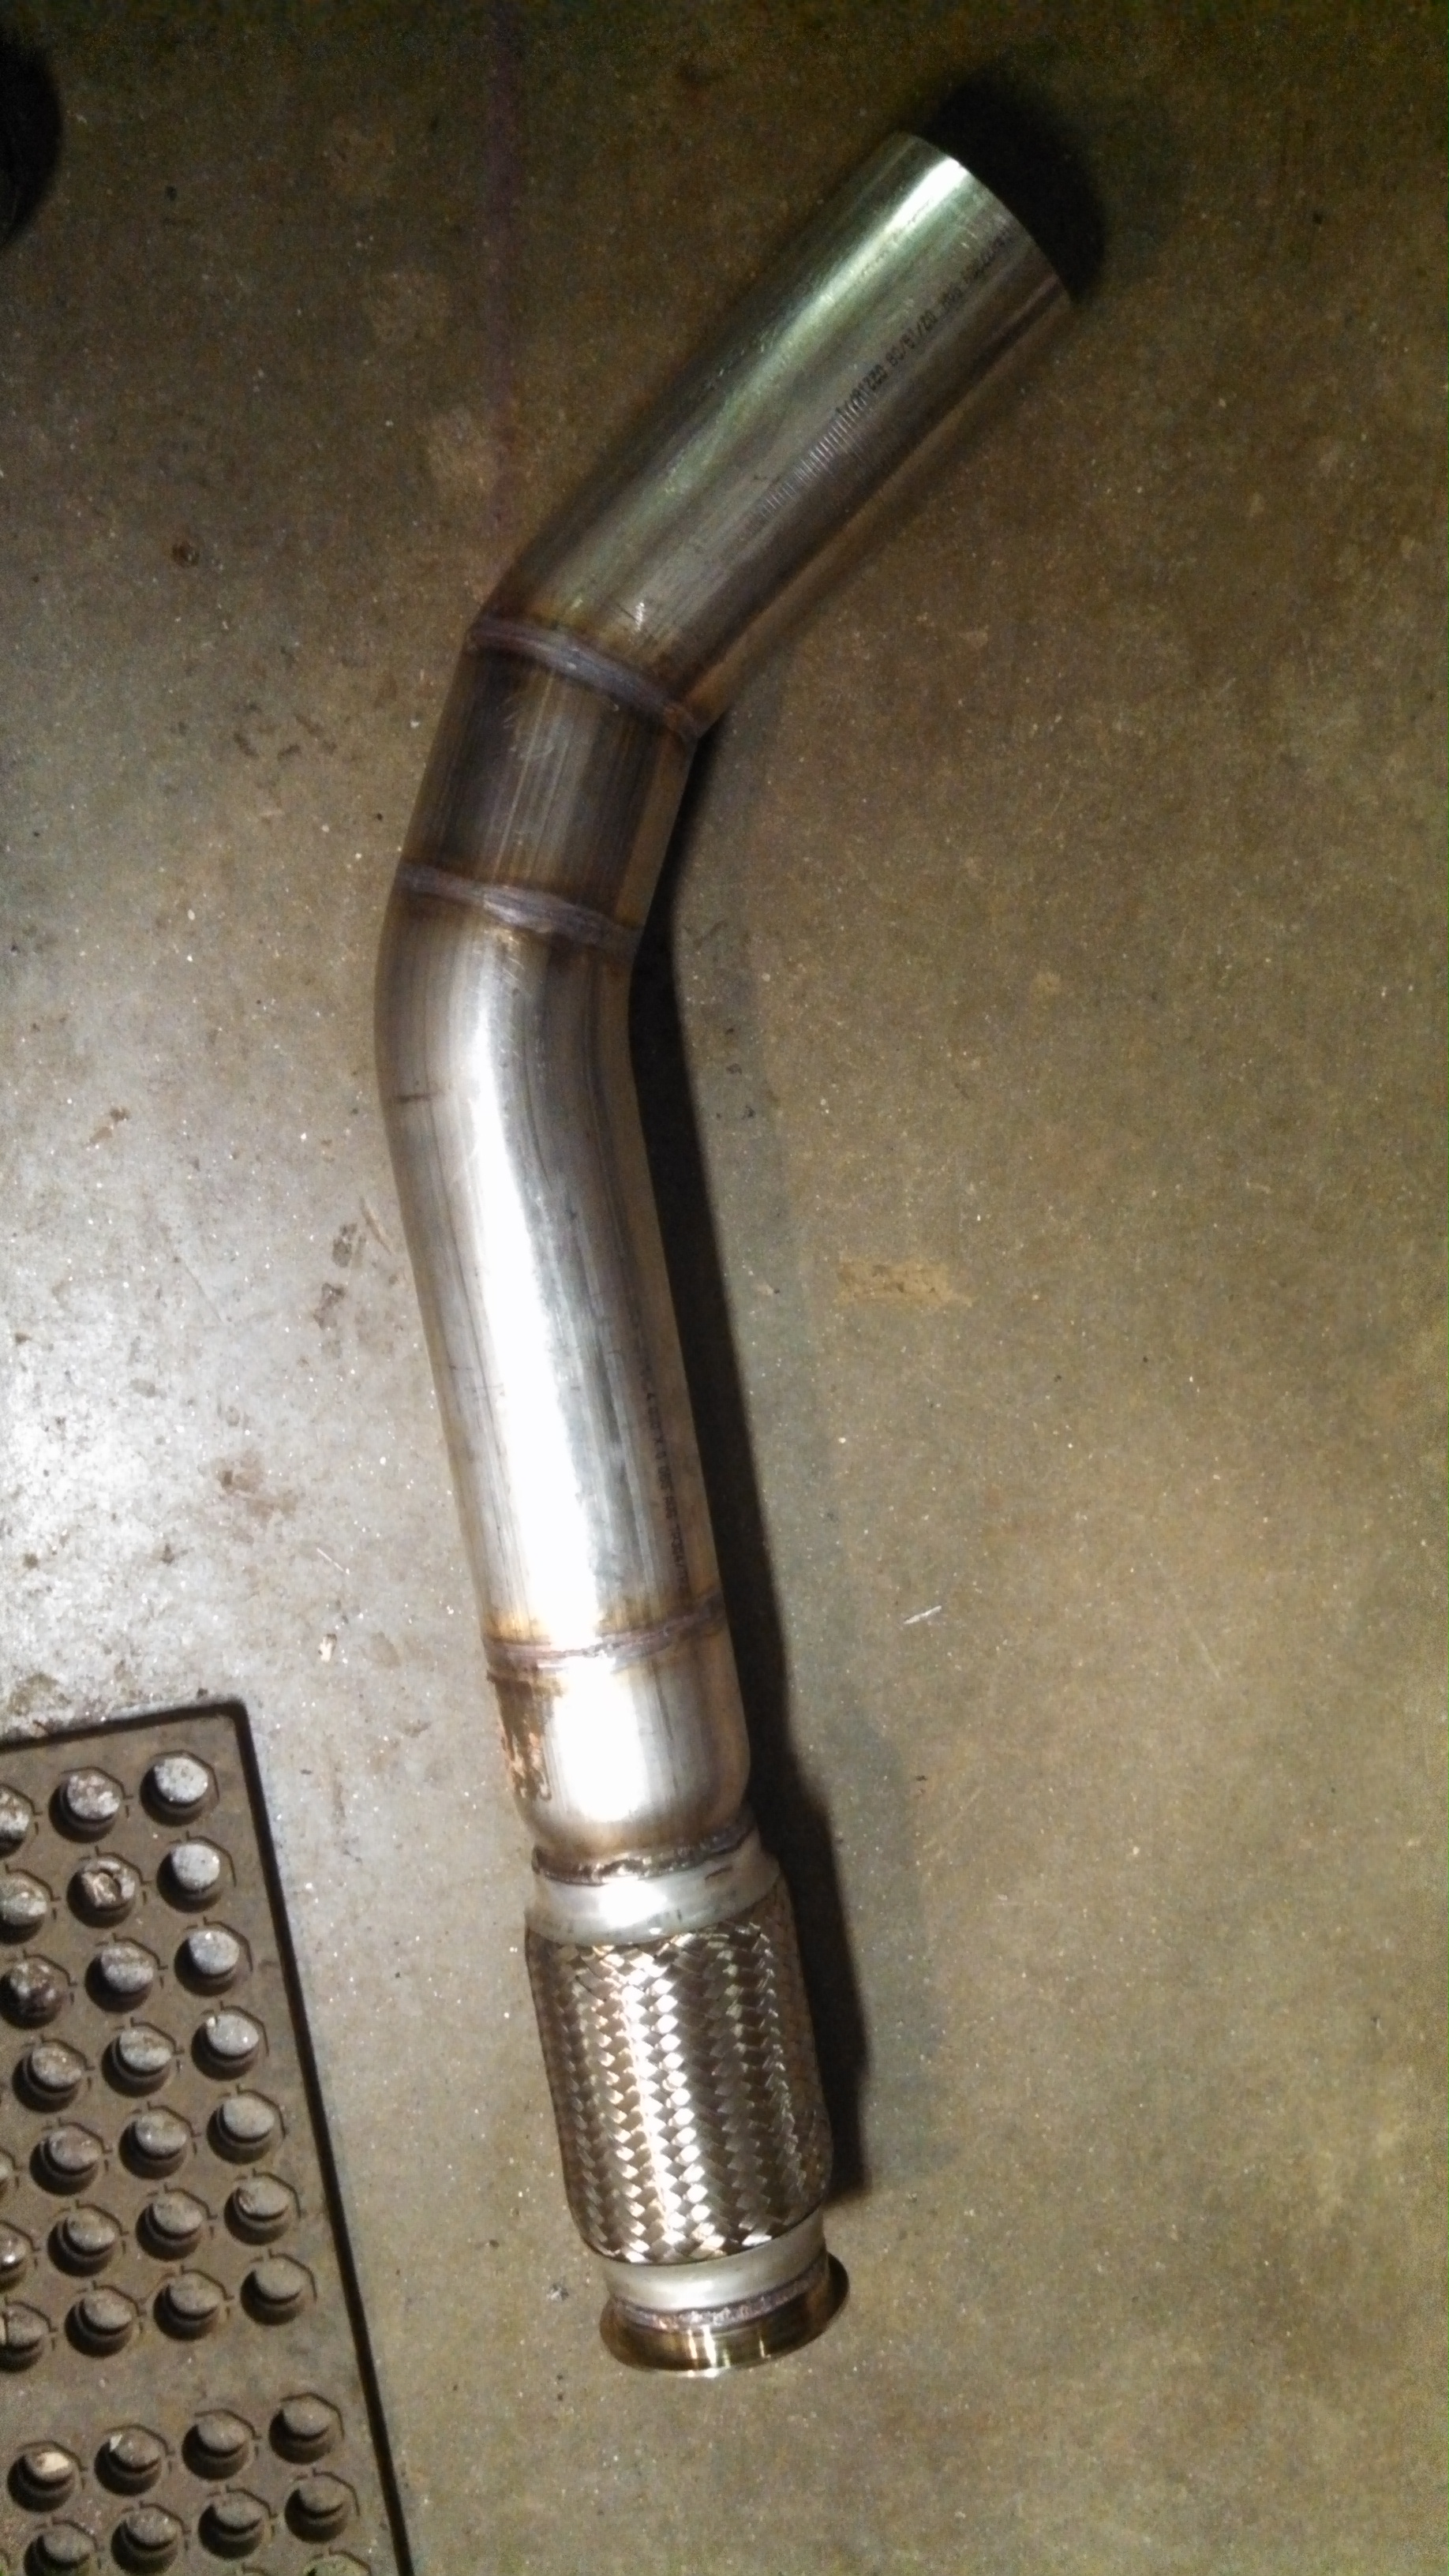
- lower DP seamed.jpg (1.63 MiB) Viewed 39035 times
Re: 24vVR6T CQ Project: EATSGTR, chassis FAB
Posted: Sun Oct 06, 2013 11:24 am
by my2000apb
Re: 24vVR6T CQ Project: EATSGTR, chassis FAB
Posted: Sun Oct 06, 2013 11:29 am
by my2000apb
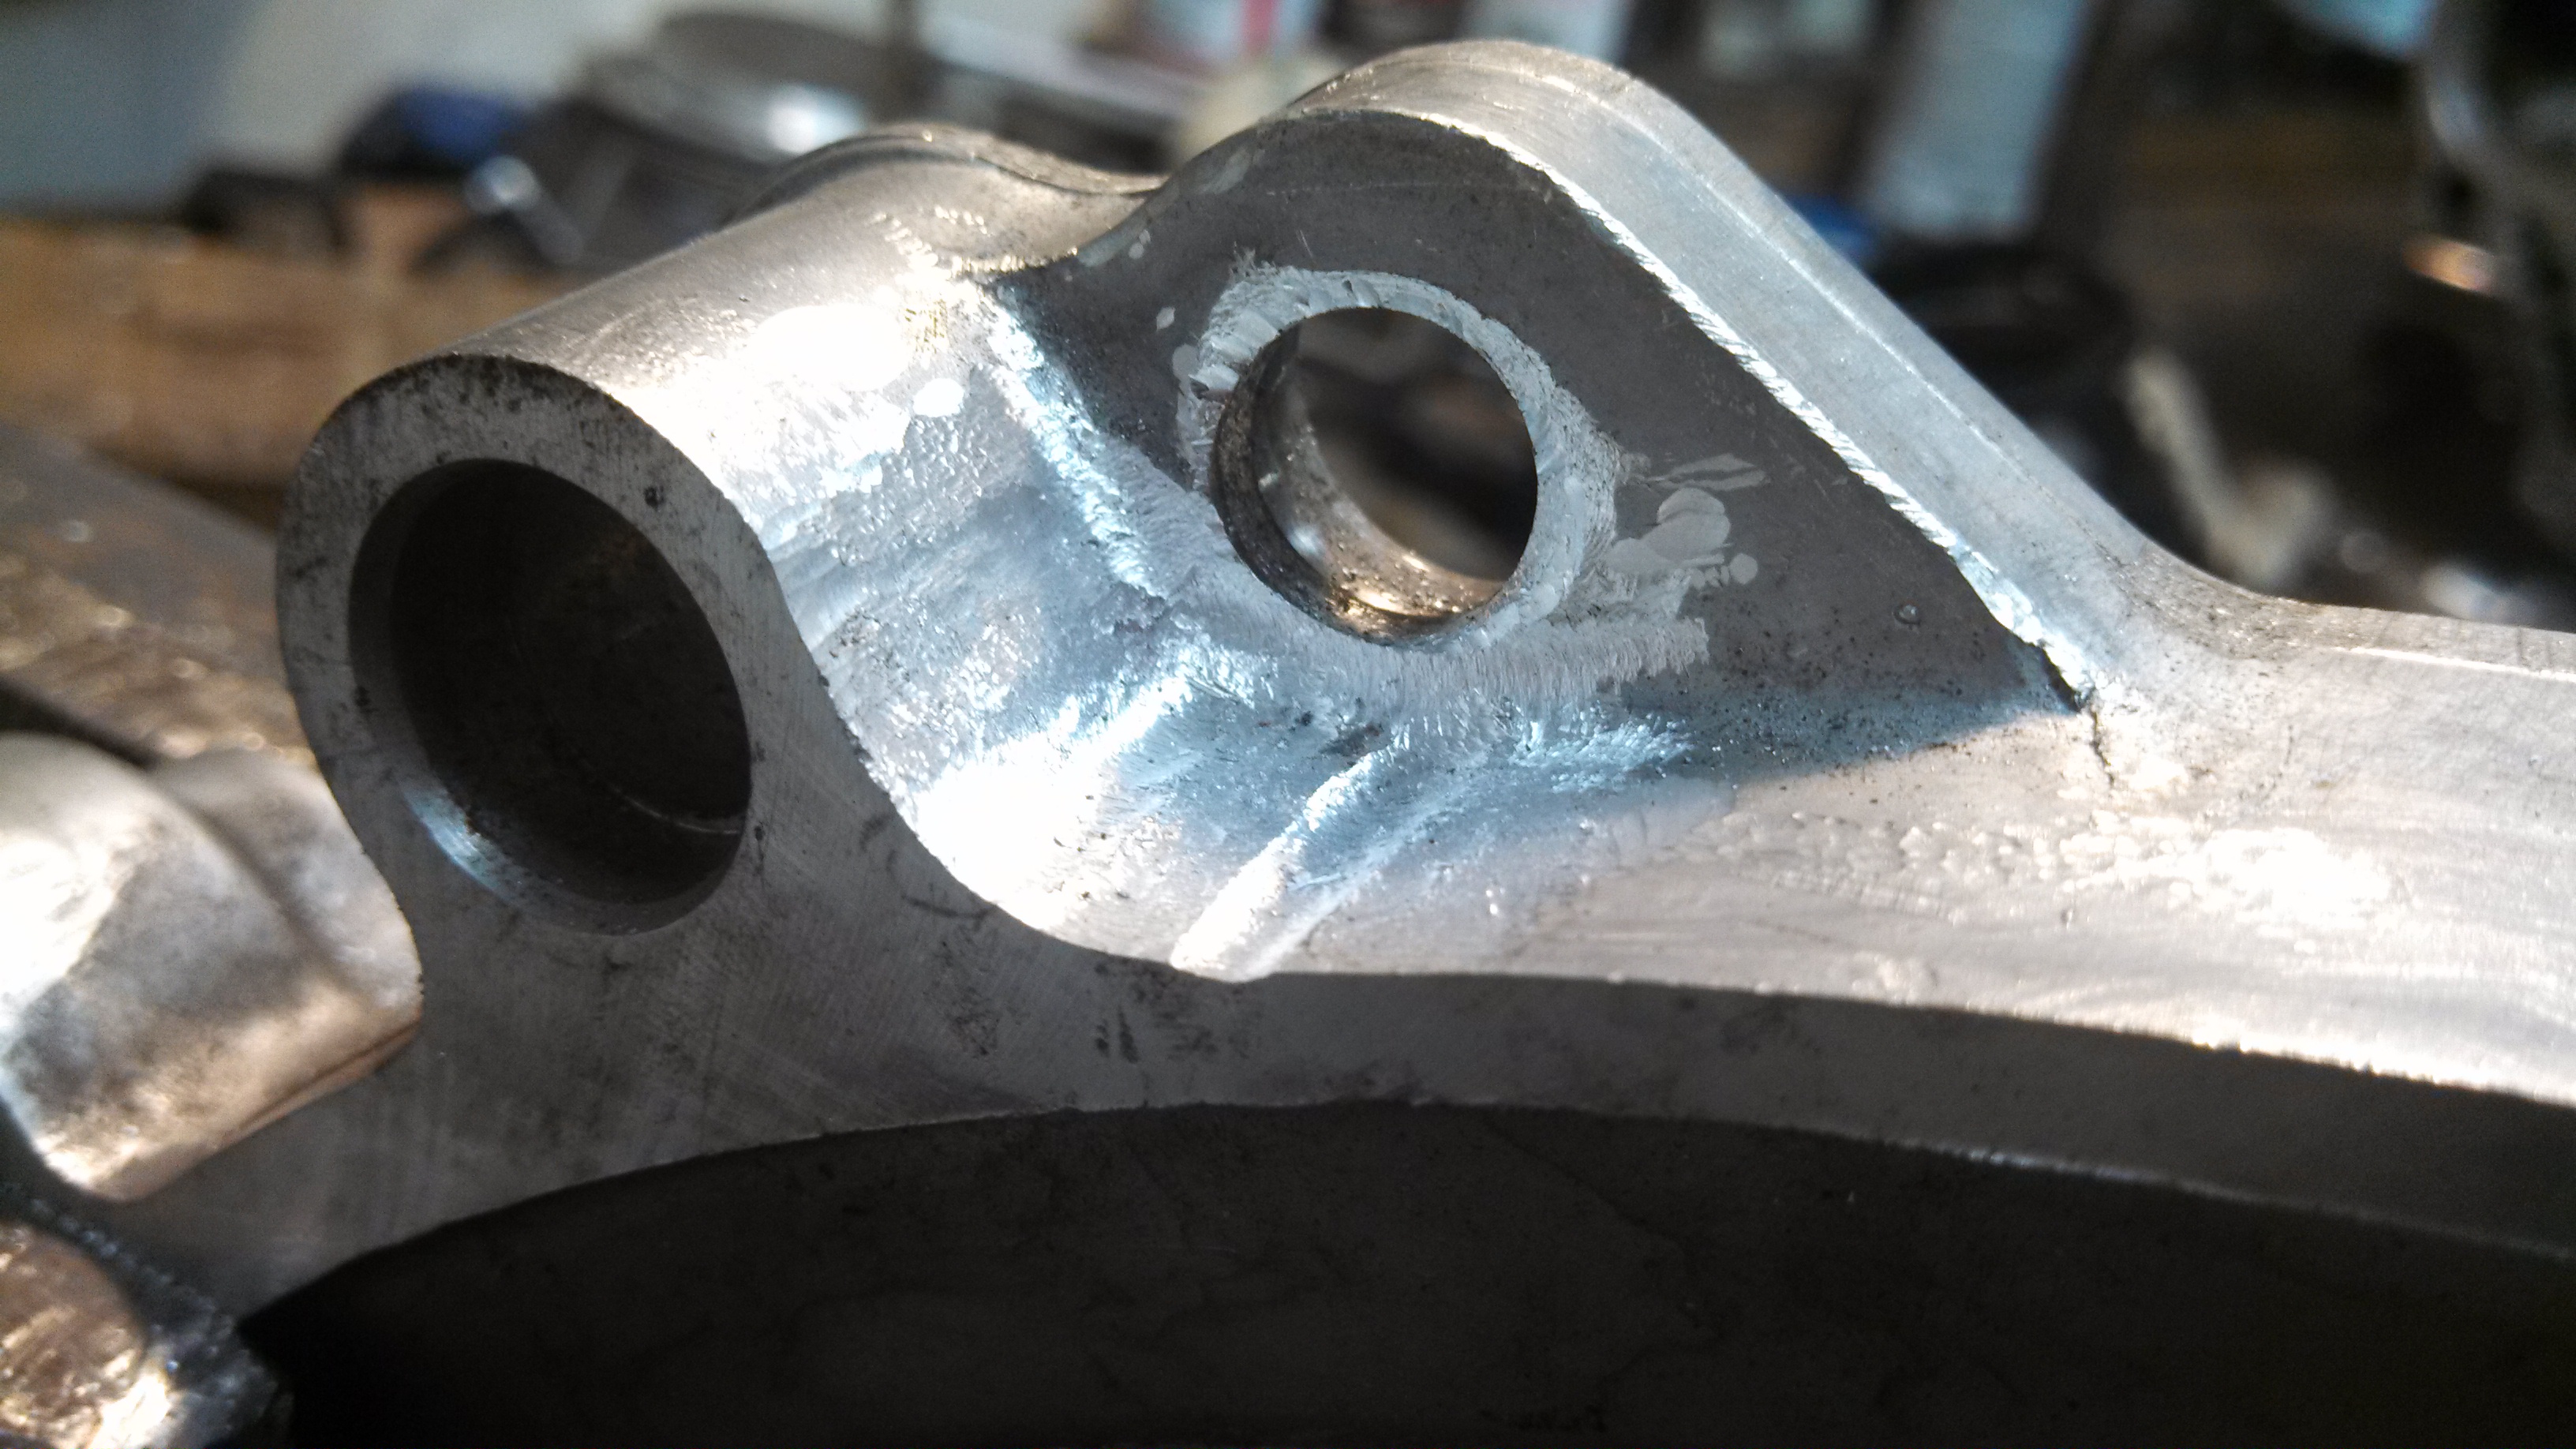
With the motor pushed back, there is very little clearance for the steering arms bracket to the bellhousing. So I got some m12x 1.75mm allens and counter sunk them into the upper bellhousing. This gains me a lot more room.
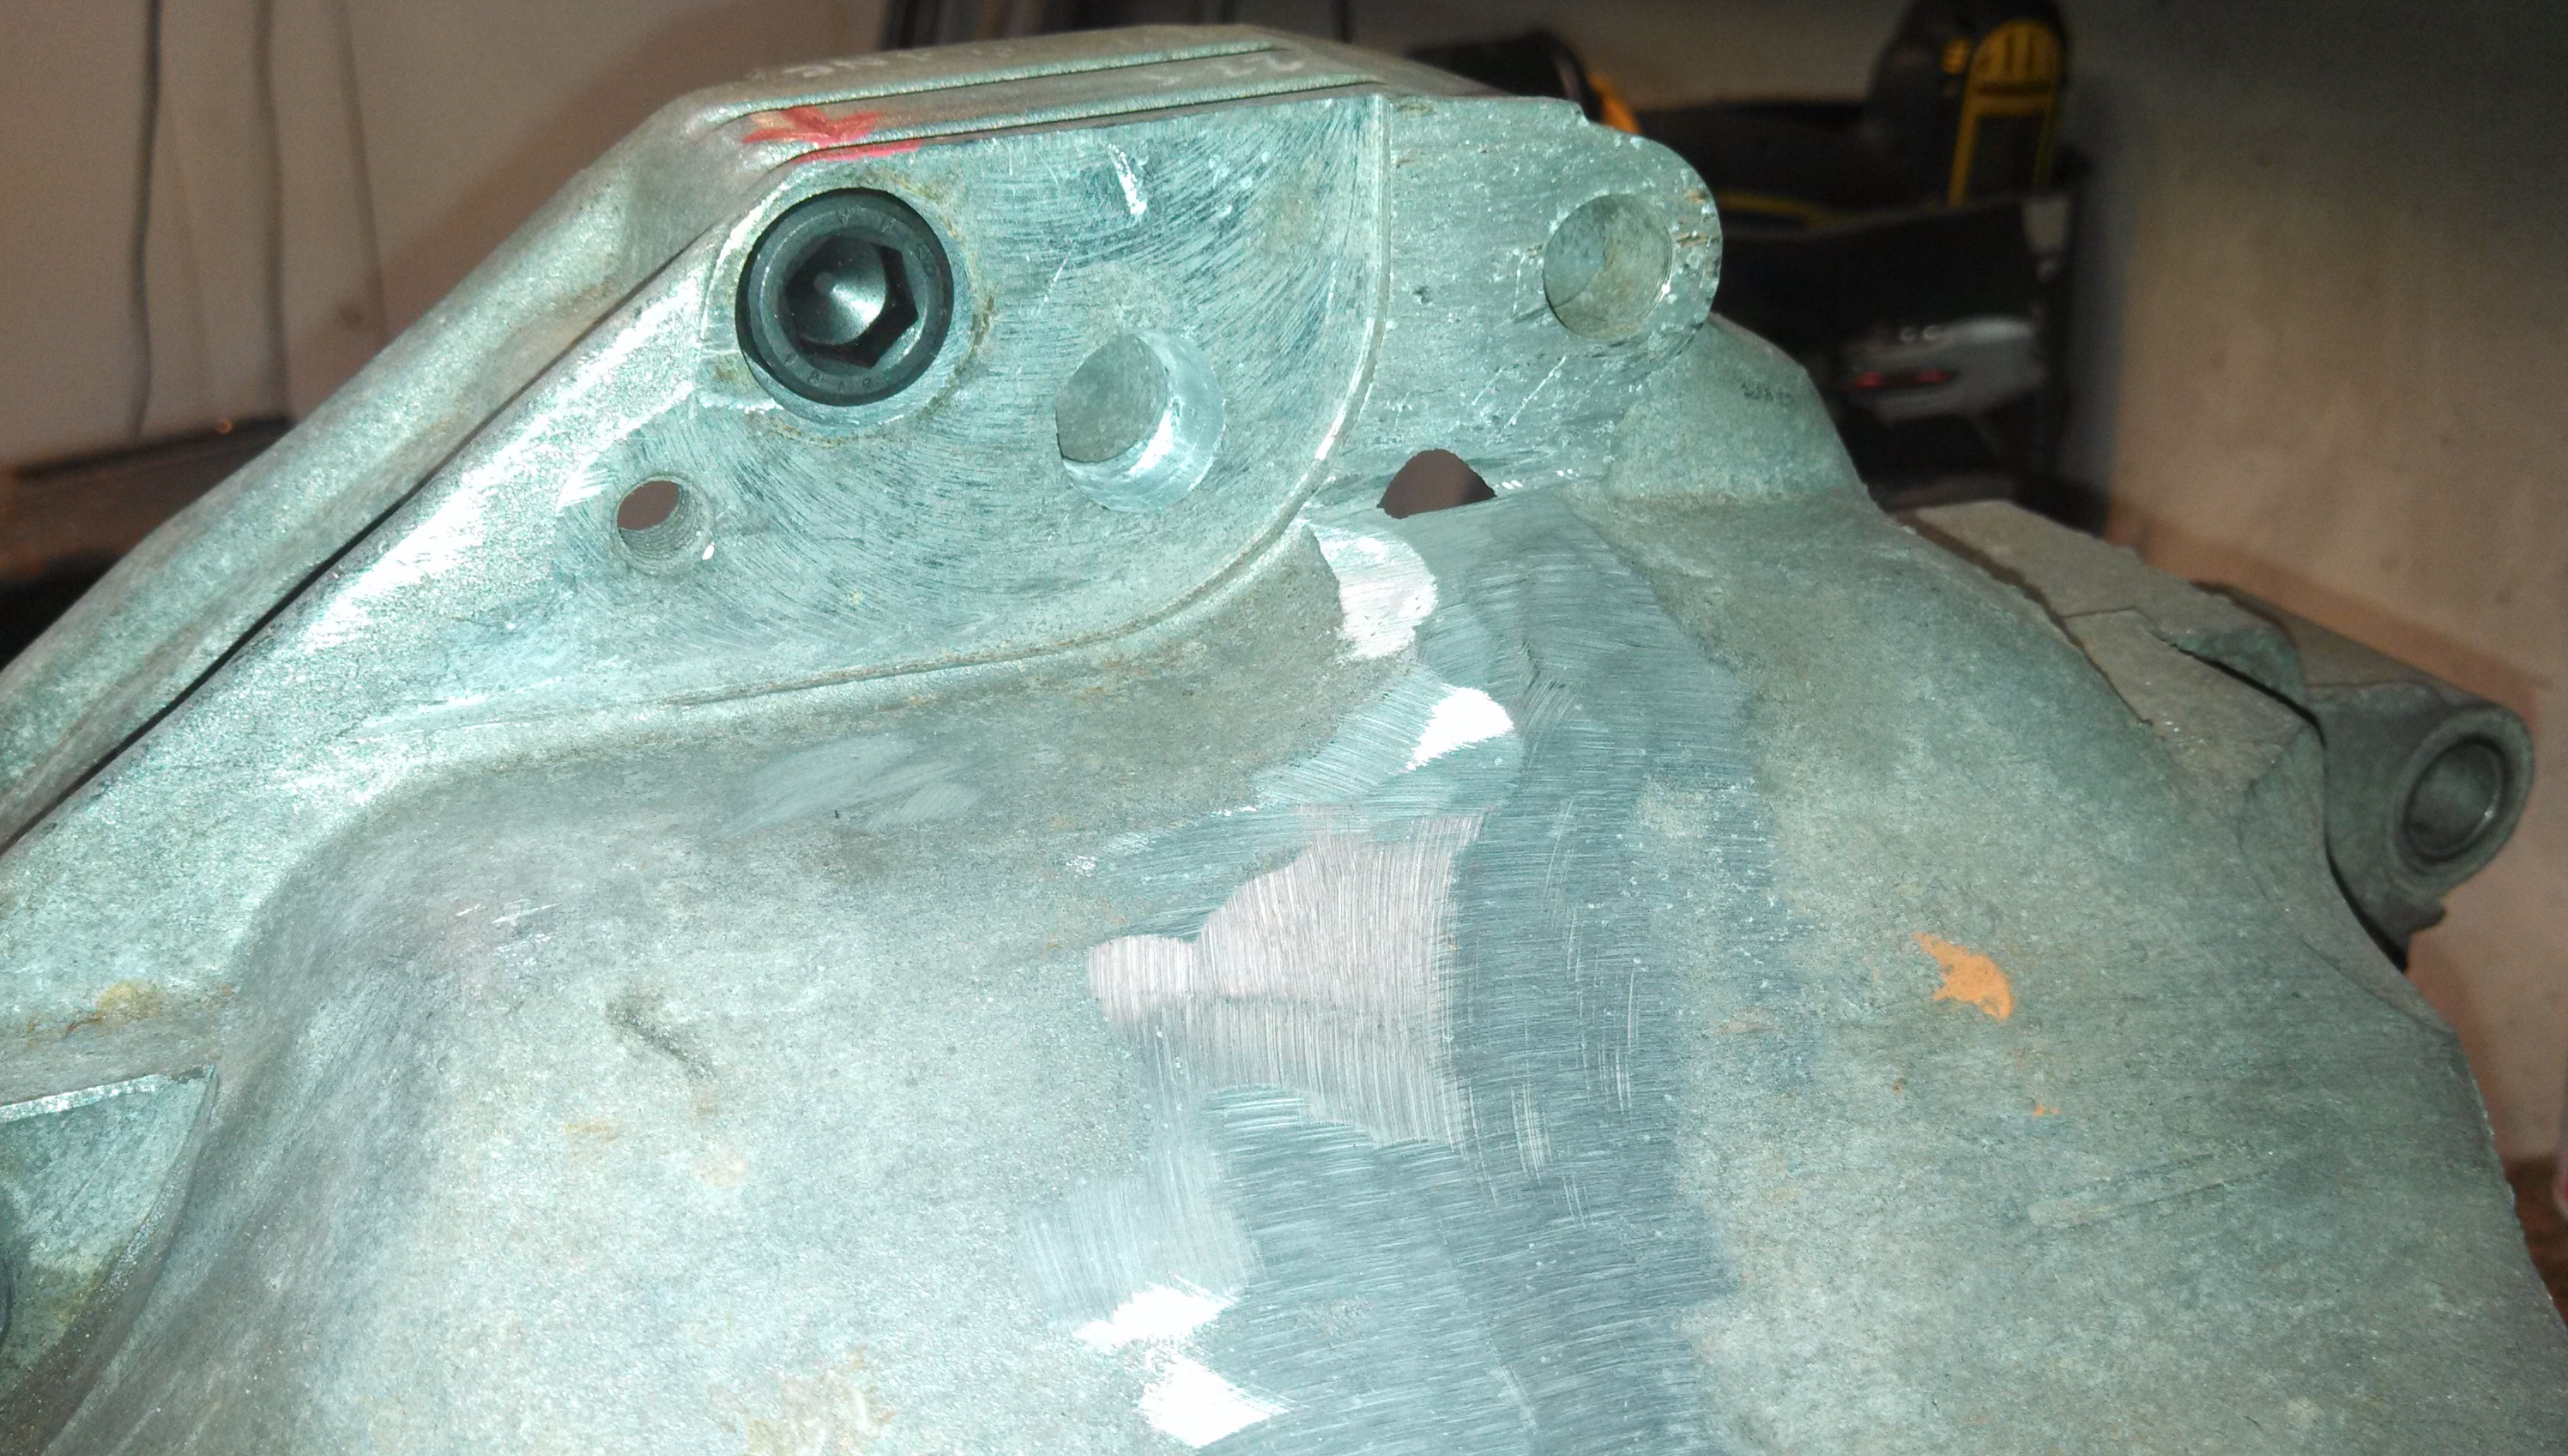
- countersunk upper bellhousing bolt.jpg (1.62 MiB) Viewed 39128 times
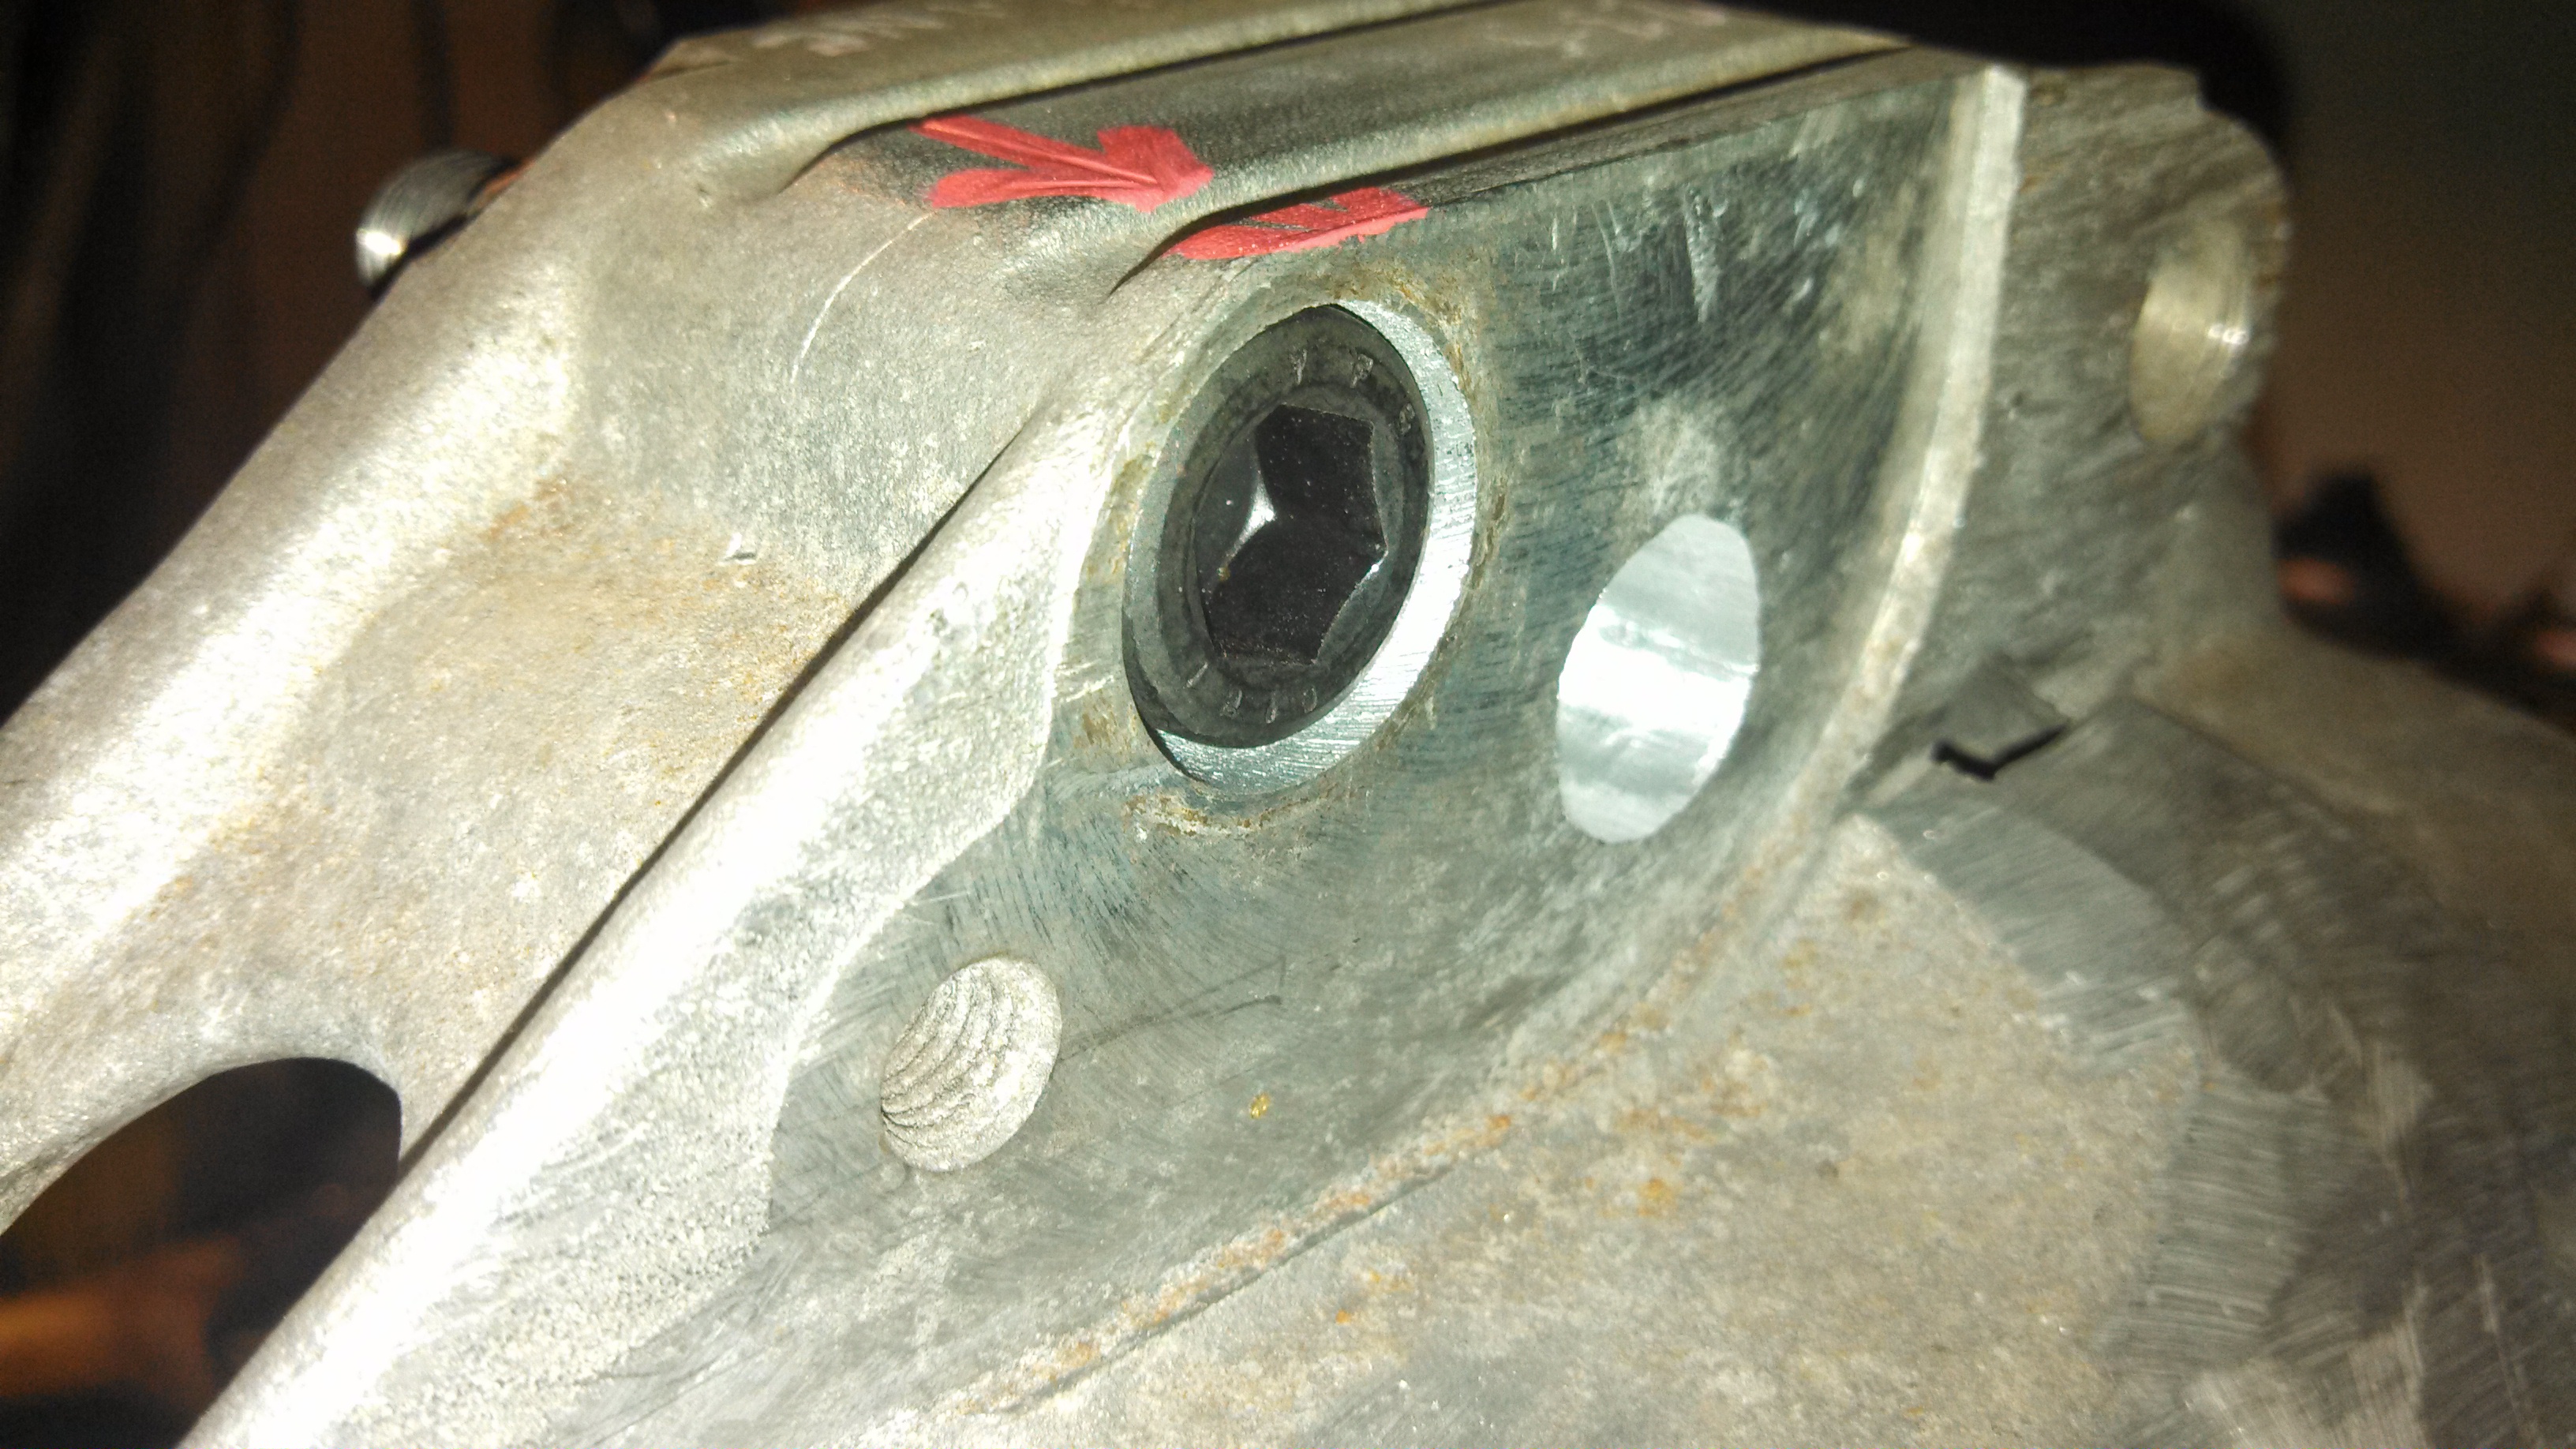
- countersunk upper bellhousing bolt upclose.jpg (1.75 MiB) Viewed 39128 times
I also added another bolt hole for the motor mount through the adapter plate.
- motor mount through hole, added nut clearance.jpg (1.54 MiB) Viewed 39128 times
Re: 24vVR6T CQ Project: EATSGTR, chassis FAB
Posted: Sun Oct 06, 2013 12:13 pm
by Mcstiff
Word is Audi Sport shaved those bosses off so it was easier to pull the transaxle.
Re: 24vVR6T CQ Project: EATSGTR, chassis FAB
Posted: Sun Oct 06, 2013 3:27 pm
by speeding-g60
i know i did, on two different times, going more cut off each time. still had to mess with the steering knuckle thing.
Re: 24vVR6T CQ Project: EATSGTR, chassis FAB
Posted: Mon Oct 21, 2013 7:23 am
by DE80q
And then...
Re: 24vVR6T CQ Project: EATSGTR, chassis FAB
Posted: Wed Nov 06, 2013 8:20 am
by highlander69
Mcstiff wrote:Word is Audi Sport shaved those bosses off so it was easier to pull the transaxle.
They sure did.
Looking great. Lot's of fabrication going on...........brilliant.

Craig.
Re: 24vVR6T CQ Project: EATSGTR, chassis FAB
Posted: Wed Nov 06, 2013 2:50 pm
by kieron_32v
highlander69 wrote:Mcstiff wrote:Word is Audi Sport shaved those bosses off so it was easier to pull the transaxle.
They sure did.
Looking great. Lot's of fabrication going on...........brilliant.
Craig.
I don't get it, how does this make it easier to pull the gearbox off the engine? Any pics?
Sent from my HTC One X+ using Tapatalk
Re: 24vVR6T CQ Project: EATSGTR, chassis FAB
Posted: Wed Nov 06, 2013 3:18 pm
by kieron_32v
highlander69 wrote:Mcstiff wrote:Word is Audi Sport shaved those bosses off so it was easier to pull the transaxle.
They sure did.
Looking great. Lot's of fabrication going on...........brilliant.
Craig.
I don't get it, how does this make it easier to pull the gearbox off the engine? Any pics?
Sent from my HTC One X+ using Tapatalk
Re: 24vVR6T CQ Project: EATSGTR, chassis FAB
Posted: Wed Nov 06, 2013 3:54 pm
by Mcstiff
kieron_32v wrote:highlander69 wrote:Mcstiff wrote:Word is Audi Sport shaved those bosses off so it was easier to pull the transaxle.
They sure did.
Looking great. Lot's of fabrication going on...........brilliant.
Craig.
I don't get it, how does this make it easier to pull the gearbox off the engine? Any pics?
Sent from my HTC One X+ using Tapatalk
Shaveing the top of the bellhousing removes 2 (or 3) bolts and makes clearing the rack easier.
Re: 24vVR6T CQ Project: EATSGTR, chassis FAB
Posted: Wed Nov 06, 2013 3:59 pm
by kieron_32v
Fair enough, so just having the remaining bolts is enough? Did they run any more dowels like that?
Sent from my HTC One X+ using Tapatalk
Re: 24vVR6T CQ Project: EATSGTR, chassis FAB
Posted: Fri Nov 22, 2013 10:33 pm
by Zerb
Maybe I missed it on an earlier page here in regards to the intake mani fabrication. But why didn't you put extended velocity stacks in the plenum on the 3 runners that match the 3 ports on the "front" of the head. So they are all equal length.
Sent from my iPad using
Tapatalk