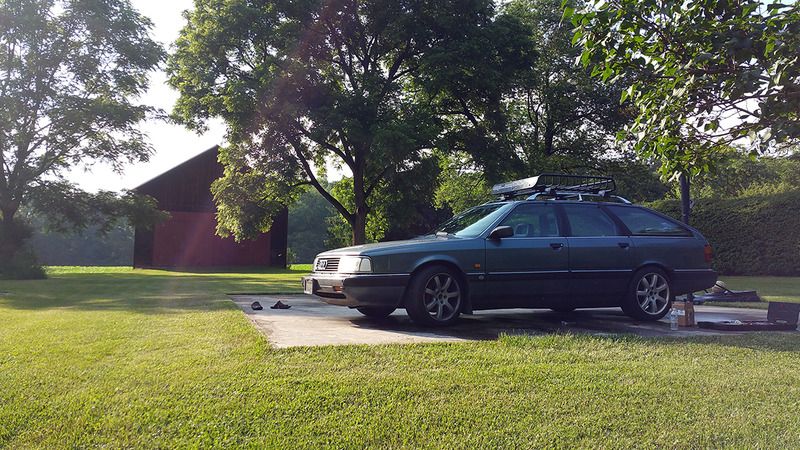
I managed to make some time (half a day) to work on the car. It still isn't registered, but we're one step closer to that so at least progress is being made

I had a fair list of things to get done, and didn't really have a plan of attack... so I just went at it! The first thing to be done was to unbox all the new parts I ordered.
From Hersh Performance...

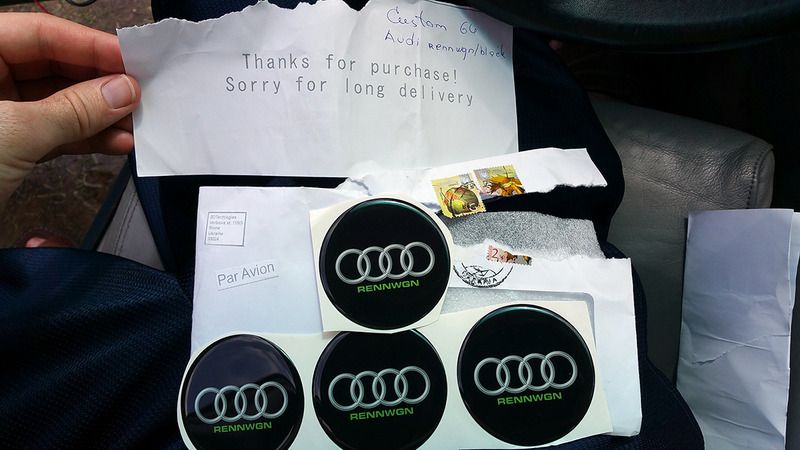
Custom center cap decals in 64 mm from 3Dcarstickers.com / 3DTechlogies (sic?) in Ukraine!
I liked their little letter. The shipping was actually fast!
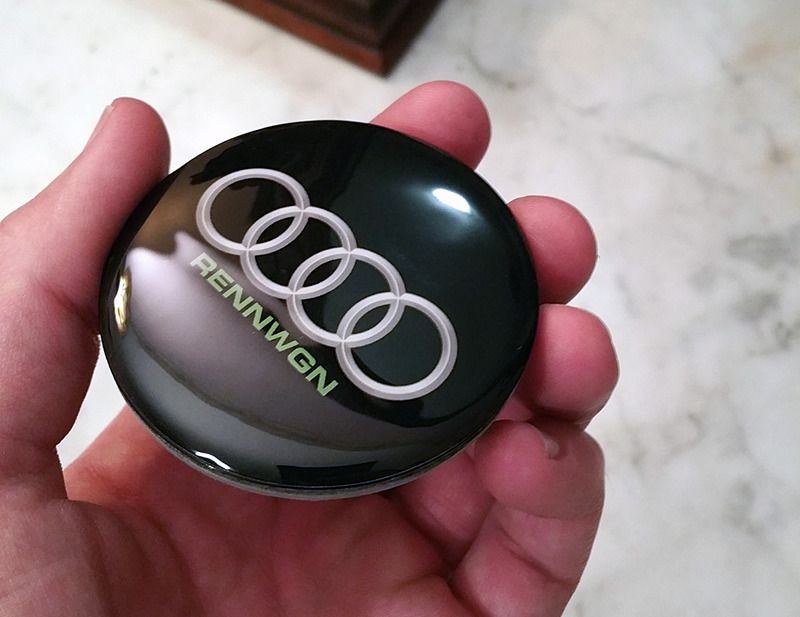
Here it is mounted on an Audi/Ronal center cap. The size is perfect. I think they look pretty good. The only way they could look better would be with actual metallic Audi rings like the OEM Audi ones. I figured it wasn't worth it this go around though. No pics on the car yet because I need to order three more center caps (this was a trial) and clean the wheels!
I also ordered a custom boost gauge from Speedhut.com I really like the way it came out.
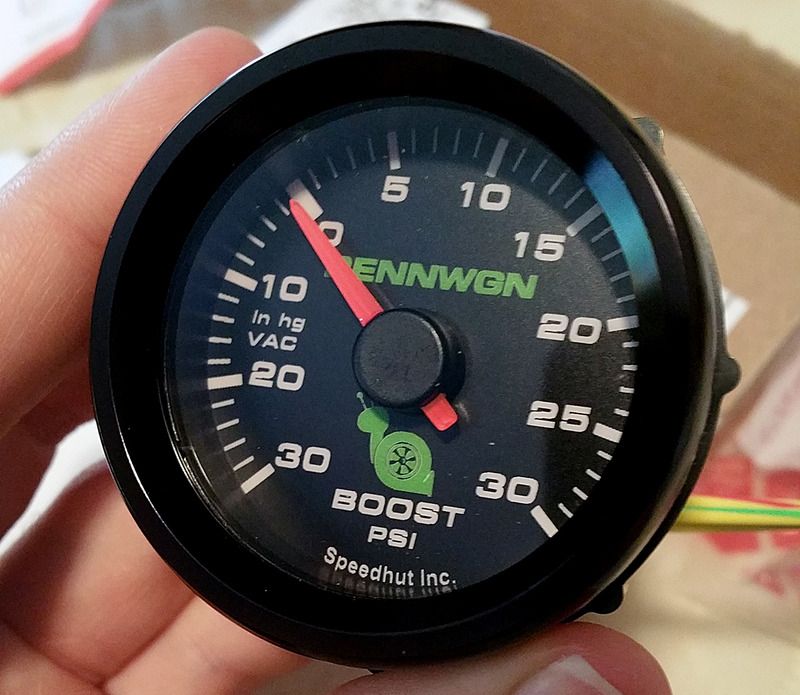
Sadly, this is one of the only things I didn't have time to install.
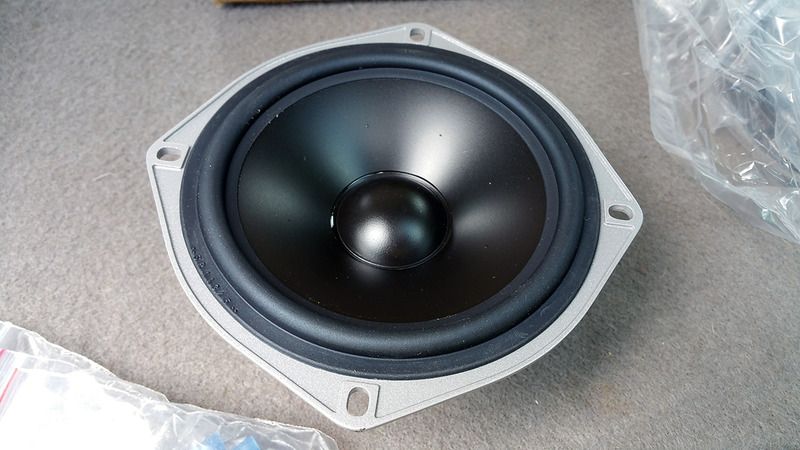
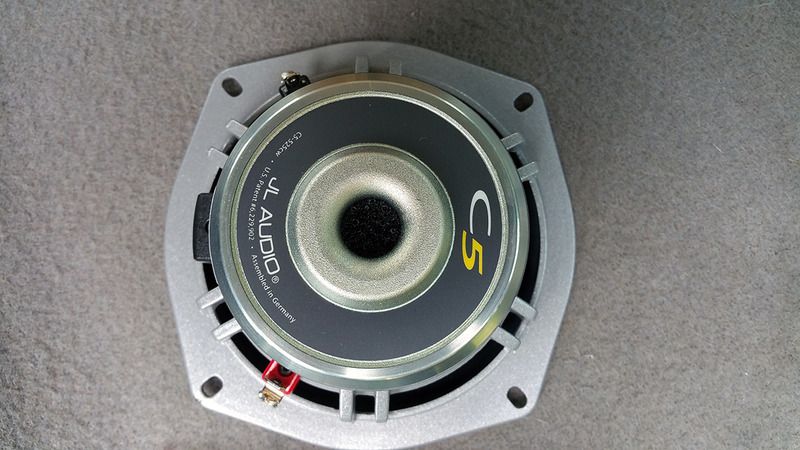
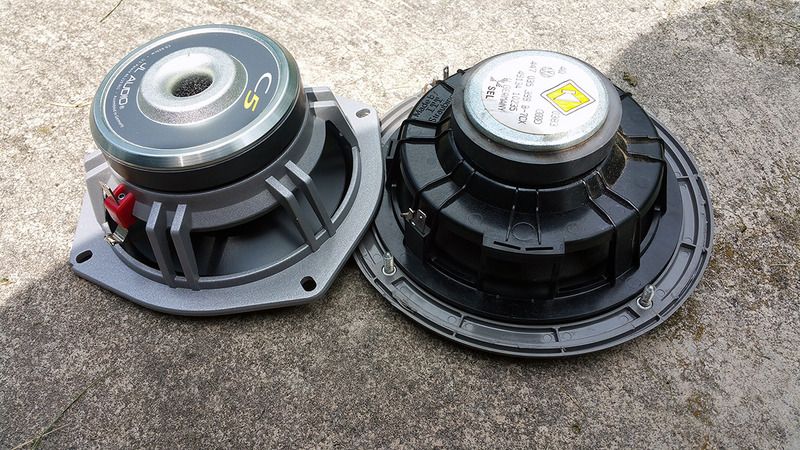
Next was the speaker installation. I wanted at least a little midbass to hold me over until I do the front doors (if ever). I decided against the Focal Utopia 13ws because they need a sealed enclosure, and I didn't want to get into that just yet. Maybe I'll change my mind and try it later, but for now I decided on using some JL Audio C5-525cw woofers for rear midbass. Here are some pictures of them before installation. They are definitely nice and Made in Germany as a bonus!
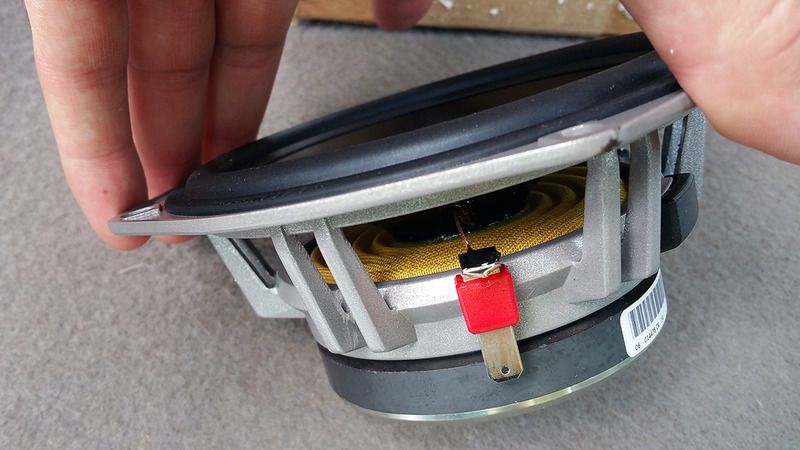
Compared to the stock speakers... look at the difference in magnet size!
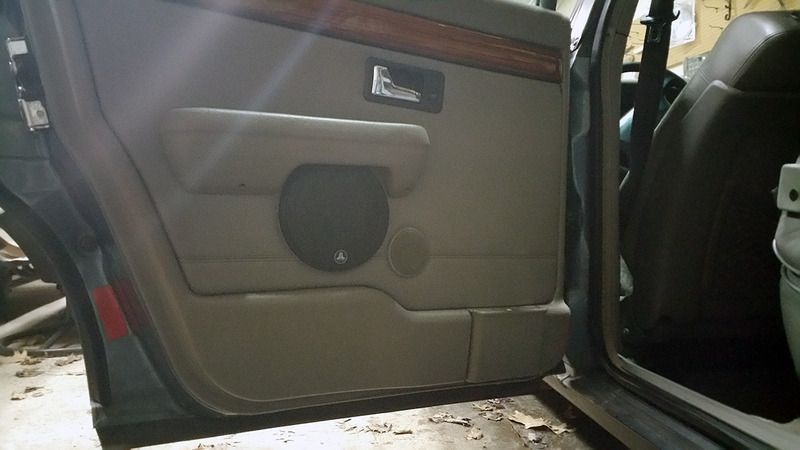
They drop right into the doors easily. There is practically a cavern back there. The focals would definitely fit right in there, but again, custom boxes would have to be made. Maybe later!
I have elected not to run tweeters in the rear as I don't feel it is necessary. I intend to run an 8 channel digital signal/sound processor to best integrate the speakers in the car and bring the soundstage front and center where it should be. Having tweets in the rear probably wont help with this, but I could experiment later. What works for a car without active processing is much different than one without and I've read that having rear fill is actually not detrimental when using one.
Anyway, for now the rear tweets are just disconnected. I kinda wish the grills were gray. Maybe I'll paint them! They don't look too bad though.

After I finished tuning everything with the relatively limited DSP in my head unit, the sound improved a LOT. However, I wouldn't say it improved too much over the stock speakers with the same tweaks in the DSP. Having them crossed over properly (with the DSP) has allowed me to maximize the upper midbass they are able to put out at volume without distortion. I compared when I had one JL installed and one stock still there. They seemed fairly comparable except I think the JL was able to handle a little more power and extend a little lower.
With both JLs installed, it seemed like the improvement was more apparent. The levels of midbass (especially upper) are acceptable now. It actually has a little bump to it if you go in with mediocre expectations!

Next up on this front will be a sub/box (maybe custom?), sub amp, speaker amp (6 channels or so), and the DSP. I think sub and amp are first on the list though.
Here's a picture because I don't have any pictures for the next part. Looks good right? Except for the dirtiness of course!
Next up was finding a final location for the exhaust dump switch. I thought about it for long time and finally came to the conclusion that placing it inside the steering column surround behind the steering wheel was the best solution. It is easy to reach, akin to the blinker/wiper stalks. It is also easy to run wires to that location, and it packages well within the confines of that space surprisingly! I will have to take a picture sometime, but I'm very happy with the result. I always get frustrated with wiring and while I always take care to make good connections, I don't always take the time to do proper wire routing and clean integration. This time I did!
Next, I wanted to check if I had some part. I forget what it was, but I ended up looking around in the box of spares the PO gave me. It was there that I discovered that he gave me another set of Euro lights! I remember him telling me the car came with the original radio, lights, and AC compressor, but I'm not sure he knew they were euro ones! HELLLLL YES!


The only problem is that the ones on the car have a small-ish crack in the passenger side lens. Too bad the spare ones have bad glass on the same side! I will try to find some good glass ASAP and I will be getting thick headlight film to cover whatever goes on the car.
I also recently ordered some nice pieces that go along with the euro lights. I think I got the last ones available! I'll take pics when they arrive.
Next, I started the boost gauge installation. By far my least favorite part of installing a boost gauge is running the tubing through the firewall. I thought about tapping off of the ECU's boost line, but after a bit I decided it would be nice to have the boost gauge coming off of the FPR tap so it will be easy to tell if these is a leak somewhere in the ECU's path (by watching in VEMS or by installing a cheapo mechanical gauge in the glove box). Two points of reference can't hurt right?
So I managed to pull the rubber hose for the gauge through the firewall, but then I gave up on the install for now because I was running out of time. I still have to do the wiring and figure out a mounting solution. So I have two questions/problems which need solutions.
-Where/how to mount the boost gauge
-What to tap into for dimming of the gauge (I guess any of the gauges/switches which also dim would work fine, eh?)
I may try to design a boost gauge pod to have 3D printed... That's for another day though.
By this time it was getting pretty dark, so I decided to see if this car would fit in the barn behind the M5. It barely does, but it fits!
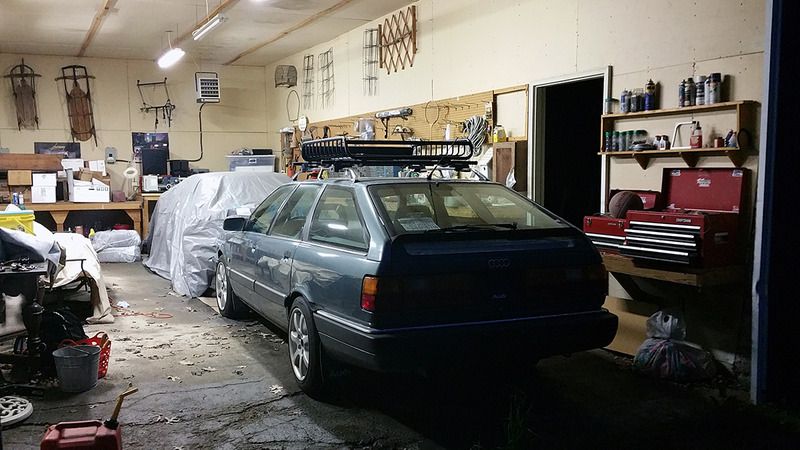
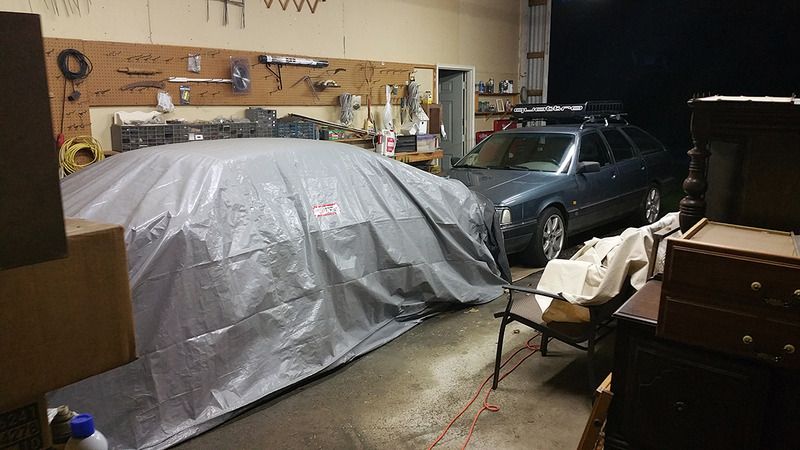
One day I need to get my uncle to clean out his stuff on that side of the barn and let me take it over for more of my cars!
I attempted to measure some strut mount dimensions, but it's pretty hard to do that properly with them installed in the car, so I gave up and decided to stare at the glory that is a stock 3B for a bit
Oh! You can see the new oil cap I bought too lol. The one on it before was really weird. Good riddance!

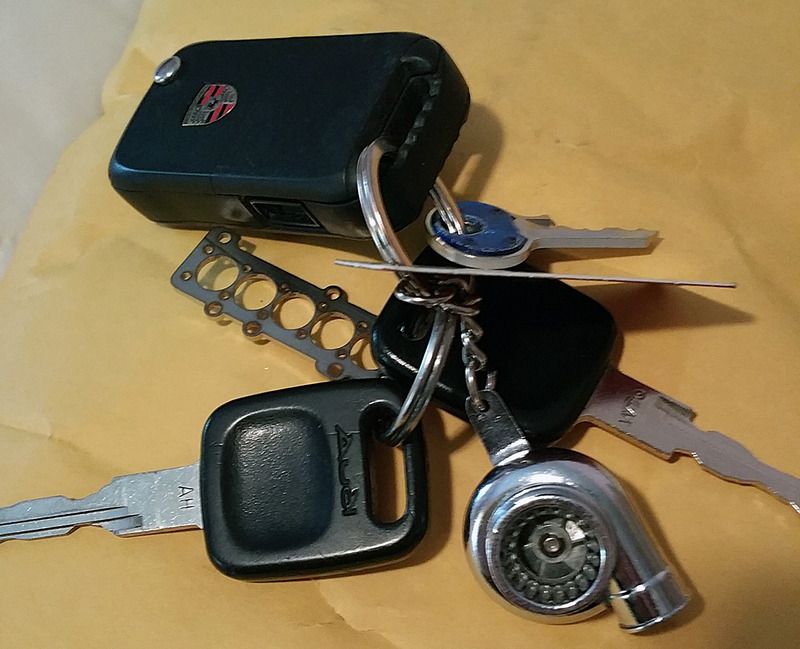
Then I remembered that I had parts to use for measuring! I will get on that soon. Here's a picture of that stuff and the contents of my pocket by the end of the day lol
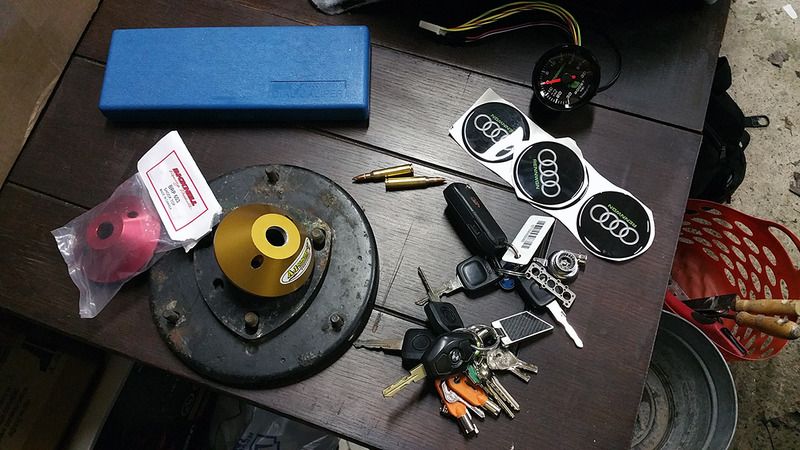
and finally, I thought I'd share a picture of the reason I have so little free time